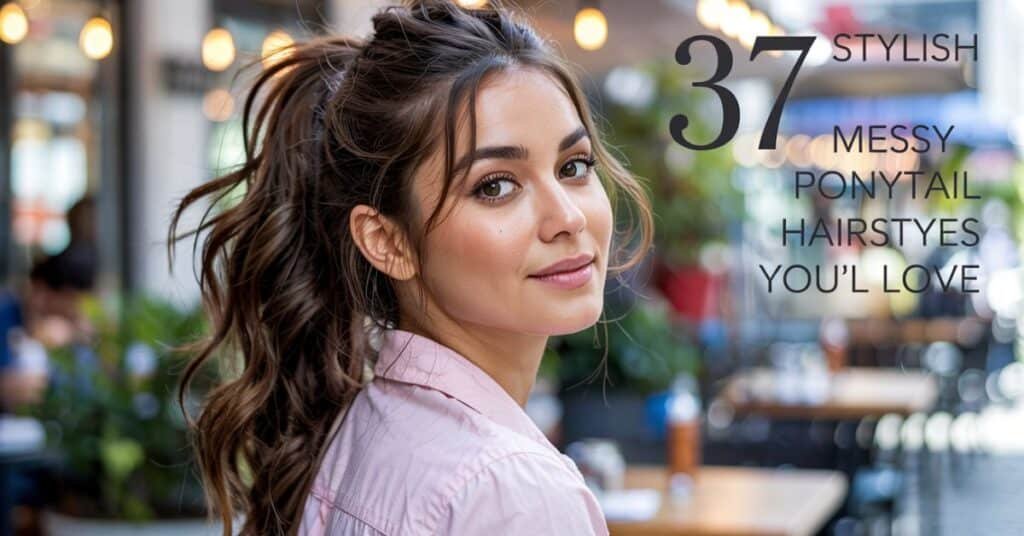
Messy Ponytail Hairstyles have evolved from a rushed morning style to a deliberate fashion statement embraced by celebrities and everyday hair enthusiasts alike. It’s that perfect balance of effortless and chic that makes these messy ponytail hairstyles so darn irresistible. Whether you’re heading to the office, hitting the gym, or attending a special event, there’s a messy ponytail hairstyle variation with your name on it.
Let’s dive into 37+ messy ponytail styles that’ll transform your hair game completely. I’ve curated these looks after years of styling experience and countless hours scrolling through the latest trends. These aren’t your average ponytails they’re statement pieces that say “I woke up like this” while secretly taking just the right amount of effort.
1. The Textured High Pony

This ain’t your standard cheerleader pony. The textured high ponytail sits proudly at the crown of your head with purposeful volume and piece-y texture throughout. Start by adding some dry shampoo or texturizing spray to your roots for that lived-in look.
Gather your hair high on your head, but don’t worry about getting it perfectly smooth—that’s kinda the opposite of what we’re going for here. Once secured with an elastic, gently tug sections around the crown to create height and that coveted messiness. Pull a few face-framing pieces loose to soften the look.
2. The Boho Low Pony
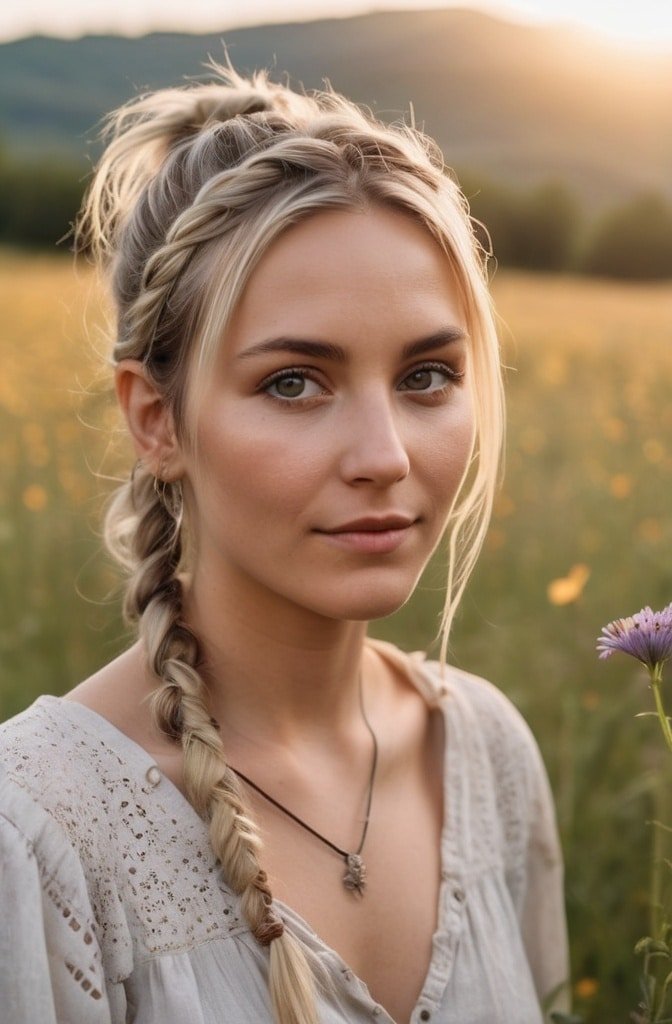
Perfect for those with natural waves or curls, this low-slung ponytail sits at the nape of your neck with an abundance of texture and whimsical vibes. Prep your hair with a sea salt spray and scrunch to enhance your natural texture.
Loosely gather your hair at the nape and secure with a clear elastic. The key here is to keep it deliberately undone—don’t pull it too tight! Wrap a small section of hair around the elastic to hide it, and don’t stress if a few extra pieces fall out. That’s literally the whole point.
3. The Bubble Messy Pony
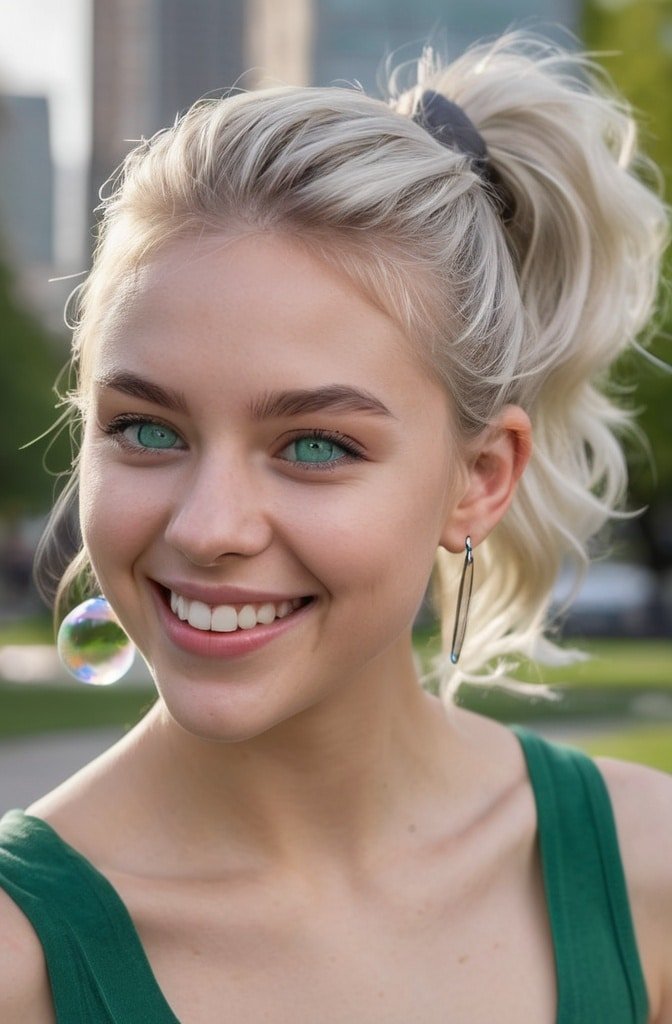
Take your messy pony to the next level by sectioning it off into “bubbles.” Create your base ponytail first, then add elastics every few inches down the length of your pony. Here’s the fun part—gently tug at each section between elastics to create voluminous bubbles.
The messier, the better with this one! Don’t aim for perfectly symmetrical bubbles—asymmetry adds to the effortless vibe. This style works amazing on longer hair but can be adapted for medium lengths too.
4. The Side-Swept Messy Pony

Who says ponytails have to be centered? A side-positioned messy pony adds instant interest and a touch of romance to your look. Toss all your hair to one side and secure it just behind your ear.
The trick is creating volume at the opposite side—tease the roots slightly before gathering your pony. Leave a few pieces out on both sides to frame your face, and don’t forget to rough up the pony itself for that perfectly imperfect finish.
5. The Braided Messy Pony
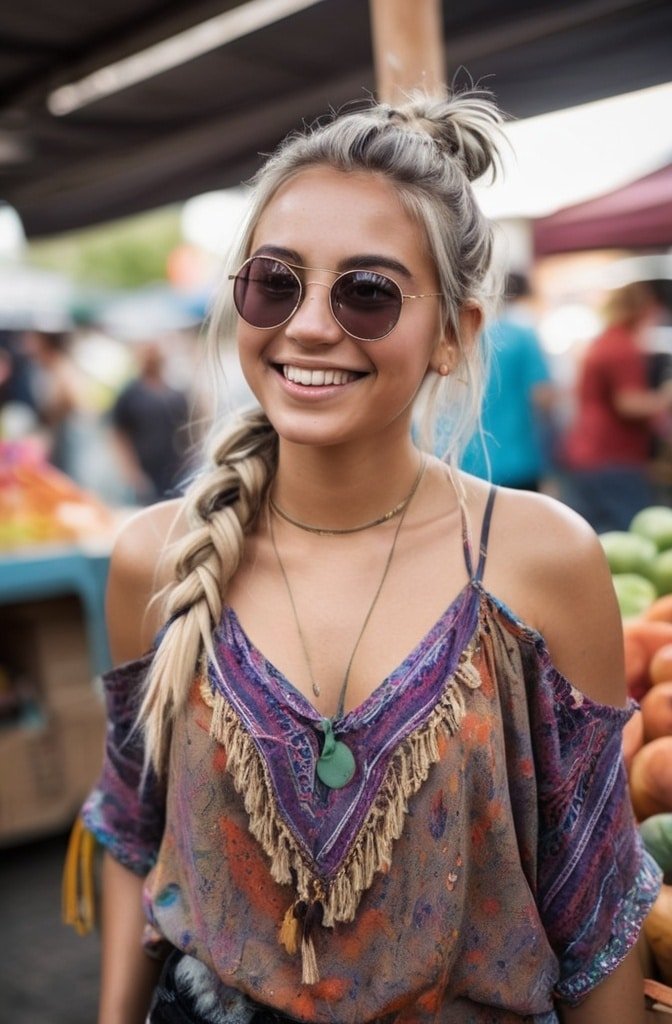
Why choose between a braid and a ponytail when you can have both? Start with a traditional messy pony, then take a small section from the underside and create a braid. Wrap this braid around your hair elastic for a polished detail that elevates the entire look.
Alternatively, you can add a few small braids throughout your ponytail for a festival-ready vibe. Either way, the contrast between the structured braids and the messy pony creates gorgeous visual interest.
6. The Half-Up Messy Pony
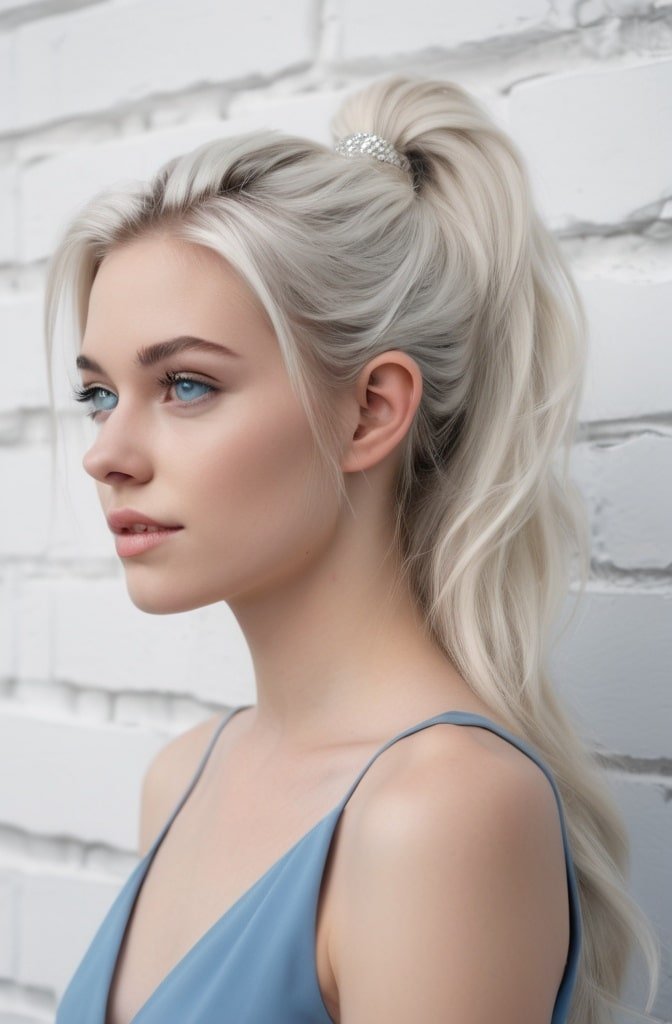
Can’t decide between wearing your hair up or down? This half-measure gives you the best of both worlds. Gather just the top section of your hair (from temples up) and create a small messy pony at the crown.
The beauty of this style is how versatile it is. You can wear the rest of your hair straight, wavy, or curly. Its a perfect option for second-day hair when your roots might need a little help but you still want to show off your length.
7. The Sleek-to-Messy Pony
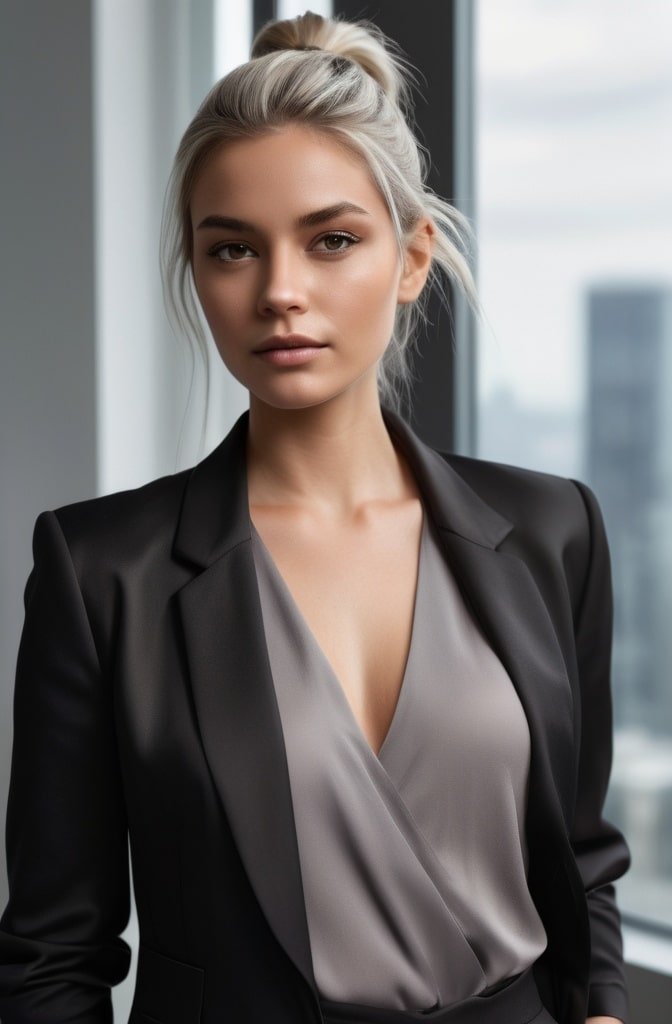
This style plays with contrast—sleek and controlled at the front, wild and carefree in the actual ponytail. Brush the front and sides of your hair back smoothly, applying a bit of gel or pomade to tame flyaways.
Once you’ve gathered your pony, that’s where the messiness comes in. Tease the ponytail itself, spritz with texturizing spray, and embrace the volume. The juxtaposition of sleek roots and messy ends makes for a look that works in practically any setting, from boardrooms to bars.
8. The Double-Textured Pony
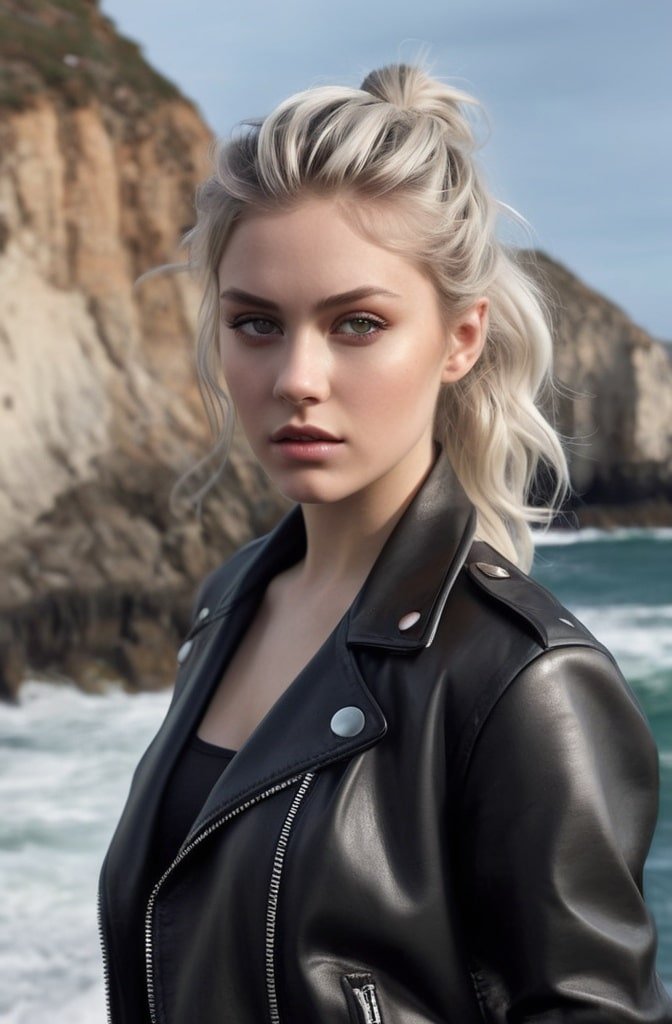
This look is all about contrasting textures. Start by sectioning your hair horizontally—the top half will become your ponytail, while the bottom half stays down. Tie the top section into a messy pony, leaving the ends to blend with your loose bottom half.
The effect creates an illusion of thicker, fuller hair with minimal effort. Its particularly flattering if you have finer hair or are growing out layers. Play with the placement of the pony to find what’s most flattering for your face shape.
9. The Twisted Messy Pony
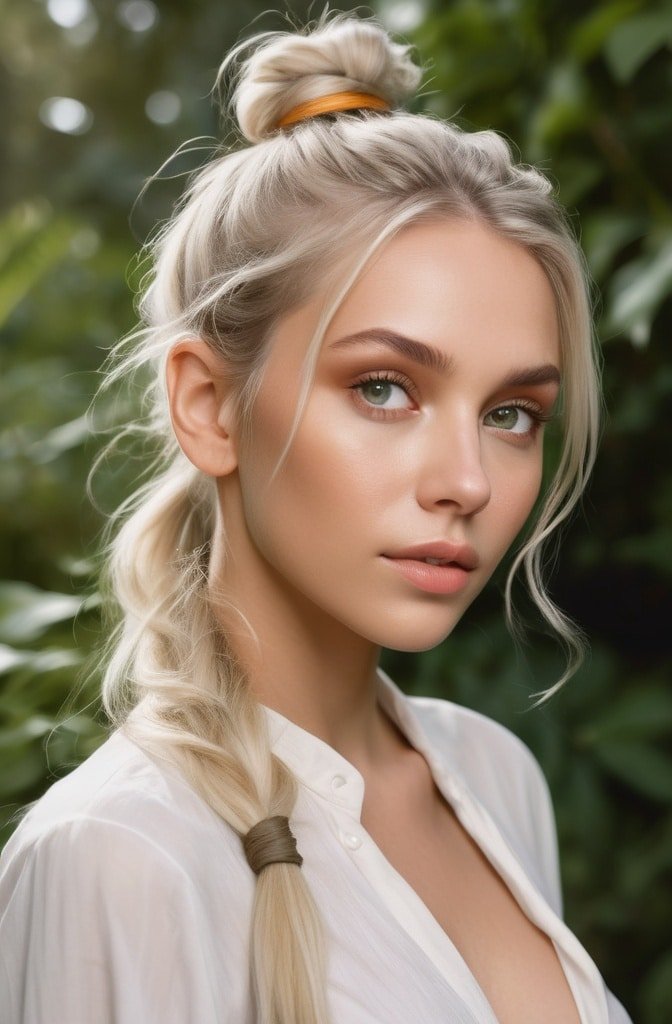
Add some subtle intricacy to your messy pony with twisted sections. Before securing your ponytail, take small sections from each side of your head and twist them back toward where your pony will sit.
Once you’ve incorporated these twisted sections, secure everything together into your ponytail. The twists add visual interest and help keep shorter layers or bangs contained within the style. Gently loosen the twisted sections for that lived-in feel.
10. The Knotted Pony
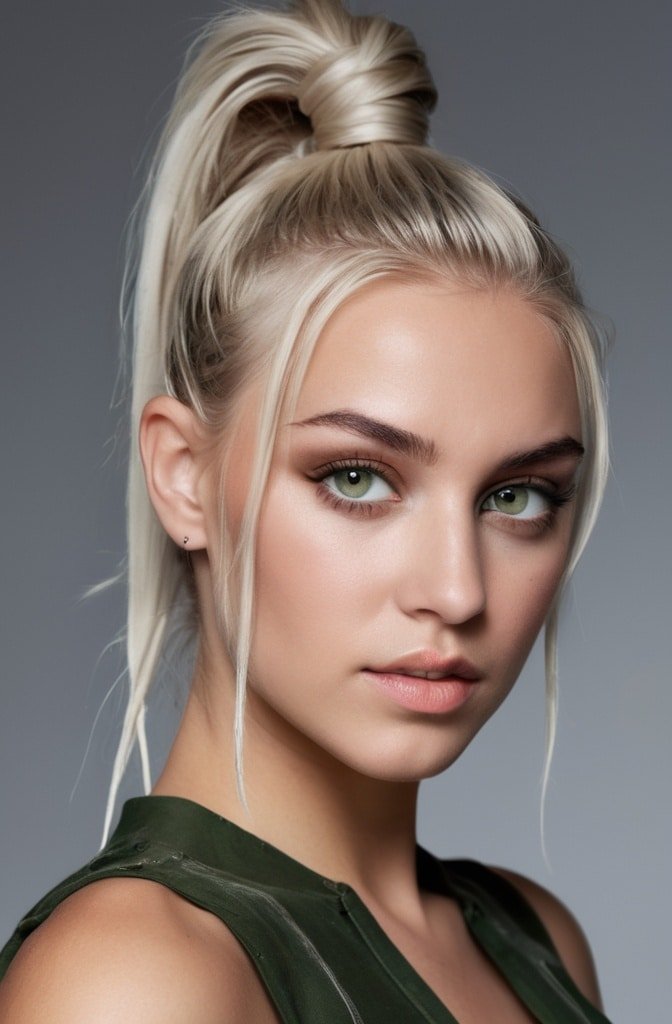
Instead of using an elastic, try knotting your hair for a truly unique messy ponytail. Divide your gathered pony into two sections and literally tie them in a knot—you might need to do this 2-3 times depending on your hair’s thickness and slipperiness.
Secure the knot with bobby pins hidden within your hair. This technique works best on medium to thick hair with some texture. If your hair is super straight or fine, rough it up with texturizing spray first so the knot holds better.
11. The Messy Loop

This style creates the illusion of shorter hair without the commitment. Create your ponytail as usual, but on the final pull-through, don’t pull your ends all the way through the elastic. This creates a loop with ends sticking out at the top.
Mess up the loop by gently tugging at various sections. The beauty of this style is that it keeps long hair off your neck while creating a stylish, undone effect. Its perfect for hot summer days or workout sessions!
12. The Disconnected Pony
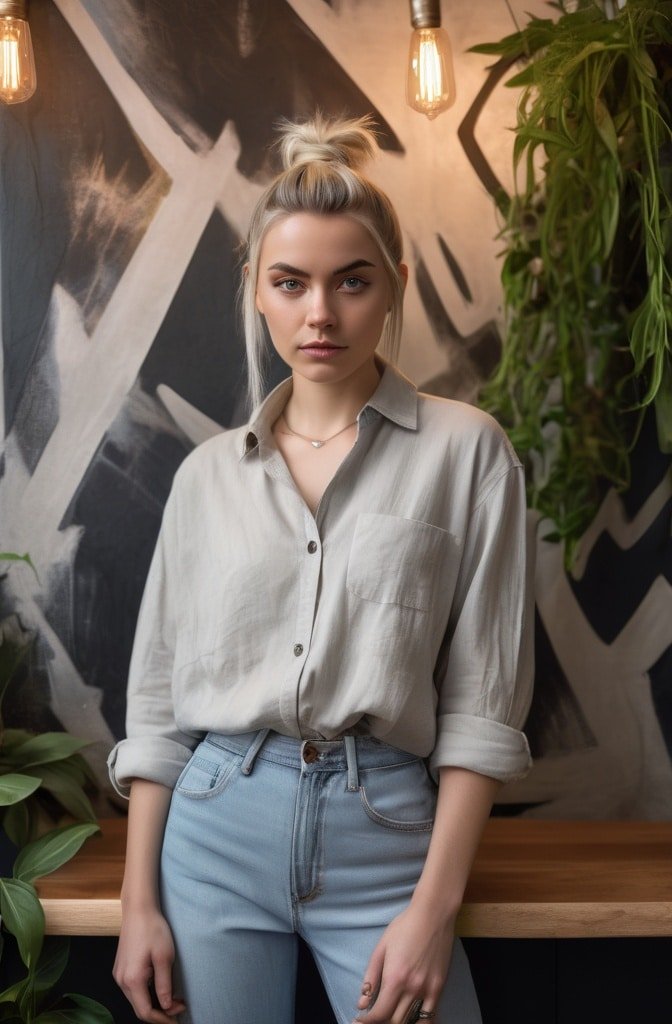
This edgy take on the messy pony features deliberately disconnected sections. Create your base ponytail, then pull out small sections throughout and reposition them, securing with additional small clear elastics or bobby pins.
The goal is to create a ponytail that looks like it’s coming apart in the most artistic way possible. It’s organized chaos at its finest! This style photographs beautifully and is perfect for special occasions when you want something beyond the basic pony.
13. The Crimped Messy Pony
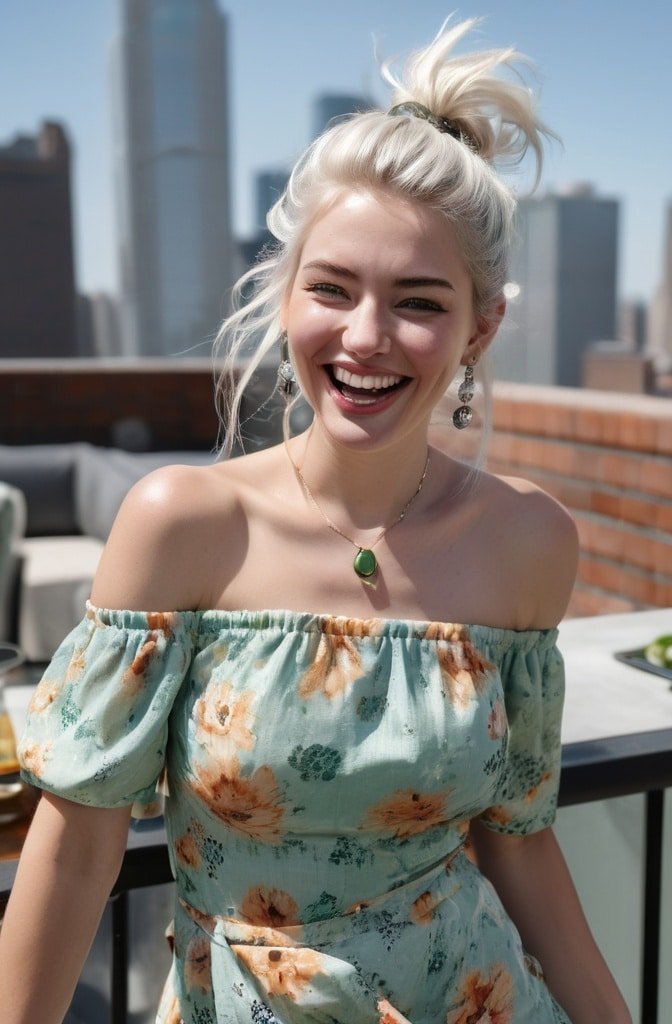
Bring back the 90s with a modern twist! Before gathering your hair, use a crimping iron on random mid-shaft to end sections. Don’t crimp everything—the randomness keeps it current rather than costumey.
Gather your hair into a ponytail, allowing the crimped sections to create natural texture and volume. The contrast between crimped and straight pieces adds dimension that makes fine hair look much fuller. Its a unexpected texture that makes people look twice!
14. The Accessorized Messy Pony

Sometimes the perfect ponytail just needs a little something extra. Create your favorite messy pony style, then add accessories like leather cords wrapped around the base, decorative bobby pins arranged artistically, or even small fresh flowers tucked into the elastic during summer.
The key is choosing accessories that enhance rather than compete with the messy texture. This style allows you to express your personality and coordinate with your outfit while maintaining that effortless foundation.
15. The Wrapped Messy Pony
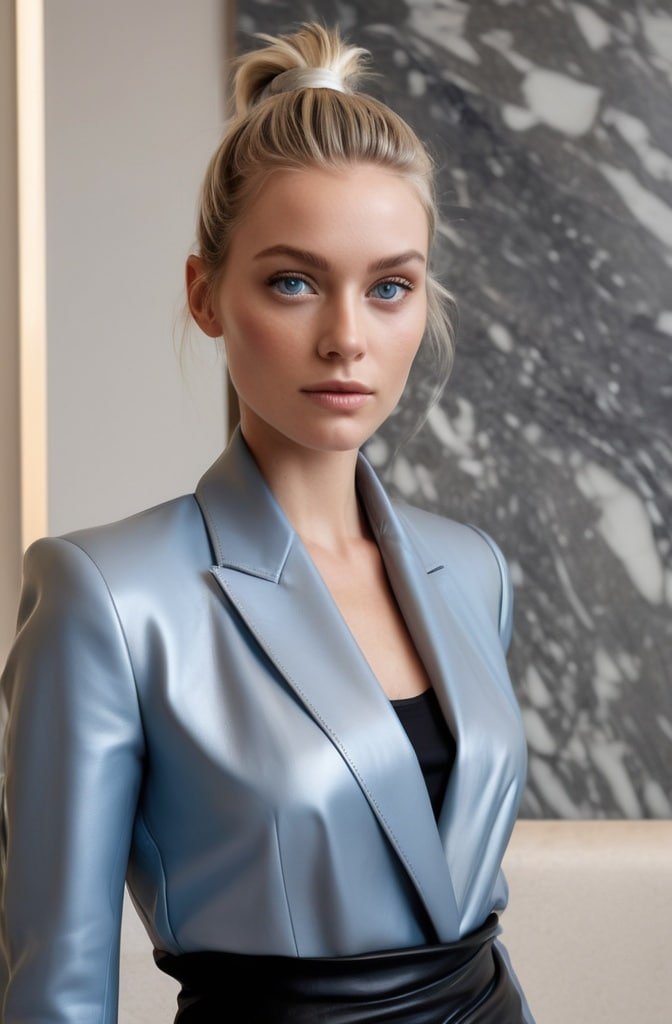
Elevate your messy ponytail by wrapping a section of hair around the elastic. But instead of the traditional smooth wrap, create a messier version by loosely twisting the section before wrapping it around. Don’t worry about making it neat—the imperfection adds character.
Secure the wrapped section with a bobby pin placed underneath the ponytail where it won’t be visible. This small detail makes a big difference in polishing your messy style without making it look too “done.”
16. The Zigzag Part Messy Pony
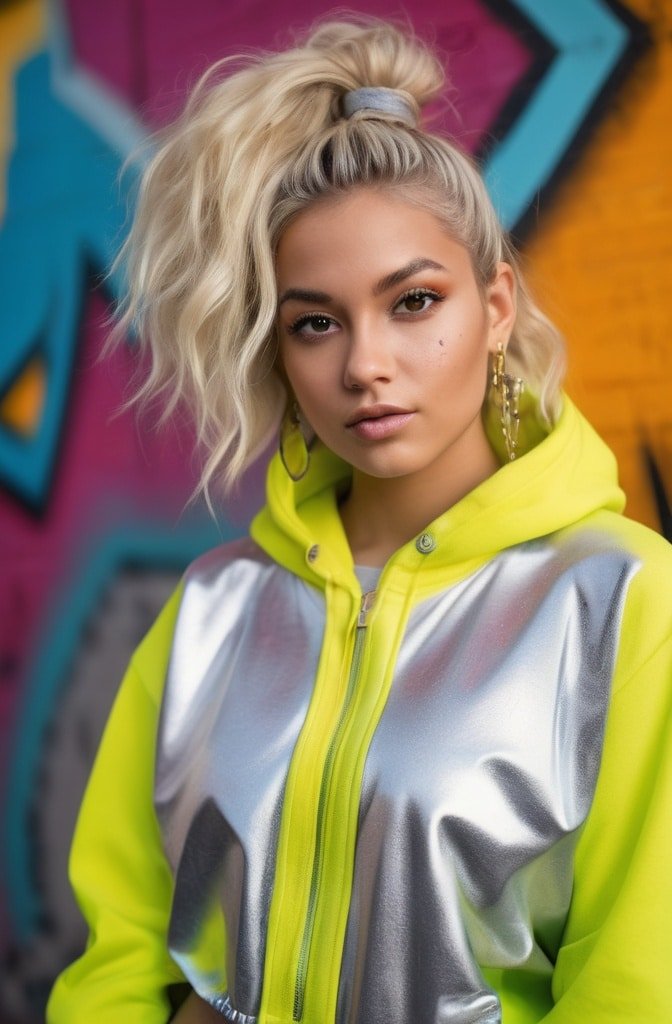
Add some 2000s nostalgia to your messy pony with a zigzag parting. Use the pointed end of a rattail comb to create a zigzag part before gathering your hair into your ponytail. The unexpected parting adds visual interest to what would otherwise be a standard style.
This works particularly well with the high messy pony, creating a fun contrast between the precise part and the deliberately messy texture of the ponytail itself. Its a small detail that makes your entire style look more intentional.
17. The Teased Crown Pony
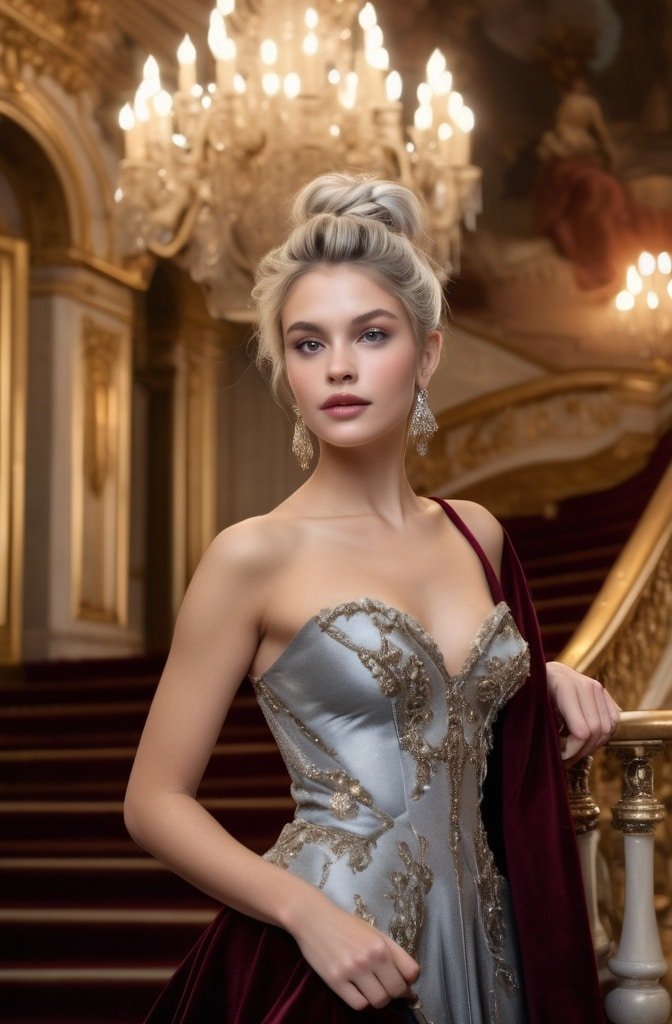
Channel your inner Brigitte Bardot with major volume at the crown leading into a messy mid-height ponytail. Section off the hair at your crown and tease it thoroughly before smoothing just the surface. The goal is height that transitions seamlessly into your pony.
Gather all your hair, including the teased section, and secure at mid-height. The contrast between the voluminous crown and the messier ponytail creates a seductive, retro-inspired look that’s perfect for date nights or special events.
18. The Upside-Down Messy Pony

Flip your ponytail game on its head—literally! Bend forward and brush your hair toward the crown of your head from underneath. Secure your pony at the crown while still tilted forward, then stand up straight and adjust as needed.
This technique creates incredible volume at the crown and a ponytail that cascades beautifully. The upside-down method helps prevent the dreaded “hair dent” that can happen with traditional ponytails and distributes the weight more comfortably.
19. The Segmented Pony
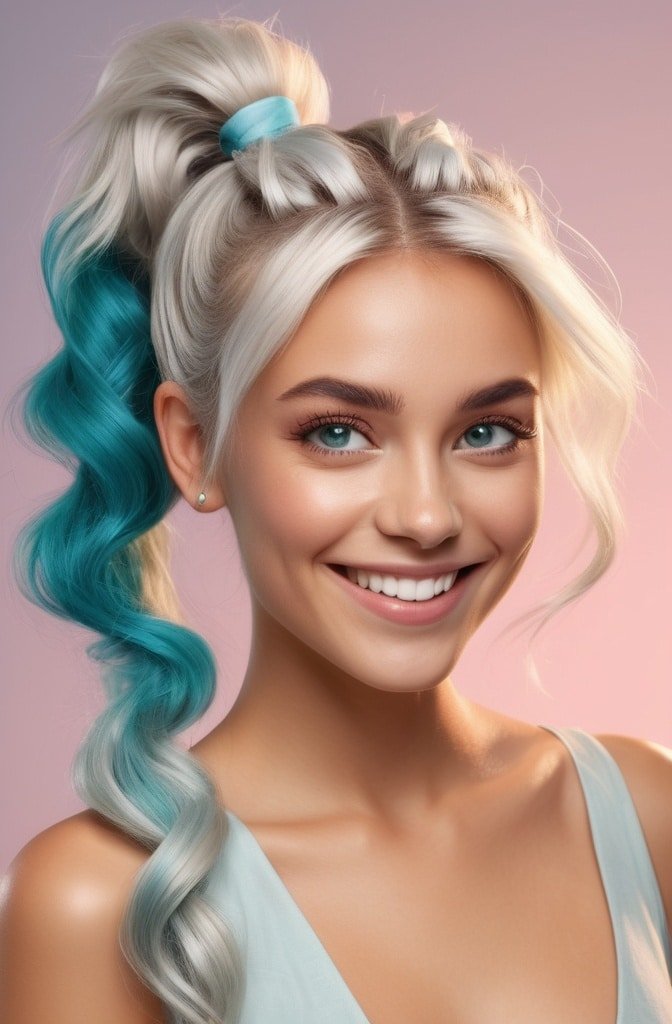
Create a ponytail with dynamic movement by segmenting it into multiple connected sections. Start with your base ponytail, then add additional elastics every few inches, but—unlike the bubble pony—don’t pull the sections apart.
Instead, between each elastic, gently twist or braid the segment before adding the next elastic. This creates a ponytail with varying textures and shapes throughout its length. Keep it messy by loosening sections and allowing pieces to escape strategically.
20. The Faux-Hawk Messy Pony
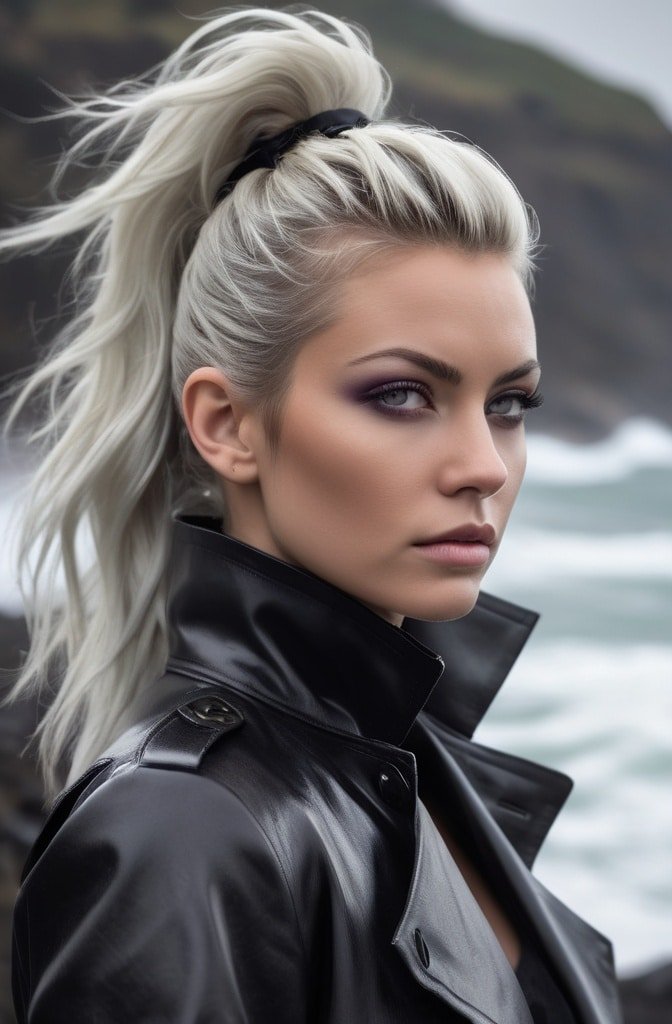
Create an edgy faux-hawk effect with a series of messy mini-ponytails aligned down the center of your head. Section your hair from forehead to nape into 3-5 sections, creating a small, messy ponytail with each one.
The ponytails should be close enough to blend together somewhat, creating the illusion of a continuous textured style. This punk-inspired look is surprisingly versatile and can be made more or less dramatic depending on how much you tease each section.
21. The Banded Messy Pony
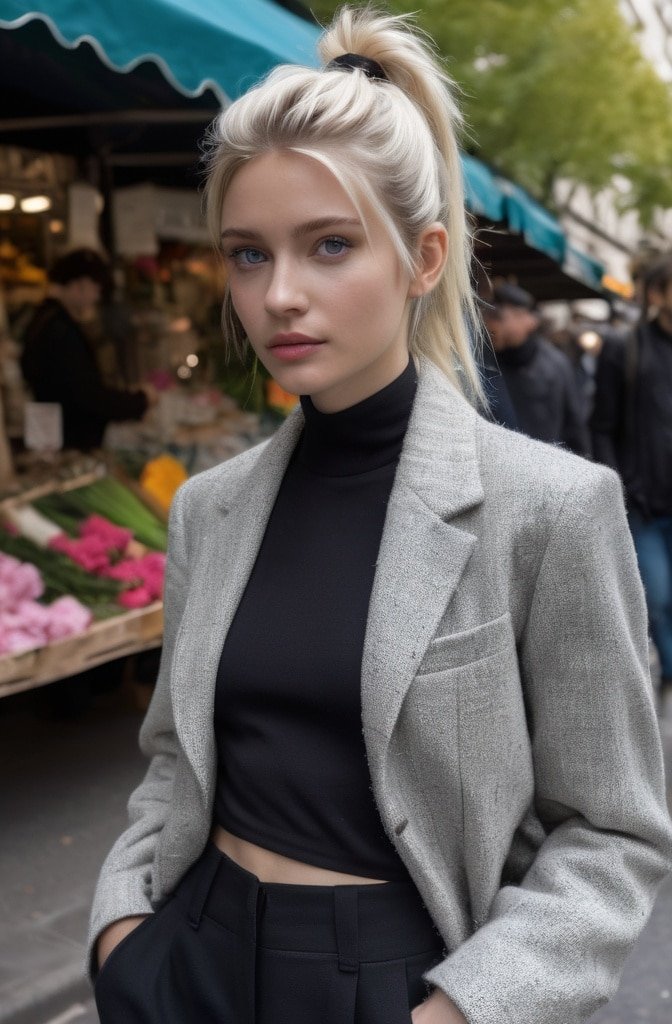
Transform your messy pony by strategically placing multiple thin elastics or decorative hair bands along its length. Unlike the bubble ponytail, place these bands closer together (about an inch apart) and don’t pull the sections out as dramatically.
The result is a ponytail with subtle texture variations that catches the light differently throughout. This style works beautifully on highlighted or balayage hair, as the bands emphasize the color transitions.
22. The Mixed-Texture Pony

Play with contrasting textures in one ponytail by straightening some sections and curling or waving others before gathering everything together. The visual interest created by these varied textures makes even a simple ponytail look intentional and editorial.
Focus the straighter pieces underneath and the more textured pieces on top for maximum impact. This technique is especially effective for those with naturally mixed texture hair who usually fight to make everything uniform.
23. The Flipped Messy Pony
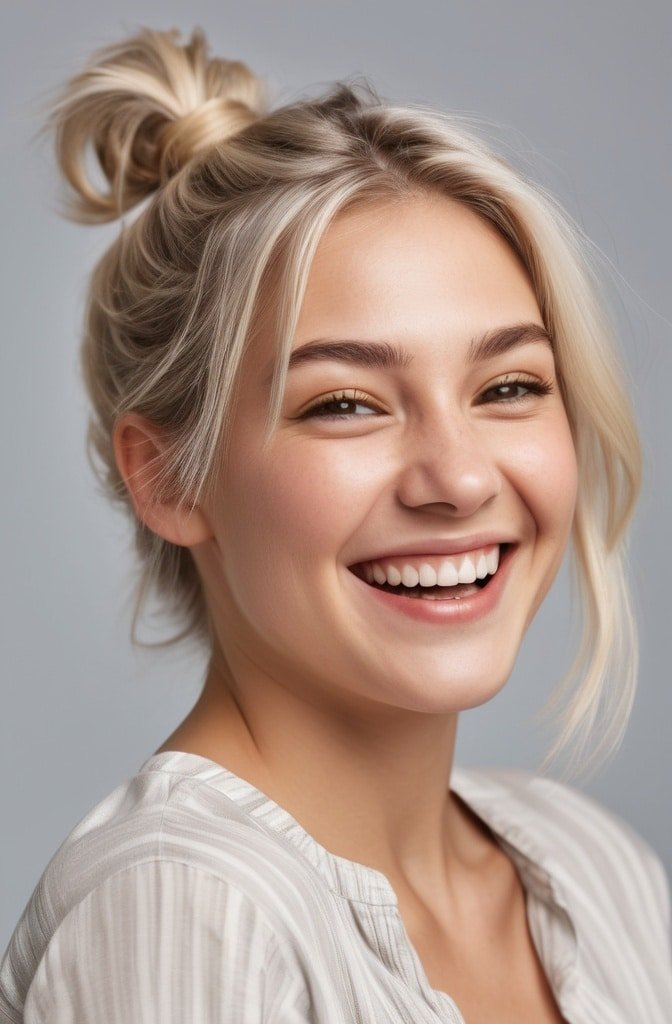
Give your messy ponytail a retro twist by flipping the ends outward. Create your ponytail first, then use a large barrel curling iron to curl the ends away from your head in that classic 60s flip style.
Mess it up by running your fingers through the flipped ends and adding texturizing spray. The combination of the structured flip and the messier texture creates a playful, vintage-inspired look that works for both casual and dressier occasions.
24. The Woven Messy Pony
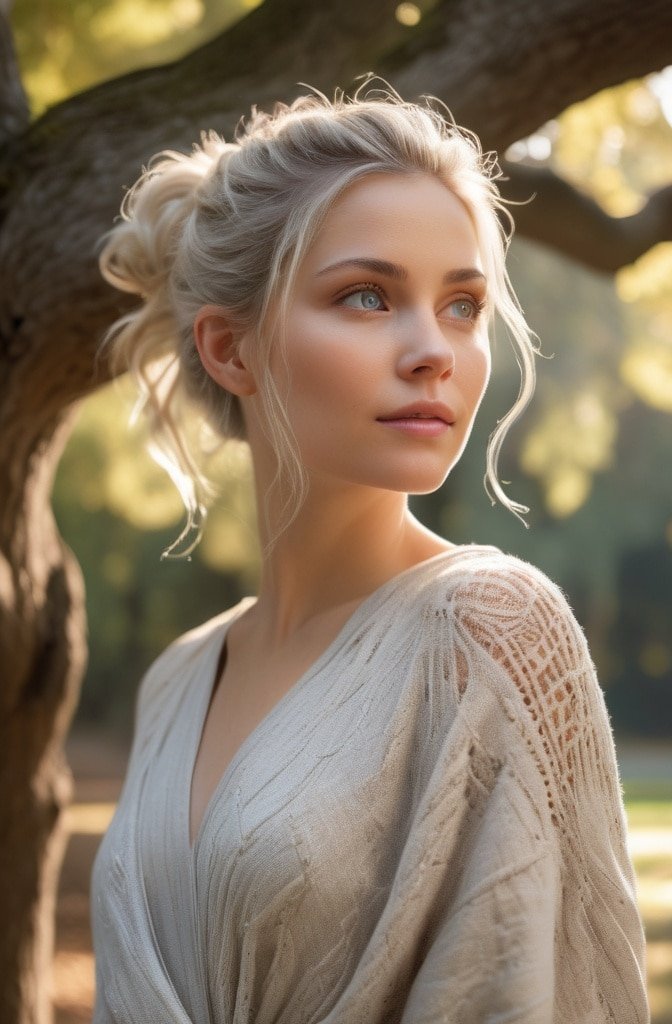
This intricate-looking style actually isn’t that difficult. After creating your base ponytail, divide it into three large sections. Loosely braid or twist each section, then gently weave these three sections together—not in a traditional braid pattern, but in a more random, artistic weaving.
Secure the ends and then strategically loosen sections throughout for that perfect messy finish. This technique creates a ponytail that looks complex but maintains that coveted undone quality.
25. The Two-Minute Bedhead Pony
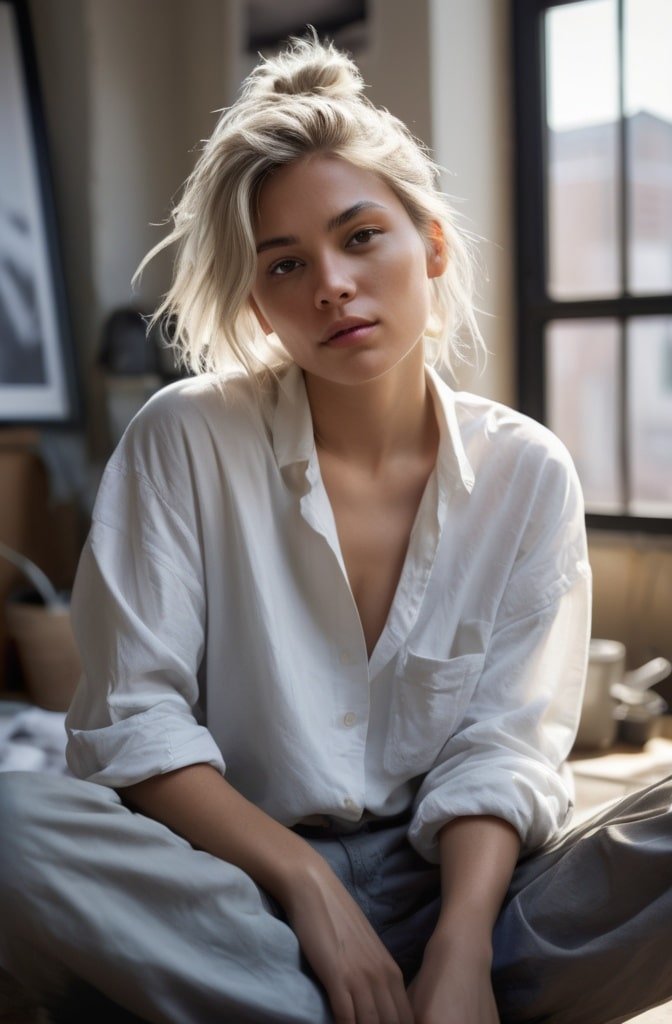
Sometimes the best messy ponytails truly are the quickest ones. This style embraces your natural bedhead texture with minimal intervention. Simply gather your hair with your head tilted slightly forward, secure it at your preferred height, and then use your fingers to rough up the crown slightly.
The beauty is in the authenticity—this isn’t “styled” messiness but genuine lived-in texture. It works best on second or third-day hair with some natural oils to provide grip and definition. Add dry shampoo only if absolutely necessary to maintain that perfectly imperfect texture.
Messy ponytails are the ultimate hair hack—they’re quicker than most styles but offer endless variations to keep your look fresh. The key to mastering any messy pony is embracing imperfection and making it work for you. Remember that “messy” doesn’t mean careless—it means strategically undone in the most flattering way possible.
26. The Butterfly Cut
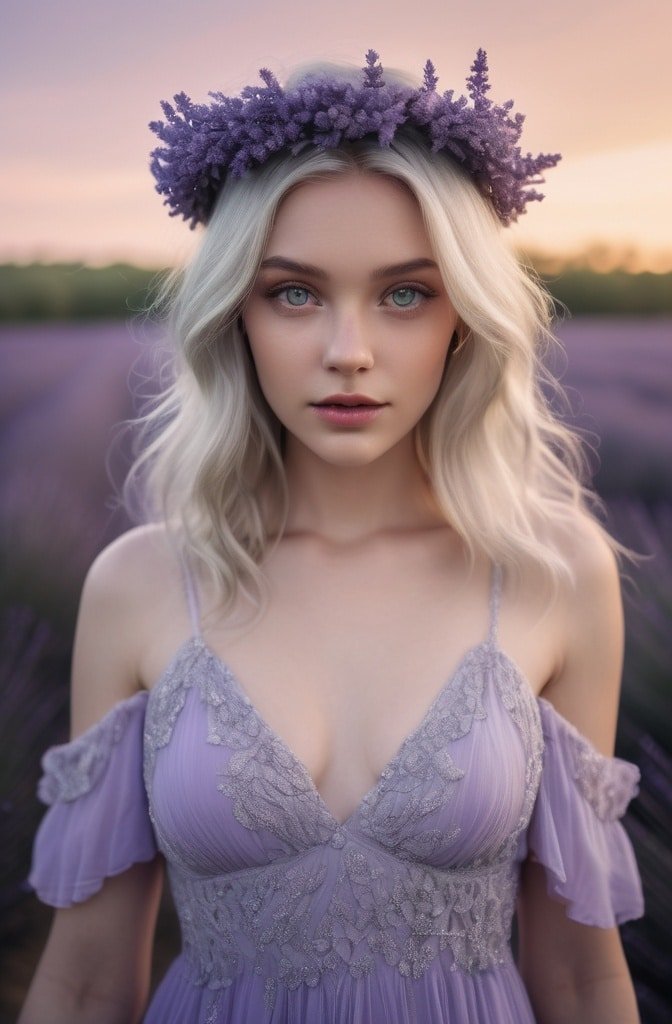
The butterfly cut has taken social media by storm with its beautiful movement and face-framing layers. This two-tier haircut features shorter layers on top that “float” above longer lengths, creating a butterfly wing-like effect when you move your head.
The shorter top layer typically hits around the chin or collarbone while the bottom layer maintains your desired length. When styled with waves or curls, the separation between layers creates gorgeous dimension. It works on all hair types but especially shines on medium to thick hair where the layers can really take flight.
27. The Bixie Cut
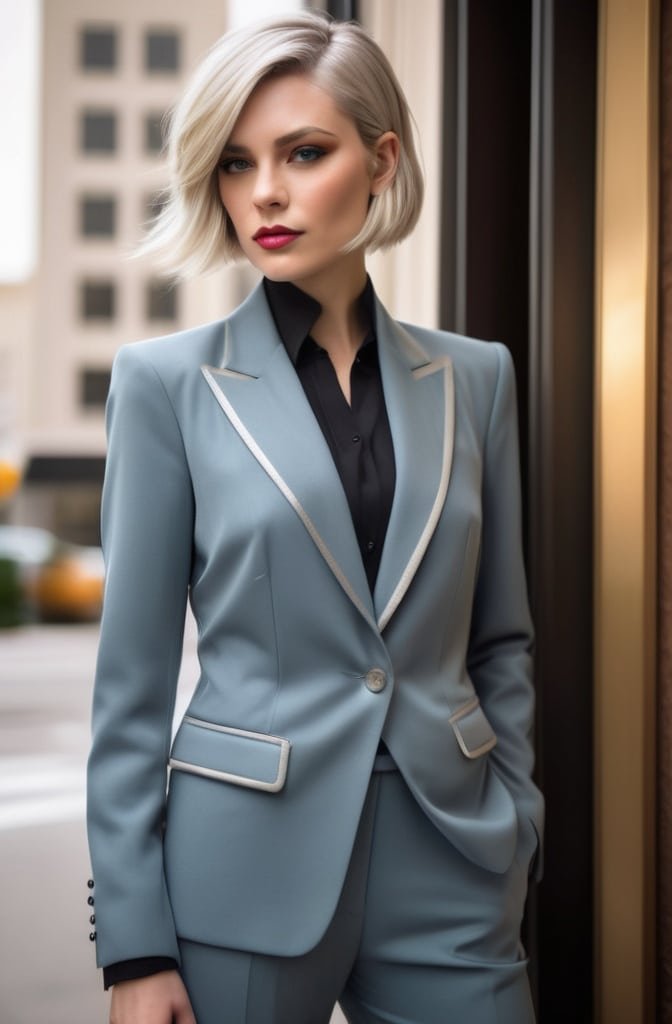
Can’t decide between a bob and a pixie? The bixie combines the best of both worlds. It features the shortened length and cropped sides of a pixie but maintains slightly more length throughout, especially in the front, similar to a bob.
This hybrid cut offers more styling versatility than a traditional pixie while still providing the ease and edge of a shorter style. It works well with natural texture and can be styled sleek or tousled depending on the occasion. The bixie is perfect for those wanting to go short without committing to a full pixie cut.
28. The Modern Mullet
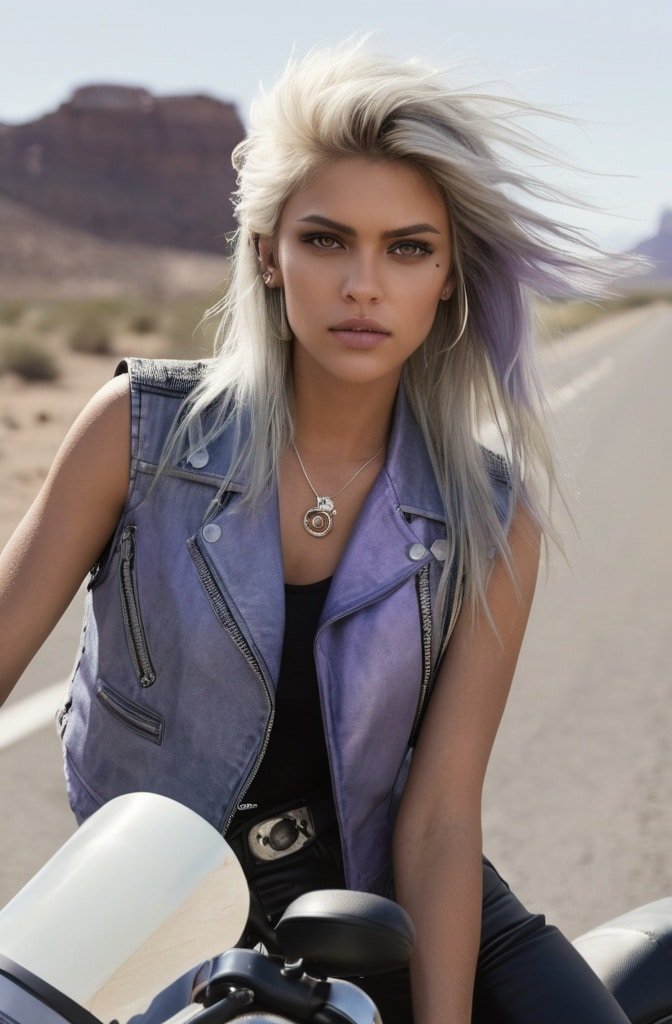
The mullet has made a serious comeback, but with contemporary updates that make it more wearable and fashion-forward. Today’s mullet maintains the “business in the front, party in the back” concept but with more blended transitions and personalized proportions.
This cut features shorter layers around the face and crown with noticeably longer lengths at the nape. The modern version incorporates texturizing techniques that create movement rather than the stark contrast of the 80s original. It works particularly well with natural waves or curls that enhance the cut’s inherent texture.
29. Curtained Crop
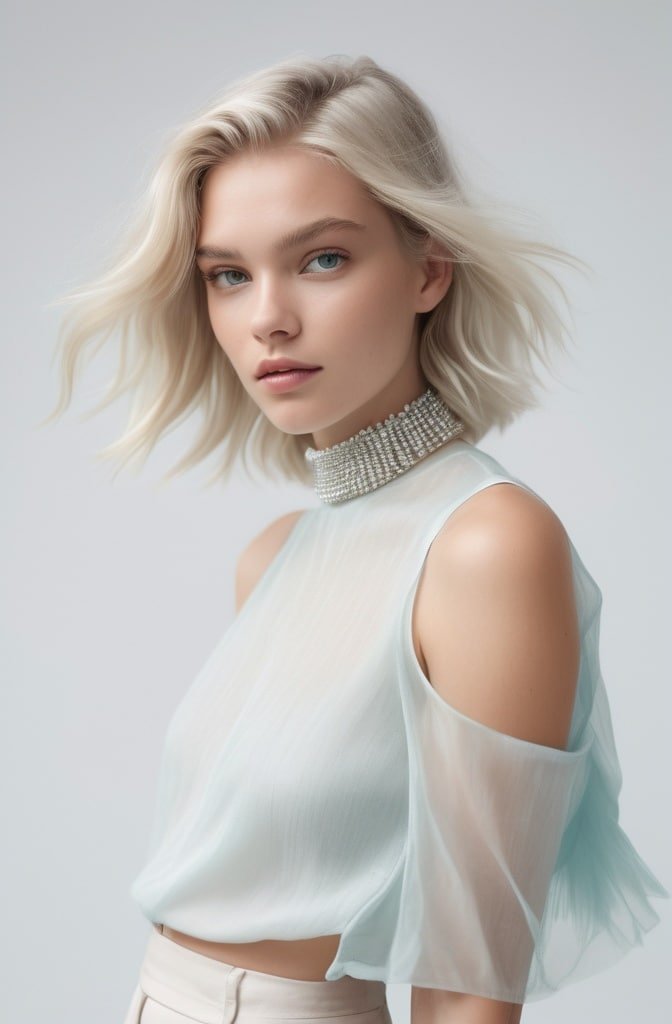
This androgynous style combines very short sides and back with a longer top section that’s cut to fall forward in a curtain-like effect across the forehead. Unlike the French crop, this style features a softer, less blunt fringe that can be parted in the center or slightly off-center.
The contrast between the closely cropped sides and the longer, forward-styled top creates an interesting silhouette that works on many face shapes. It’s particularly flattering for highlighting cheekbones and jawlines while requiring minimal styling effort.
30. Italian Bob
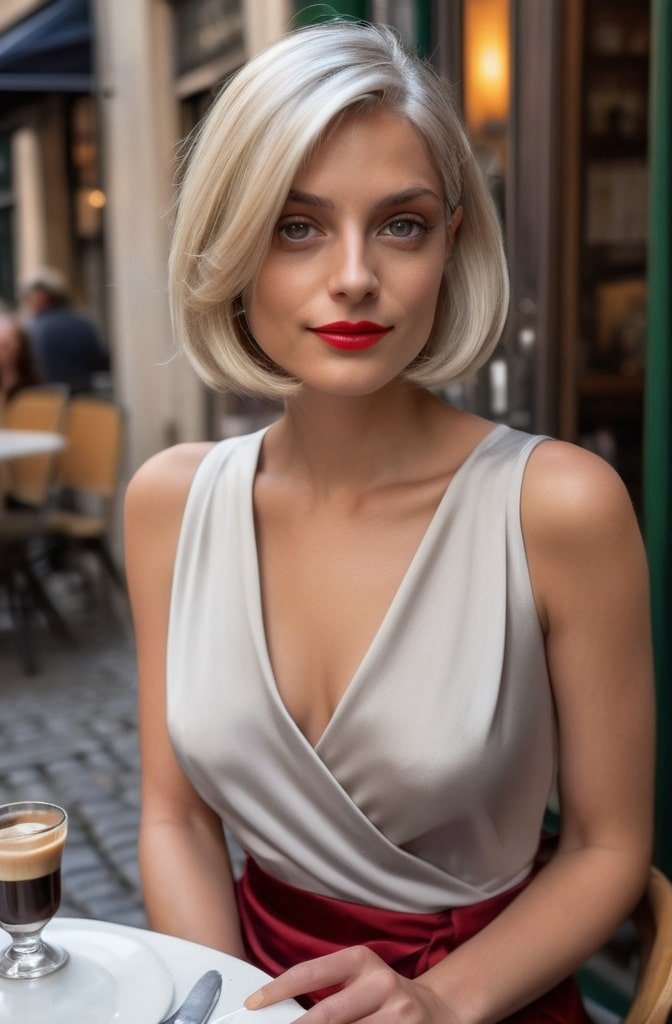
The Italian bob (sometimes called the “Italian” or “Italo bob”) is a sophisticated take on the classic bob that sits right at jawline length. What makes it distinctive is the subtle inward curve at the ends that gently hugs the jawline rather than hanging straight down or flipping out.
This precisely cut style works best on straight to slightly wavy hair and often incorporates subtle internal layers for movement without disrupting the strong perimeter. The result is chic, fashion-forward, and unmistakably European in its sensibility.
31. Braided Mohawk Updo
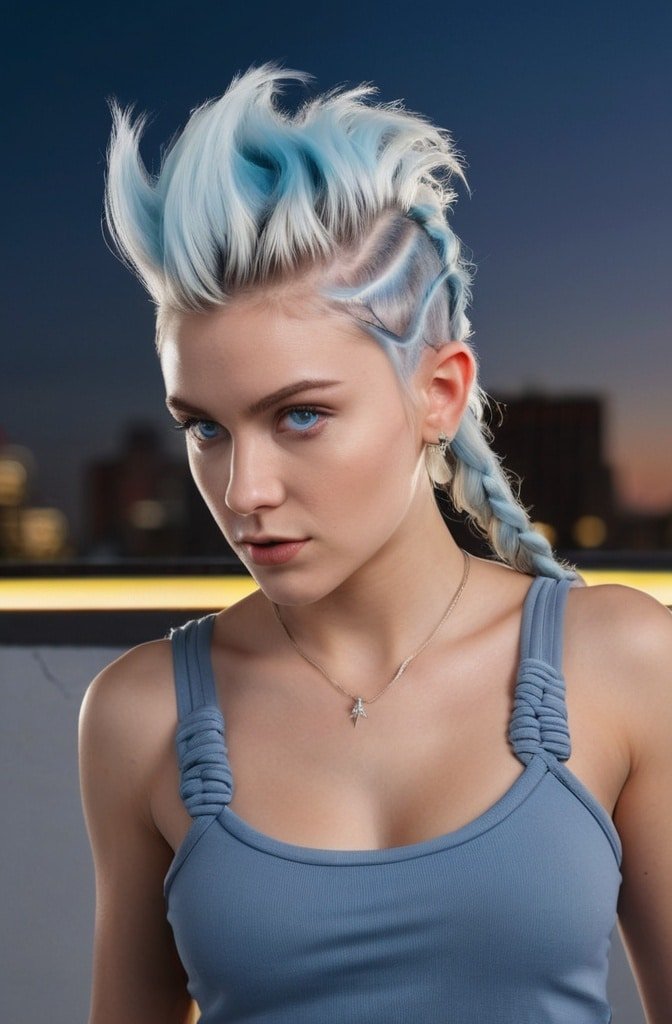
This bold style creates the visual effect of a mohawk without requiring any shaving. The sides are braided tightly against the scalp—usually in cornrows or Dutch braids—directing all hair toward the center of the head. The middle section is then styled upward and can be left loose, twisted, or formed into multiple small buns for added dimension.
The contrast between the sleek, tight braids and the voluminous center creates a dramatic look that’s perfect for special events or when you want to make a statement. This versatile protective style works beautifully on natural hair and can be customized with accessories or decorative braiding patterns.
32. Bubble Braids
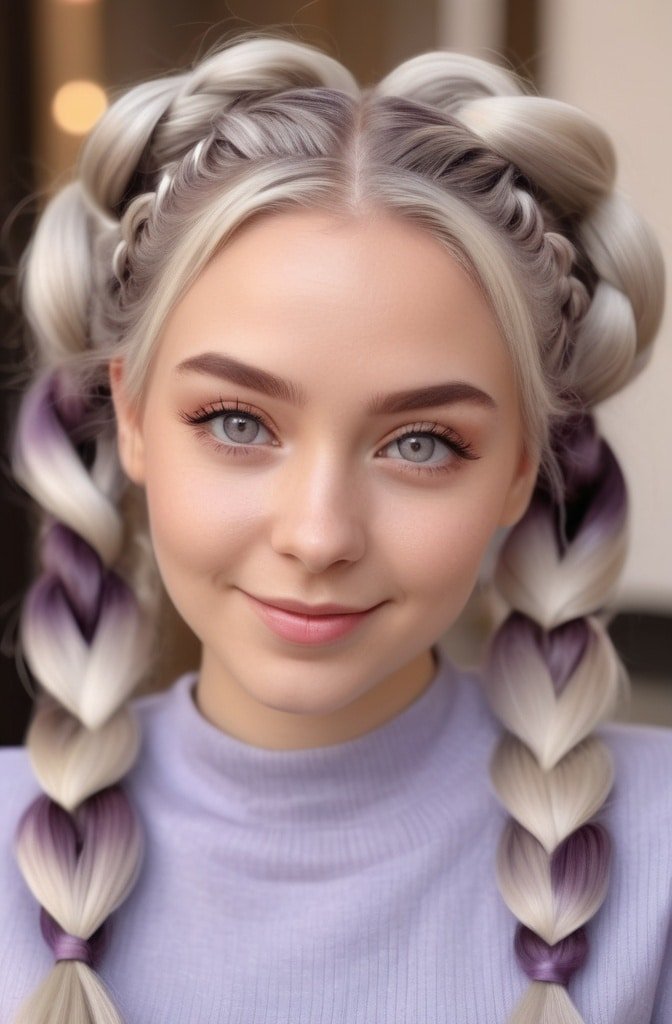
This playful style puts a modern spin on traditional braiding. Instead of weaving hair, sections are tied with small elastics placed at regular intervals down the length. The hair between each elastic is then gently pulled outward to create “bubbles” of volume.
Multiple bubble braids can be created across the head for a full style, or a single statement bubble braid can complement otherwise loose hair. This technique works on most hair lengths past the shoulder and can be adapted for half-up styles as well.
33. Crown Twists with Finger Coils
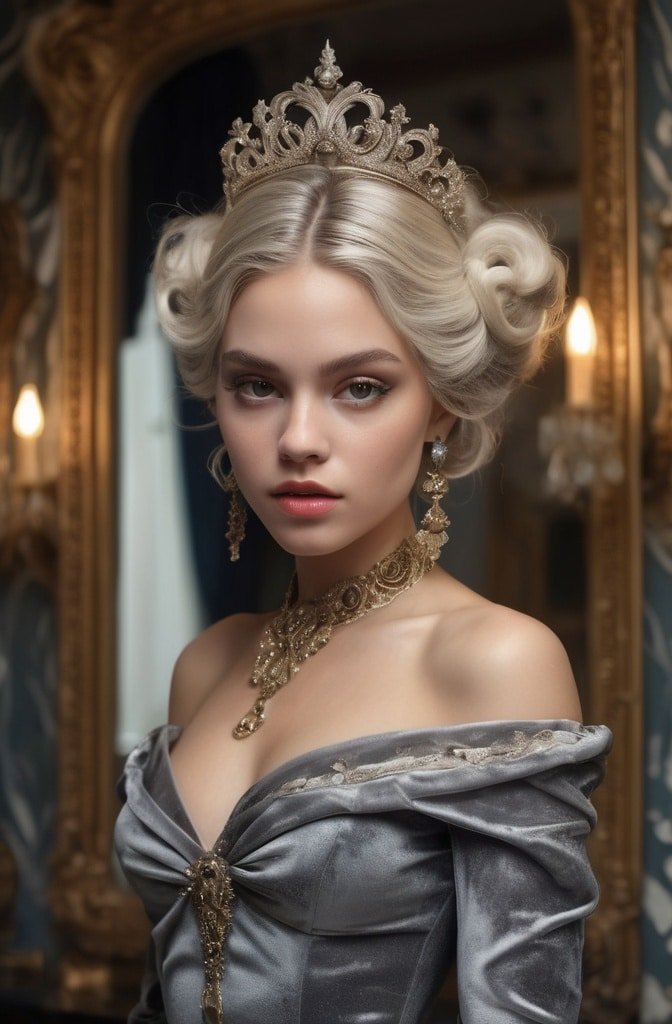
This natural hair style combines two different texturing techniques for a beautiful dimensional look. The upper portion of the hair is separated and twisted into flat two-strand twists that wrap around the crown of the head like a coronet.
The remaining hair is then styled into defined finger coils—small, springy curls created by wrapping small sections of dampened hair around the finger. The combination of the structured twists and the free-form coils creates wonderful textural contrast while protecting natural hair.
34. Tucked Bob
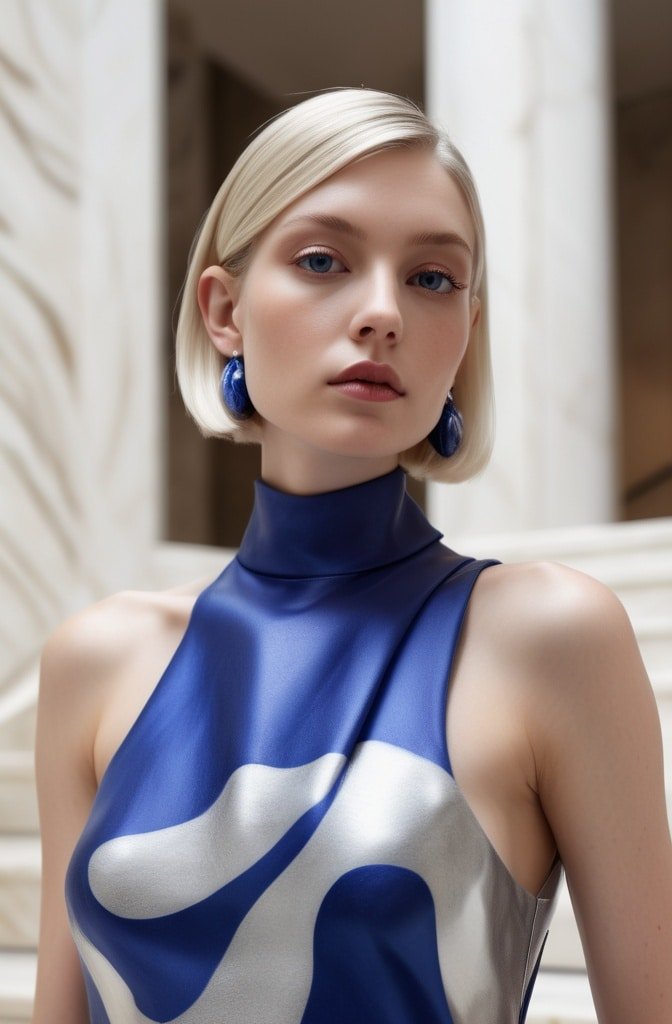
This clever style creates the illusion of a bob without cutting your hair. Longer hair is styled with a deep side part, then the length is rolled under and tucked into itself at the nape, typically secured with well-hidden pins or small clear elastics.
From the front and sides, it appears to be a classic bob, but the back reveals the tucking technique. This style is perfect for those who want to experiment with shorter looks without commitment or as a sophisticated way to manage longer hair for special events.
35. Rope Twist Updo
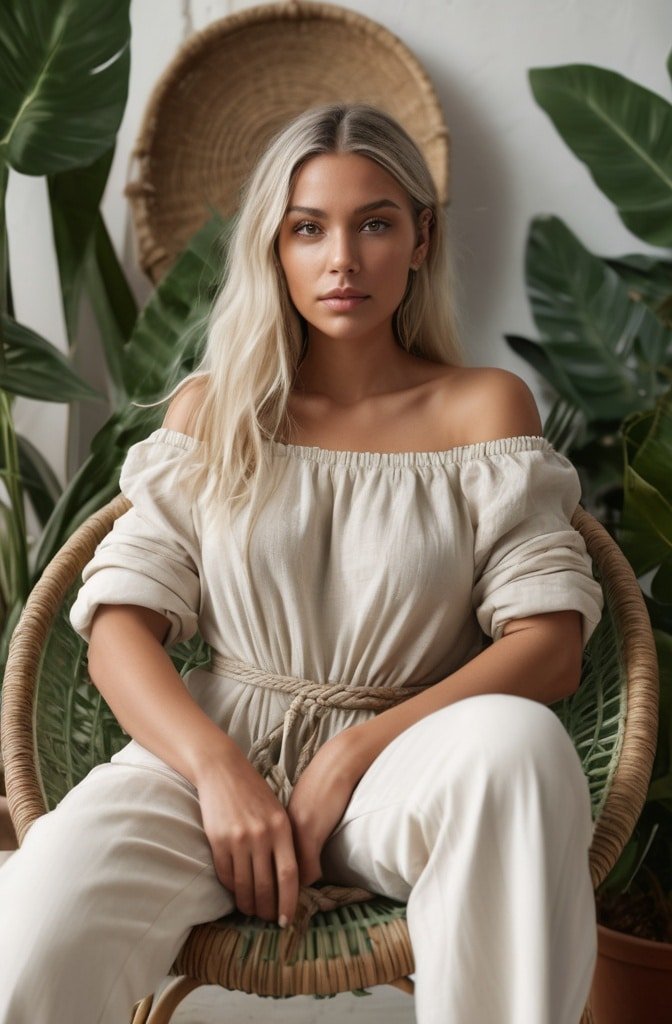
This architectural style features sections of hair twisted into tight rope-like strands that are then arranged into complex patterns and secured to create a sculptural updo. Unlike regular twisting, rope twisting involves twisting two sections in one direction, then wristing them together in the opposite direction for maximum hold.
The finished style appears intricate yet clean, with defined lines created by the twisted sections. It works beautifully for formal events and can be customized with different placement and positioning of the twisted ropes.
36. Halo Braid with Loose Tendrils

This romantic style features a Dutch or French braid that circles the head like a crown or halo. The key difference from traditional crown braids is the intentional pulling out of wispy pieces around the face and nape to create a softer, more lived-in look.
These carefully placed loose tendrils frame the face beautifully and prevent the style from looking too severe or formal. The contrast between the structured braid and the delicate escaped pieces creates a balanced look that works for everything from weddings to weekend brunches.
37. Twisted Top Knot with Undercut Design
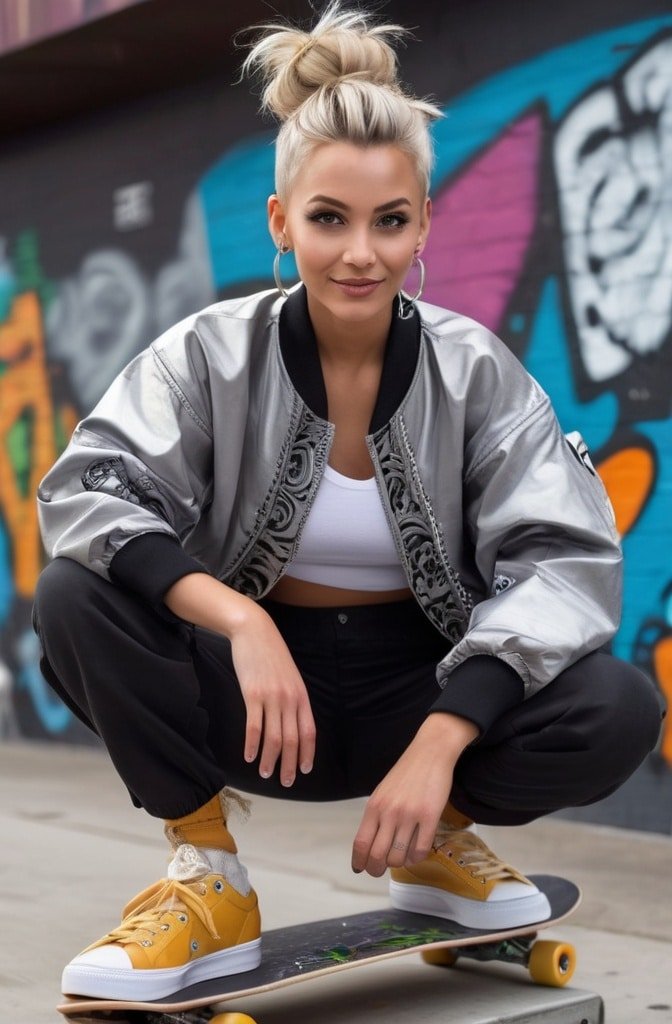
This edgy style combines a sleek twisted top knot with an undercut featuring a shaved design. The hair on top remains long enough to gather into a knot, while the sides and back (or just the nape area) are shaved close to the scalp with a geometric or artistic pattern cut into them.
When the hair is worn down, the undercut design is mostly hidden, but when styled up, the pattern becomes a focal point. This versatility offers essentially two looks in one: conservative when down, edgy when up.
38. Woven Updo
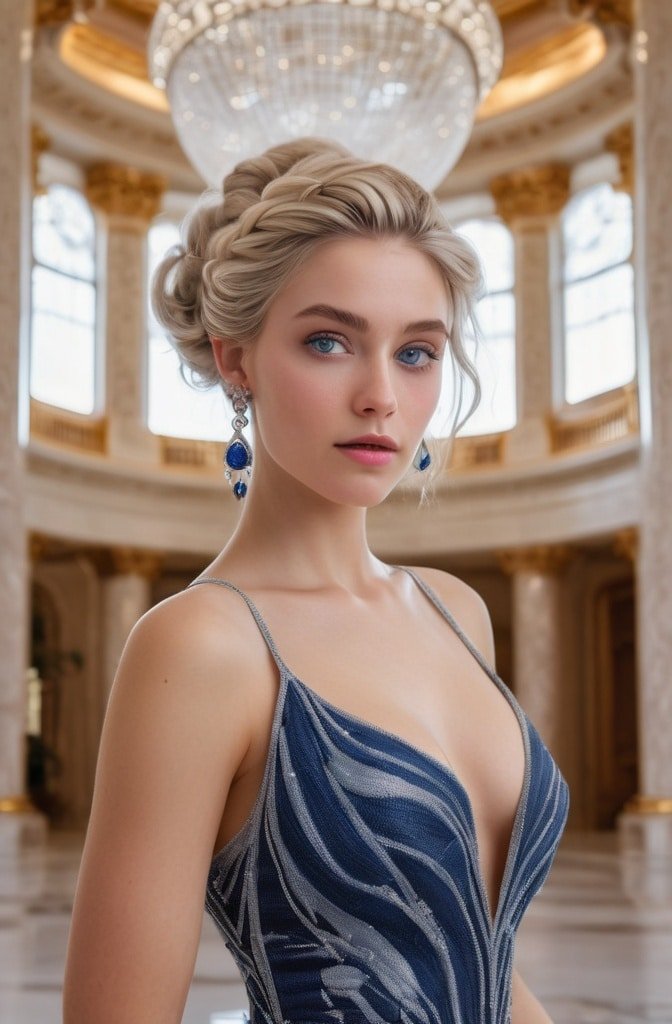
This intricate style involves literally weaving sections of hair over and under each other to create a basket-like pattern across the back of the head. Unlike braids that follow a specific pattern, woven styles can incorporate varying widths of hair and directional changes for a truly custom look.
The ends are typically tucked and pinned within the woven structure, creating a self-contained style that showcases the textural pattern. This technique works best on medium to thick hair with some natural texture and can be dressed up with small floral elements or decorative pins woven into the pattern.
39. Sculpted Finger Waves
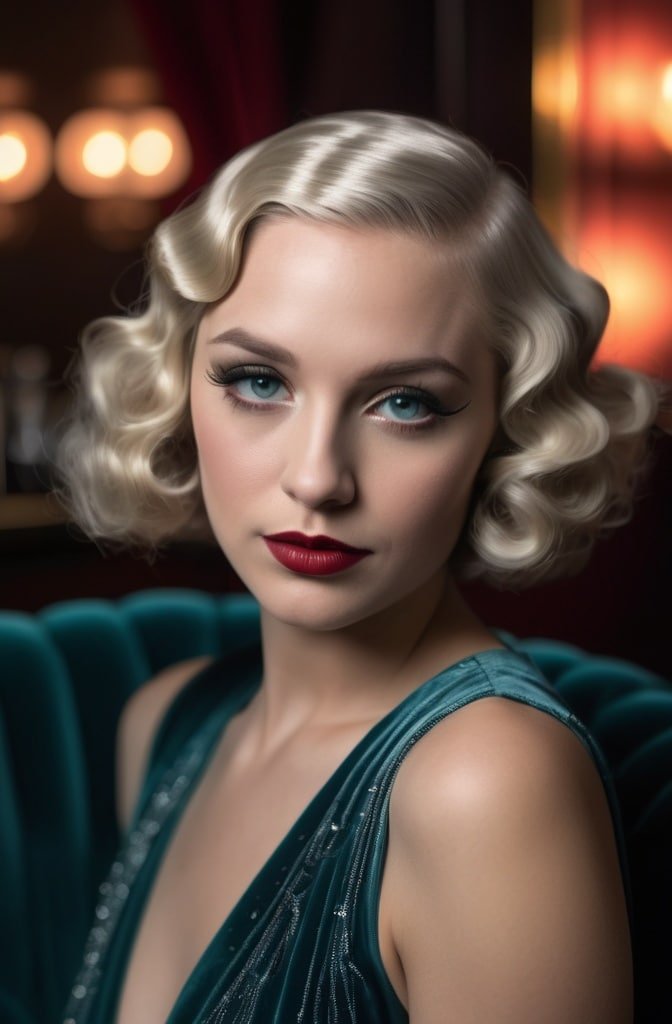
This vintage-inspired style brings back the glamour of the 1920s with a modern twist. Sculpted waves are created close to the scalp using a combination of styling products, combs, and sometimes heat tools to create defined, S-shaped waves across the head.
While traditional finger waves were usually done on very short hair, contemporary versions can be incorporated into longer styles as well, typically focused around the face and crown. The precision and shine of this technique creates a high-impact, red-carpet worthy look.
40. Stacked Spiral Updo
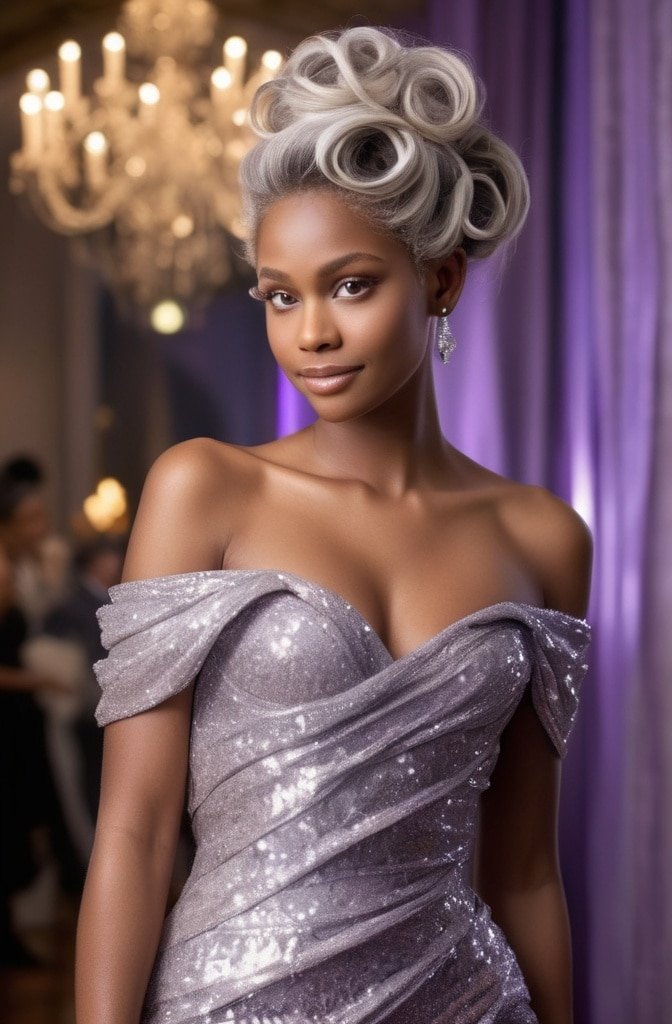
This show-stopping style features hair wrapped and pinned in ascending spiral shapes that stack upon each other up the back of the head. Starting at the nape, sections of hair are twisted into flat spiral shapes and pinned in place, with each new spiral positioned slightly above the previous one.
The result is a three-dimensional style with beautiful movement and architectural interest. This works particularly well for special events and photographs beautifully from all angles.
41. Side-Swept Cascading Twist

This elegant style begins with a deep side part and features twisted sections that gradually incorporate more hair as they move across the head. Unlike a French twist that culminates in a vertical roll, this style maintains a horizontal flow that cascades over one shoulder.
The twisted sections create structure while allowing for a romantic, flowing finish. It’s particularly flattering for oval and heart-shaped faces and makes a beautiful choice for formal events when you want something more unique than typical updos.

Tina Johnson | Fashion Mags Your ultimate style guide! Trendy tips, latest fashion news & inspiration to keep you chic & glamorous.

