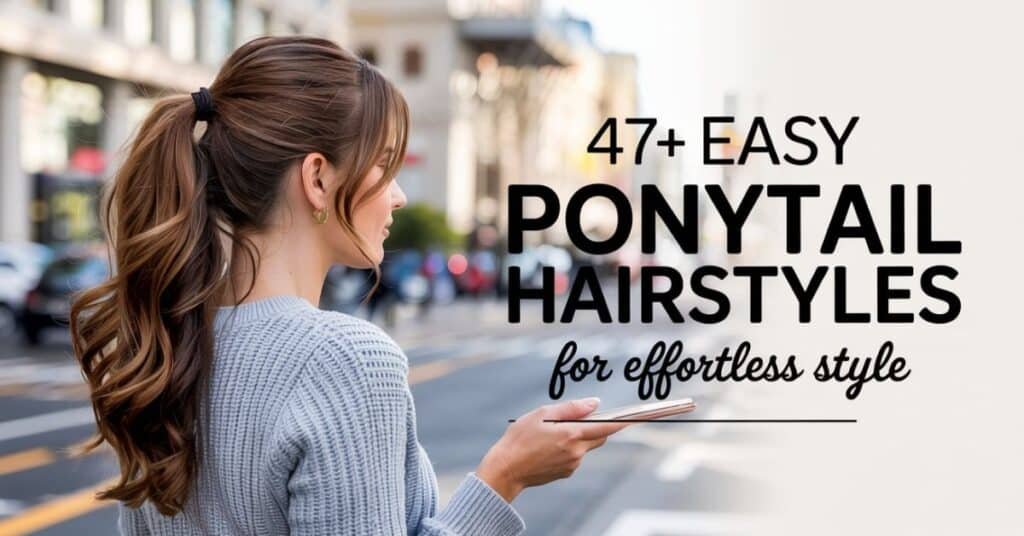
The humble ponytail our trusty companion on bad hair days and busy mornings shines in the world of Easy Ponytail Hairstyles. But this classic style doesn’t have to scream “I overslept” or “I’m headed to the gym.” With a few tweaks and tricks, your everyday pony can transform into a statement-making style that’s equal parts effortless and elegant.
I’ve spant years obsessing over hair techniques (probably too many hours on hair tutorials, if I’m honest). The good news? You don’t need professional skills to elevate your ponytail game. These 47+ styles range from quick morning fixes to more intricate options for special occasions, but they all share one thing: they’re totally doable at home.
1. The Classic Elevated Pony
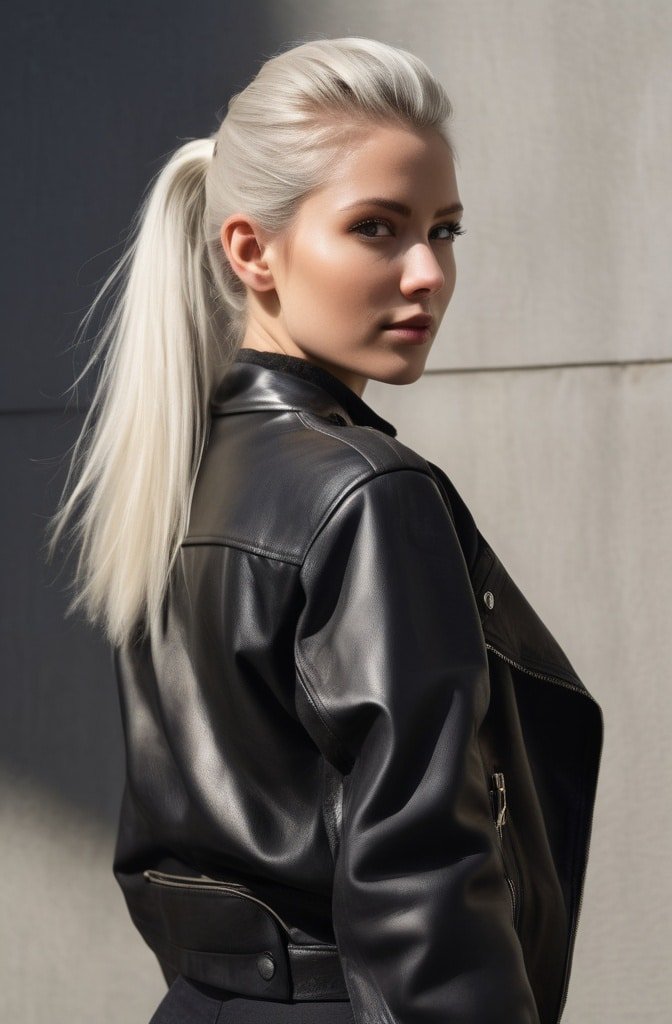
Sometimes the simplest update makes all the difference. Take your regular ponytail and lift it higher than you normally would—think crown of your head rather than mid-back. This instantly elongates your neck and gives your face a subtle lift.
The secret most stylists won’t tell ya? Tease the crown slightly before securing your pony. This creates volume and prevents that dreaded “flat head” look. Finish by wrapping a small section of hair around the elastic to hide it, securing with a bobby pin underneath. Instant polish in under 3 minutes.
2. The Bubble Ponytail
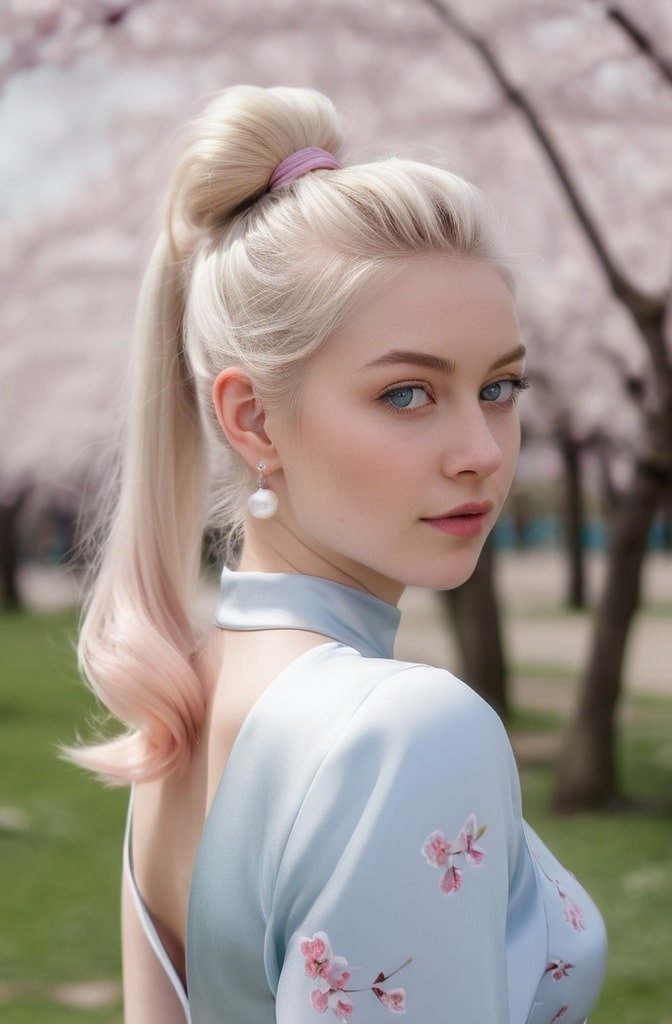
This Instagram-worthy style looks complicated but couldn’t be simpler. Start with a regular high ponytail secured with an elastic. Then, place additional hair ties every 2-3 inches down the length of your ponytail.
Gently pull apart each section between elastics to create “bubbles.” For extra oomf, slightly pancake each bubble by carefully tugging outward. Works amazing on both straight and curly hair, and looks way more intricate than the effort required.
3. The Twisted Low Pony
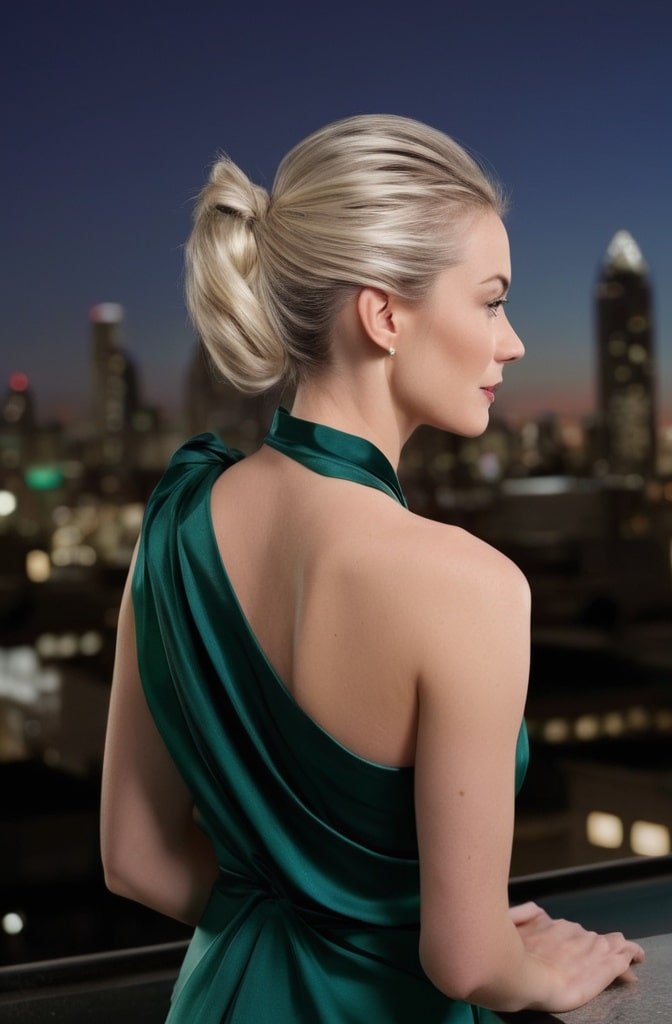
Perfect for those mornings when dry shampoo isn’t cutting it. Part your hair down the middle, then take a 2-inch section from each side of your face. Twist these sections away from your face, continuing until you reach the nape of your neck.
Secure both twisted sections with an elastic, then gather the rest of your hair into the same elastic to create a low ponytail. Its got that effortless romantic vibe, but takes literally 90 seconds once you get the hang of it. Looser tendrils around the face keep it from looking too “done.”
4. The Topknot-to-Ponytail Hybrid
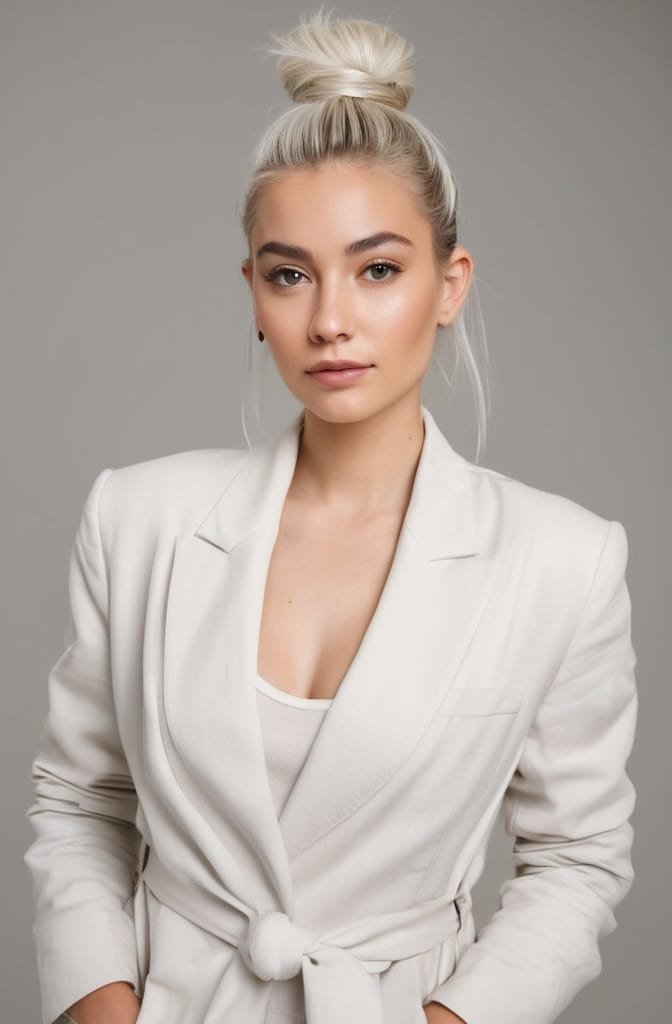
For those with layers or shorter pieces that won’t stay put. Pull your hair into a half-up topknot, securing just the top section of your hair. Then gather the remaining hair into a ponytail directly beneath the topknot.
This style is the perfect solution for growing out bangs or dealing with face-framing layers that aren’t long enough for a traditional pony. Plus, it gives you that cool-girl vibe that looks intentional rather than like you’re fighting with uncooperative hair.
5. The Side-Swept Ponytail
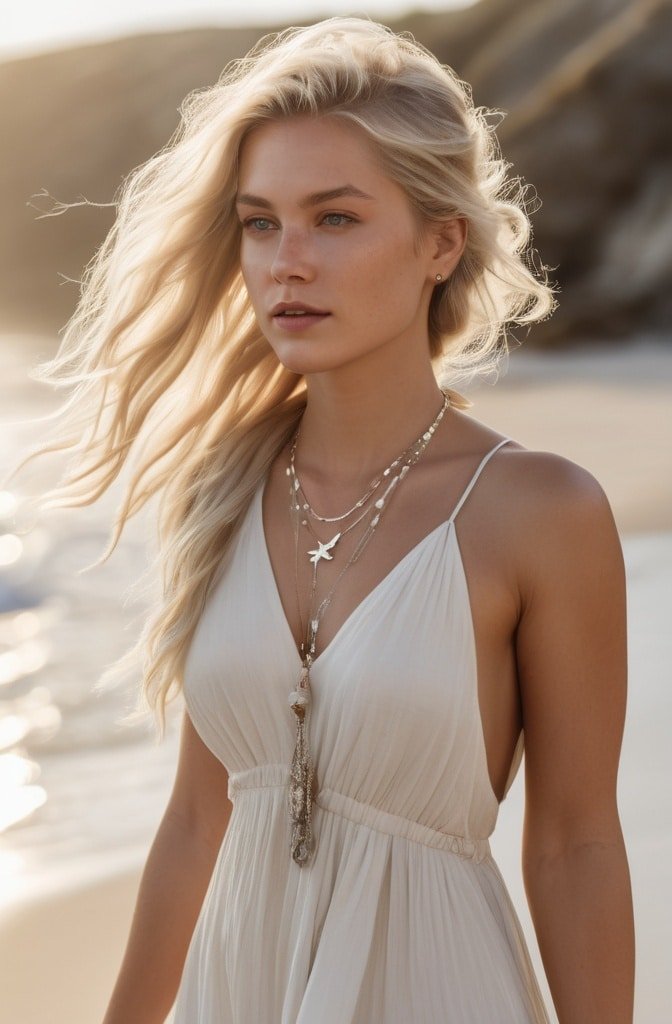
Glamorous without trying too hard. Create a deep side part, then sweep all your hair over one shoulder. Secure your ponytail behind your ear on the same side as your part. This asymmetrical style works beautifully for evening events or anytime you want something a bit more sophisticated.
The key is placement—too high looks cheerleader-ish, too low lacks impact. Aim for just behind your ear, and don’t stress about perfect smoothness. A little texture adds to the lived-in elegance of this style.
6. The Braided Base Ponytail
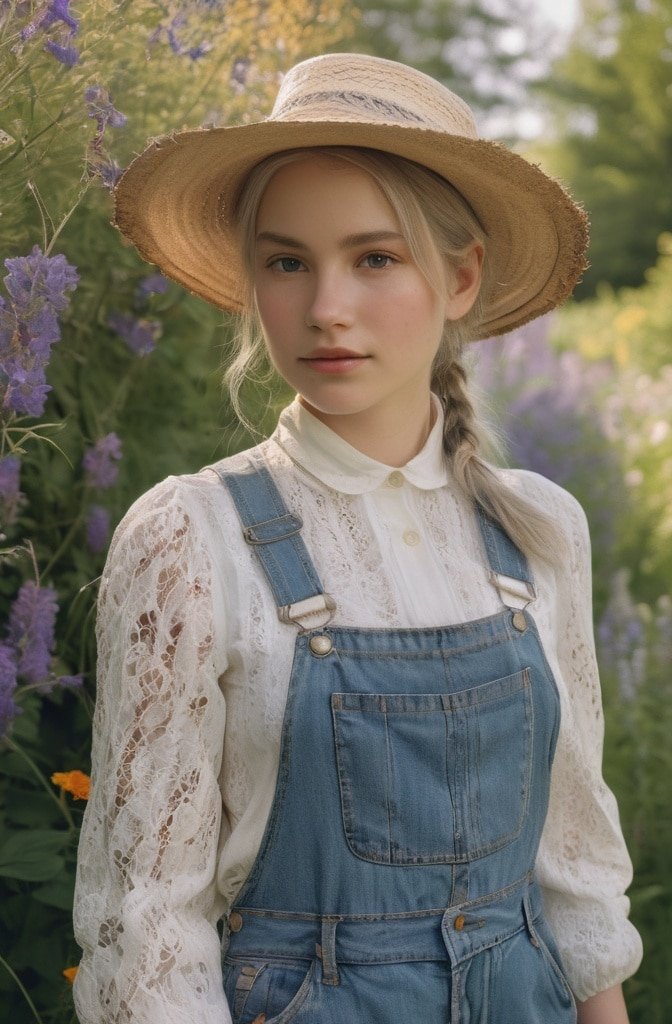
This one’s for those days when you want your ponytail to actually stay put through whatever chaos the day brings. Before gathering your hair, create a small horizontal braid along the nape of your neck. This braid becomes your anchor point.
Gather all your hair (including the ends of the braid) into a ponytail, securing with an elastic over the middle of the braid. The texturized base gives your elastic something to grip, preventing the annoying slip-down that happens with super-straight or fine hair.
7. The Knotted Ponytail
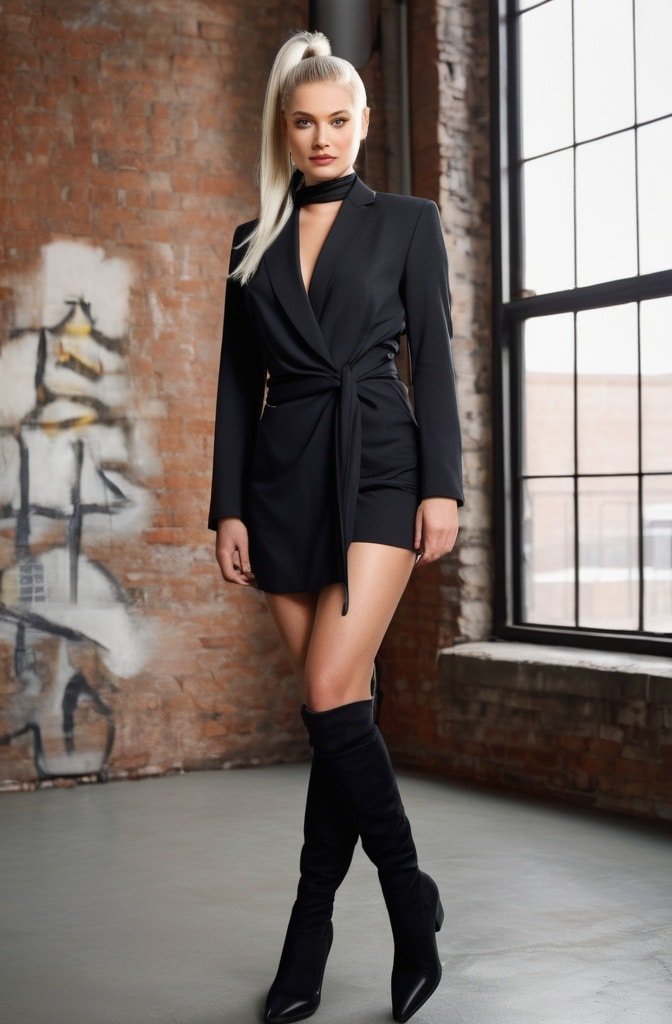
No elastics needed for this one (altho having one on standby isn’t a bad idea). Divide your hair into two equal sections. Tie them in a simple knot—literally like the first step when tying your shoelaces. Knot again for security.
Now twist the ends together and either secure with a clear elastic or pin in place if your hair is long enough to tuck. It’s architectural, interesting, and solves the problem of never having a hair tie when you need one. The textured knot element elevates this beyond basic.
8. The Half-Up Ponytail
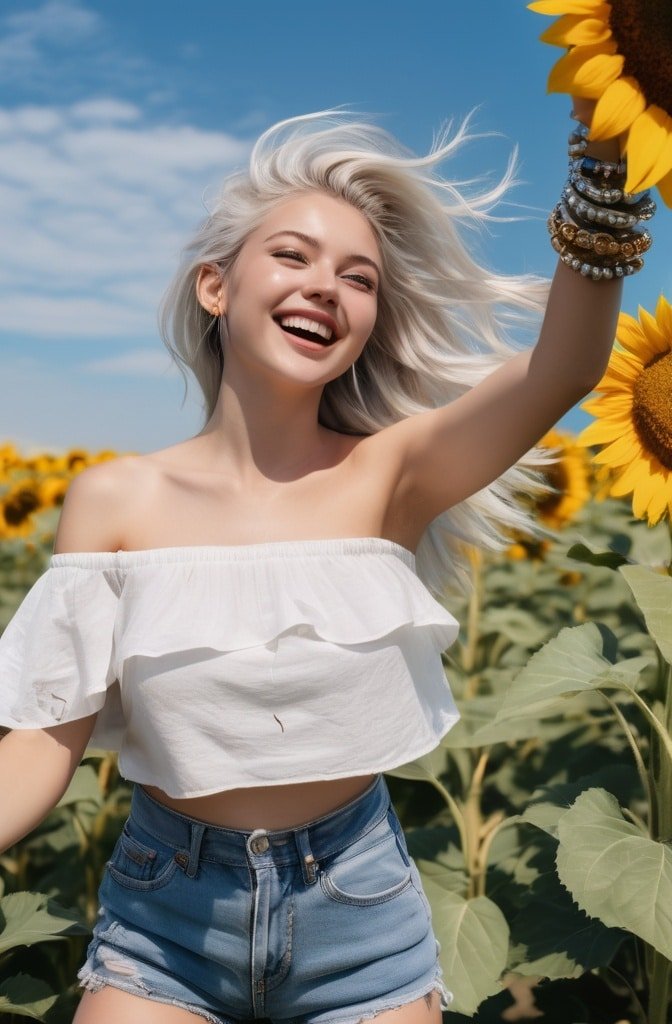
For those in-between days when you want your hair down but also outta your face. Take the top third of your hair from ear to ear and secure in a ponytail at the crown. Leave the bottom two-thirds hanging loose.
This 90s-inspired look has made a major comeback, and it works with virtually any hair texture. For wavy or curly hair, the contrast between the sleek pony and loose lower section creates gorgeous dimension. For straighter types, consider adding loose waves to the hanging portion for a more deliberate finish.
9. The Sleek Low Ponytail with Center Part
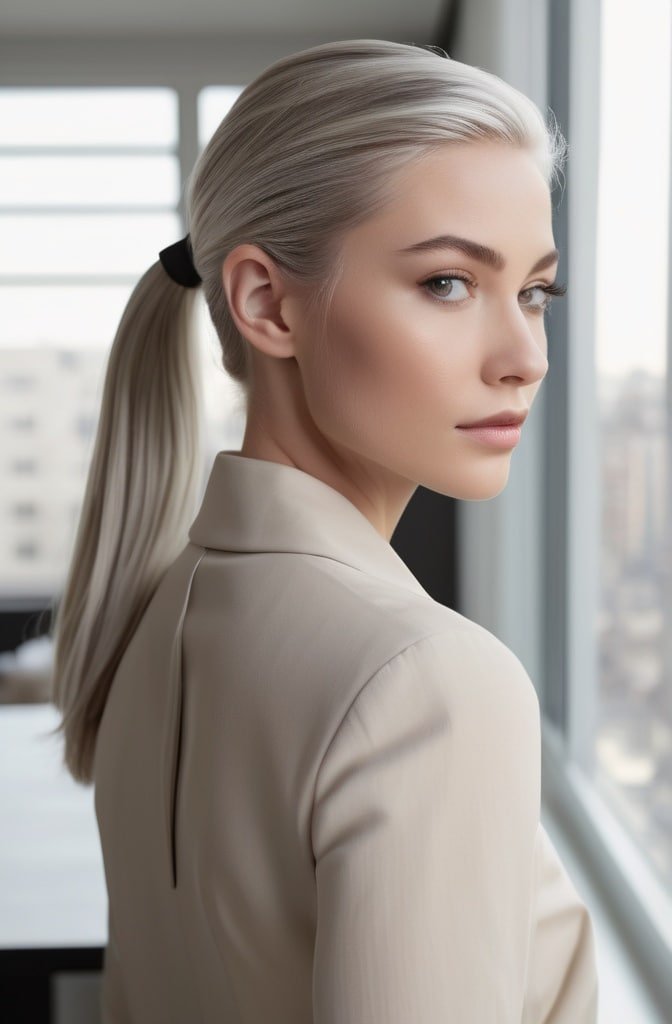
Channel your inner off-duty model with this minimalist style. Create a clean center part from forehead to crown. Smooth hair with a boar bristle brush, gathering everything at the nape of your neck.
Apply a tiny bit of hair oil or serum to tame flyaways before securing. The juxtaposition of the severe part with the low-key pony has this effortless chic vibe that somehow looks amazing on litterally everyone. Bonus: it’s gentle on your hairline compared to tighter styles.
10. The Criss-Cross Ponytail
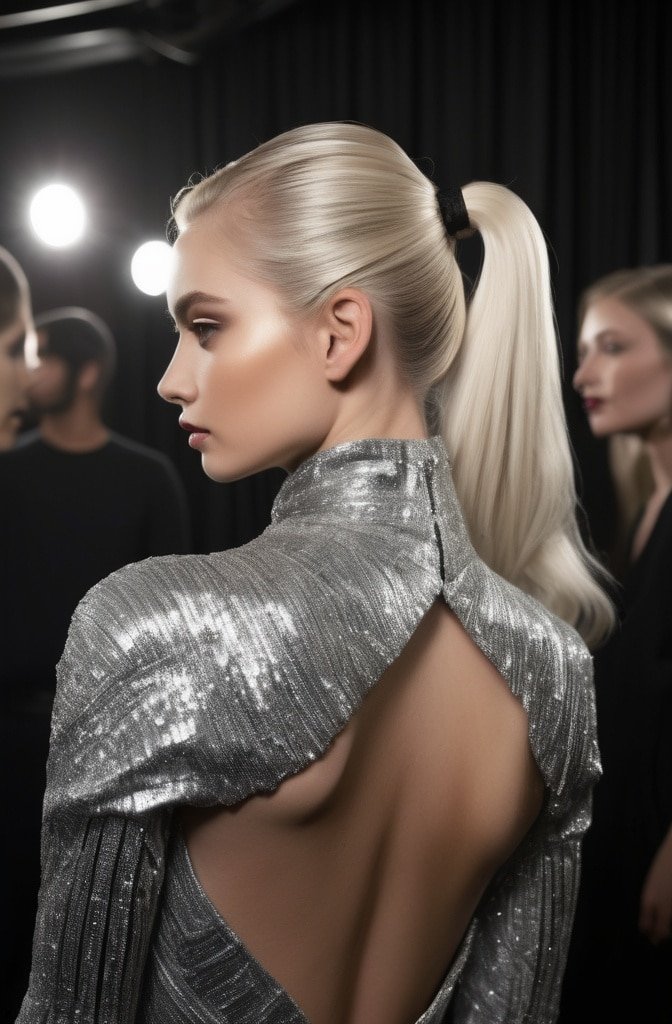
This technique creates the illusion of thicker hair and adds subtle interest to a basic pony. Divide your hair into upper and lower sections, creating a horizontal part from ear to ear. Secure the top section with an elastic temporarily.
Secure the bottom section into a ponytail. Then release the top section, pull it over the bottom ponytail, and secure everything together with another elastic. The overlapping creates dimension that’s noticeable but not obvious—people will just think your hair looks really good and won’t know exactly why.
11. The Wrapped Ponytail
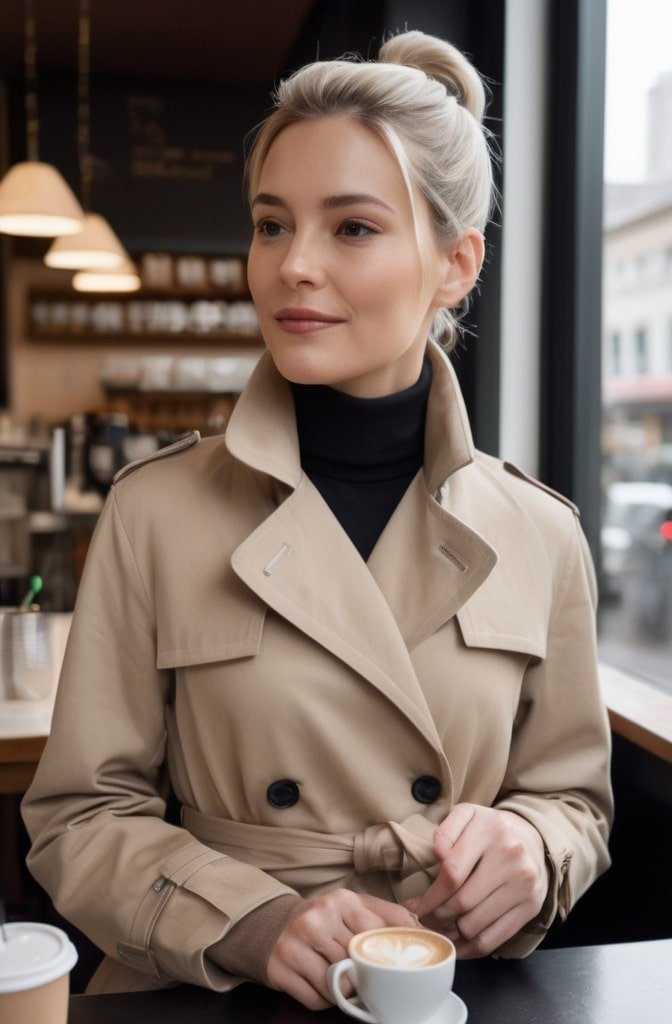
Disguise your elastic and add instant polish. After securing your ponytail, take a thin section of hair from underneath. Wrap it around the elastic, completely covering it. Secure with a bobby pin tucked underneath.
For extra insurance on special occasions, mist the wrapping strand with hairspray before winding it around. This five-second upgrade makes any ponytail look deliberately styled rather than thrown together. I do this almost daily—it’s that simple but effective.
12. The Textured Messy Ponytail
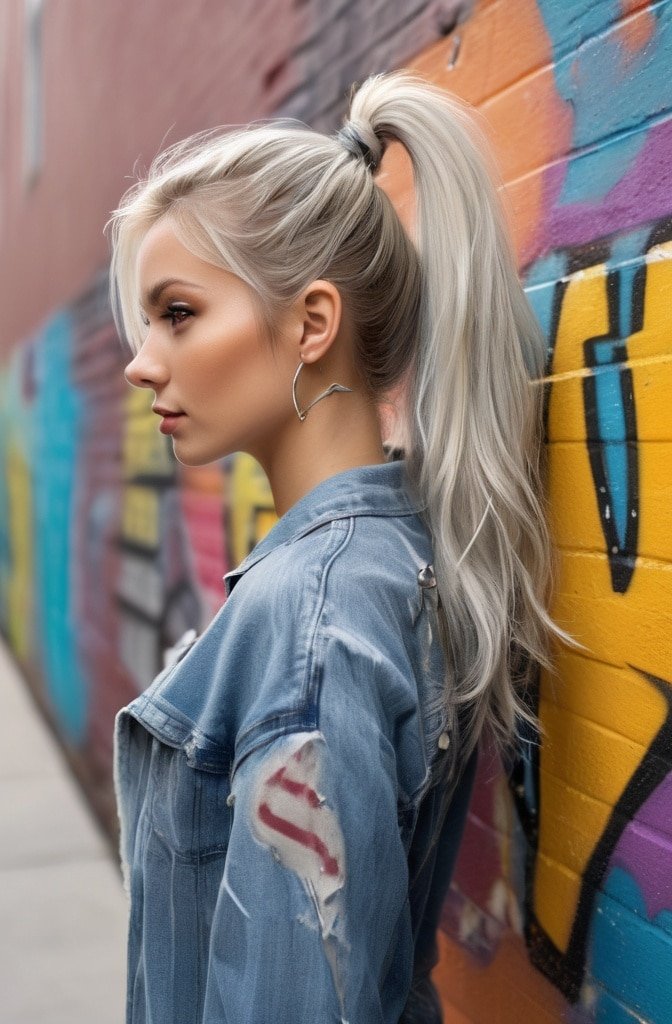
The bedhead pony that actually takes some strategy to perfect. Start by adding texture—dry shampoo at the roots, texturizing spray through the mid-lengths. Tease your crown slightly for volume. Gather hair loosely at your desired height, securing with an elastic.
Don’t pull the hair all the way through on the final wrap of your elastic; instead, create a loop with the ends still tucked in. Pull a few strategic pieces loose around your face. The goal is “perfectly imperfect”—like you just happened to wake up looking artfully disheveled.
13. The Double Ponytail Illusion
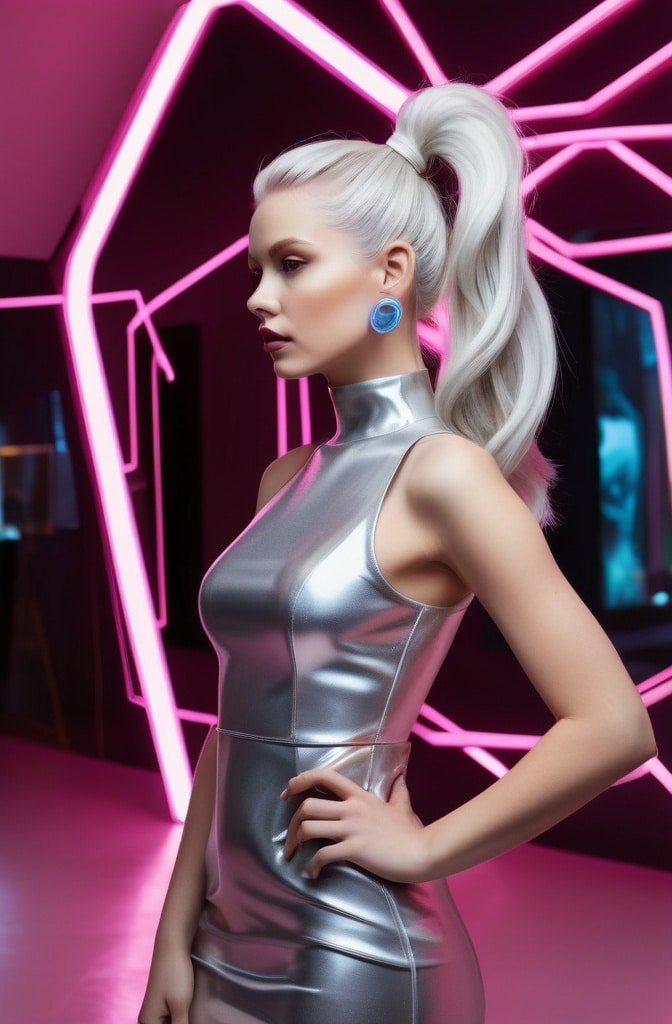
The sneaky trick for making thin hair look twice as thick or adding length to shorter styles. Create a half-up ponytail, securing the top section of your hair. Then gather all remaining hair plus the first ponytail into a second elastic, positioned directly beneath the first.
From the front, it looks like one abundant ponytail, but you’ve actually created volume by stacking two ponies vertically. This works especially well if you have layers, as the top ponytail camouflages those shorter pieces that might otherwise stick out.
14. The Fishtail Ponytail
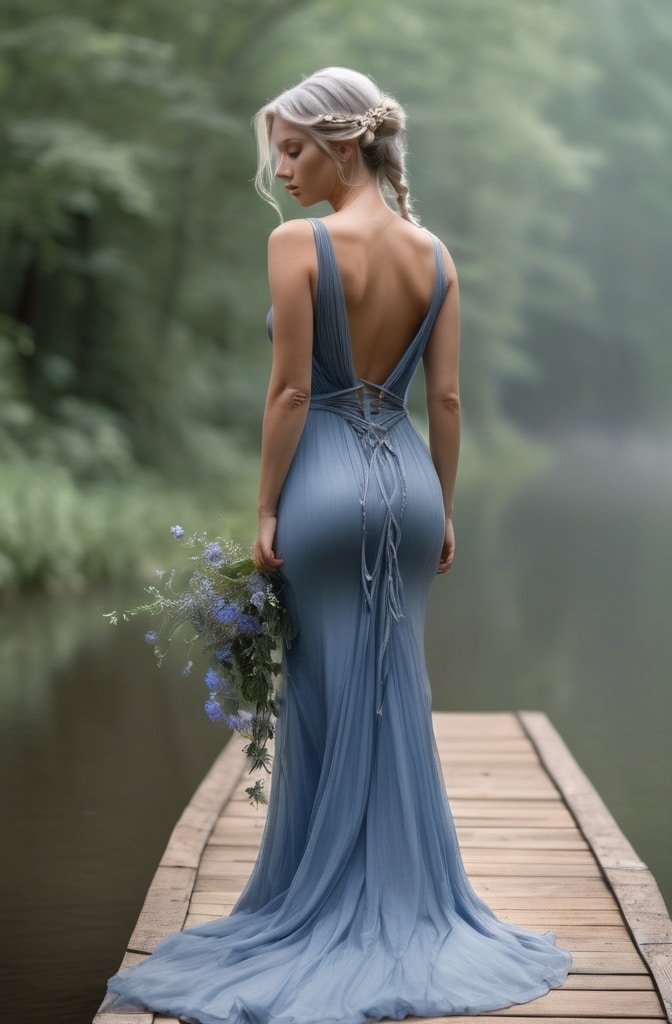
Start with a basic ponytail at your preferred height. Then divide the ponytail into two equal sections and create a fishtail braid: take a small piece from the outside of one section, cross it over to join the other section. Repeat on the opposite side, continuing this crossing pattern.
What makes this modern is keeping the braid loose and intentionally messy—gently tug at the edges once you’ve finished braiding to create that perfectly undone effect. Secure the end with a small clear elastic. It’s a statement pony that somehow still reads as effortless.
15. The 90s Flip Ponytail
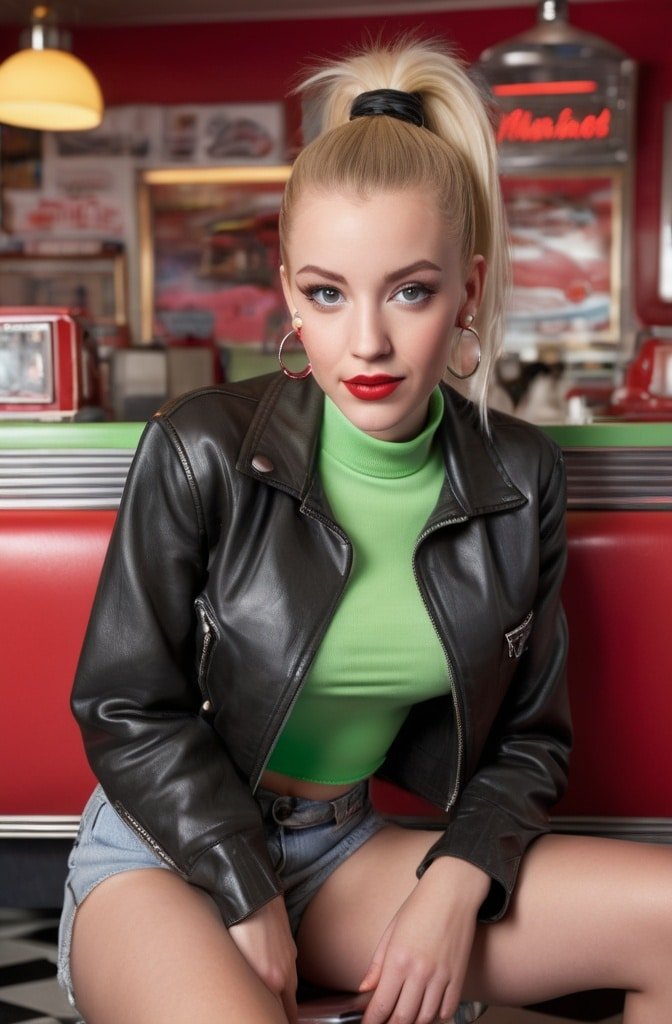
Everything old is new again, including this throwback style. Create a high ponytail, then use a flat iron to flip the ends upward in a retro curl. The contrast of the sleek base with the flipped ends is unexpectedly current.
For those with naturally curly hair, straighten just the ends of your ponytail before creating the flip. The key to keeping it modern is maintaining sleekness everywhere except that flipped end—too much volume throughout reads dated rather than deliberately nostalgic.
16. The Side-Parted Low Ponytail
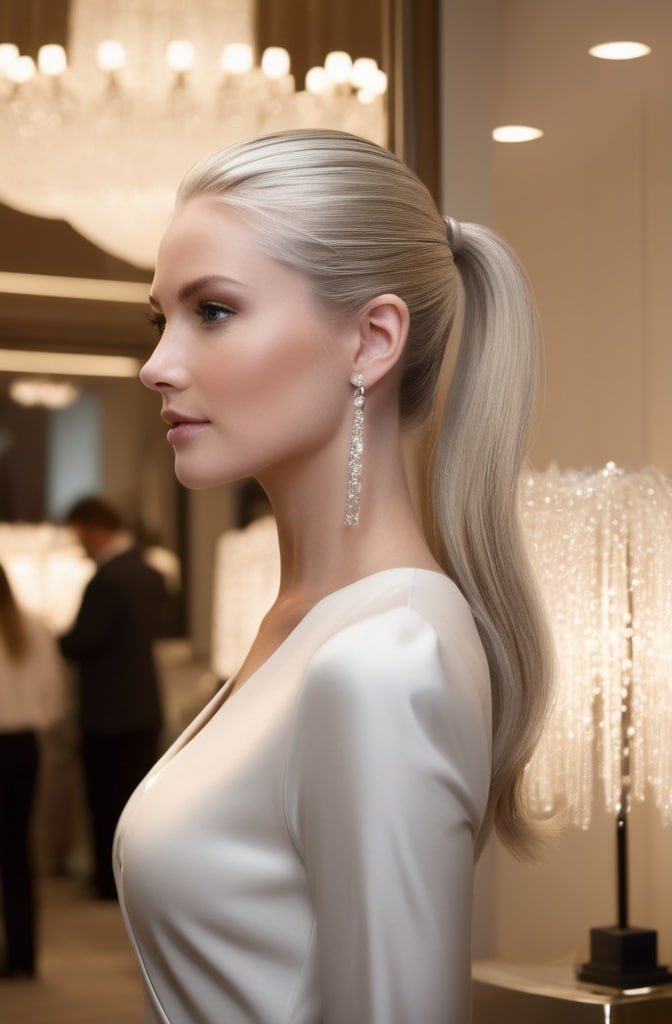
Sometimes sophistication comes from subtle details. Create a deep side part, then gather hair at the nape of your neck, slightly to the opposite side of your part. This creates a beautiful asymmetry that’s especially flattering for heart-shaped or round faces.
Keep the front sleek but allow some gentle volume through the ponytail itself. This is my go-to for important meetings when I need to look pulled-together but not like I’m trying too hard. The side part adds interest without screaming “I spent 40 minutes on my hair.”
17. The Twisted Crown Ponytail
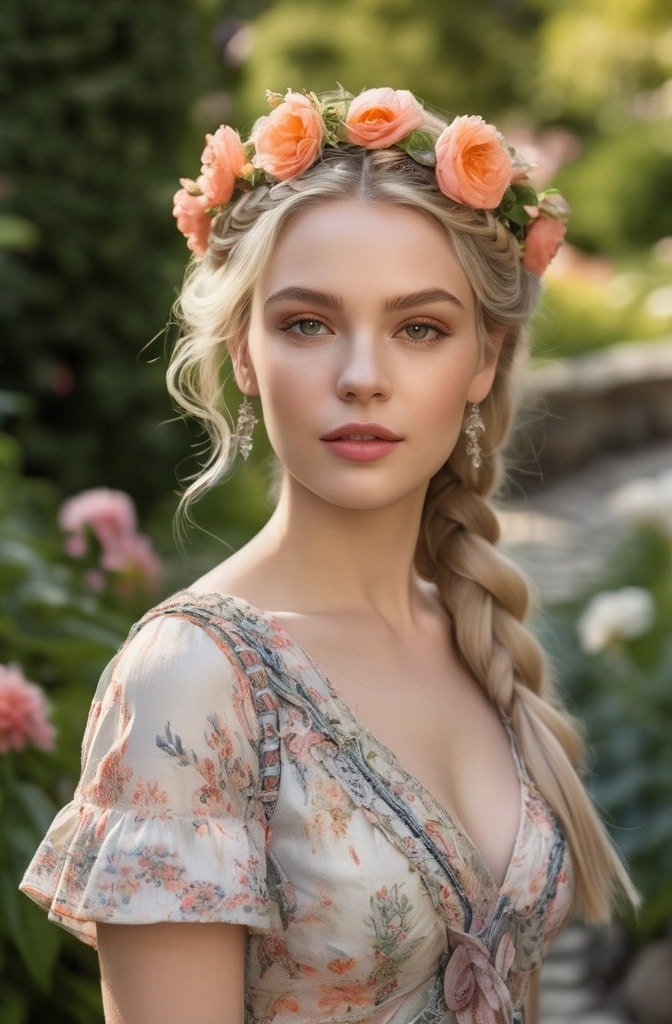
This renaissance-inspired style works on second or third-day hair. Take a 1-inch section of hair from just behind each ear. Twist each section back and upward, creating a subtle crown effect, then secure both twists together at the back of your head.
Gather the remaining hair (including the ends of your twists) into a ponytail directly beneath these secured twists. The dimensional effect frames your face beautifully while keeping everything off your neck perfect for summer or more formal occasions that don’t quite call for an updo.
18. The Ribbon-Accented Ponytail
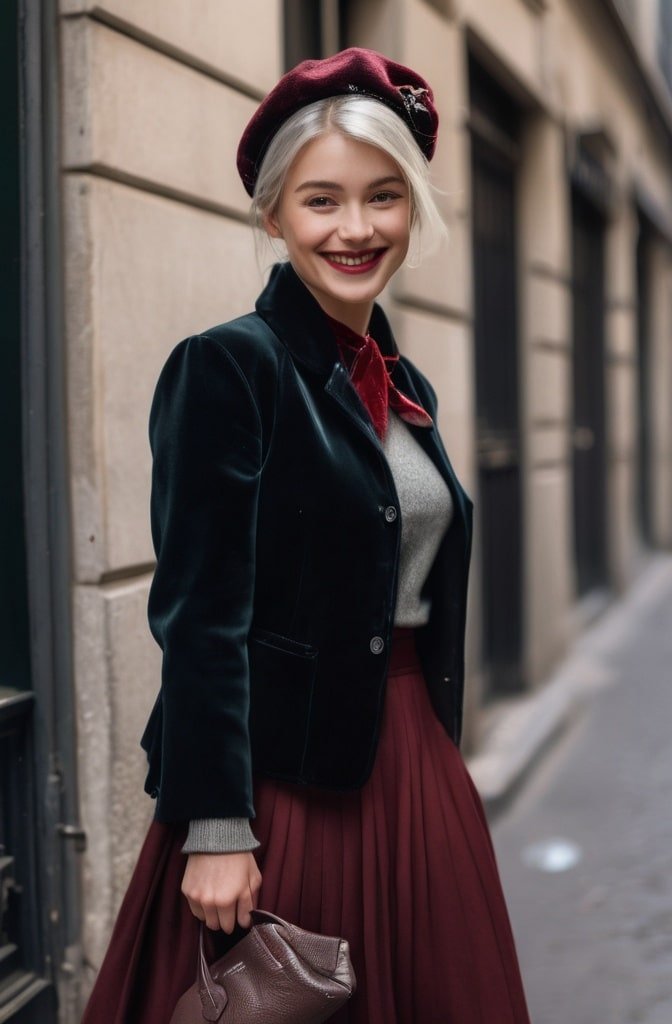
Sometimes the simplest accessory makes all the difference. Create your ponytail as usual, then thread a thin ribbon through your elastic, tying it in a small bow or leaving the ends long for a flowing effect.
Choose unexpected ribbon colors—burgundy, forest green, or metallic tones—rather than matching your hair color exactly. The ribbon can be as subtle or statement-making as you like, and it instantly transforms your ponytail from basic to thoughtfully styled.
19. The Dutch Braid into Ponytail
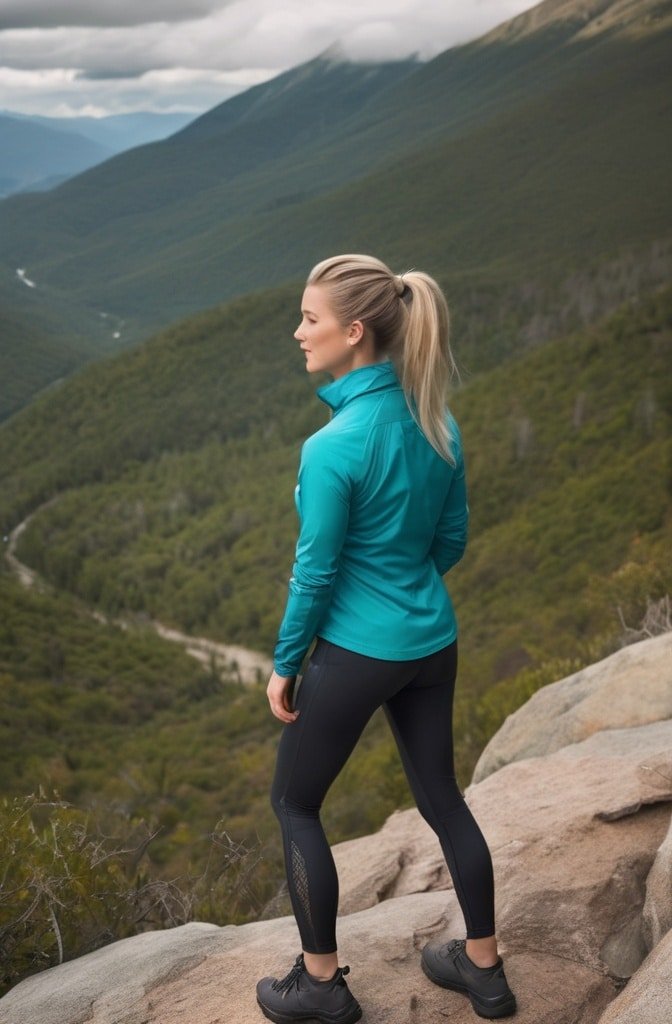
Begin a Dutch braid (crossing sections under rather than over) at your crown, working backward. Braid until you reach the area where you want your ponytail to start, then gather all hair—including the end of your braid—into a ponytail.
This creates gorgeous texture and dimension while keeping hair fully secured—perfect for workouts or active days. The Dutch technique creates a raised braid effect that’s more visually interesting than a standard French braid leading into a ponytail.
20. The Volumized Crown Ponytai
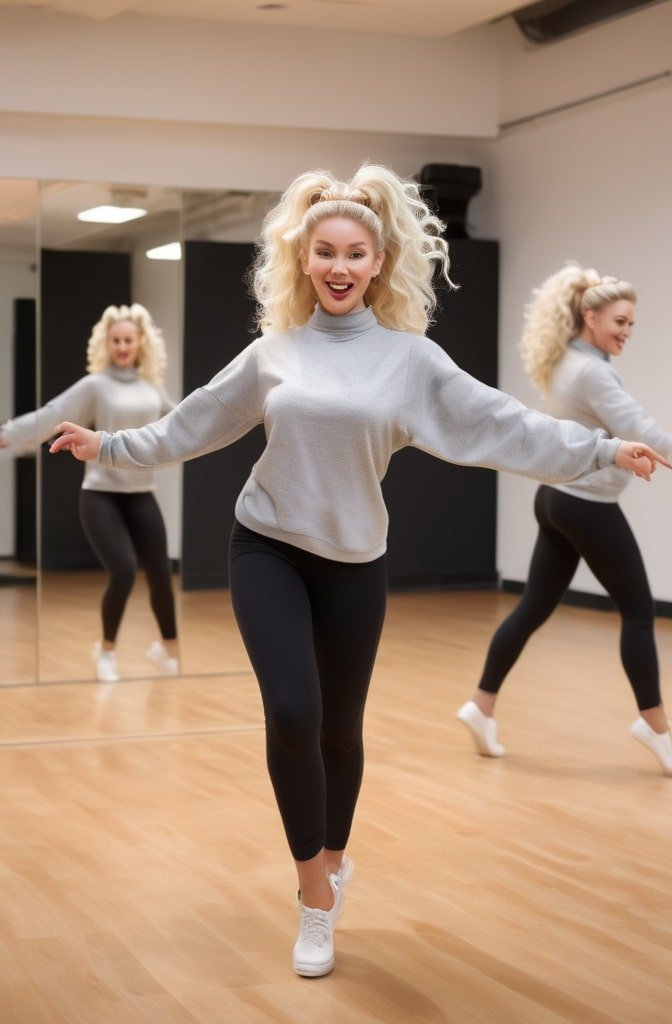
The secret to this style is strategic backcombing. Section off the top portion of your hair from temple to temple. Gently backcomb this section at the roots only, then smooth the surface layer with a brush.
Gather all hair into a mid-height ponytail. The backcombed section creates elevated volume at the crown that balances the sleekness of the ponytail itself. It’s subtle but makes a significant difference in the overall silhouette—especially photogenic from the side.
21. The Multi-Elastic Ponytail
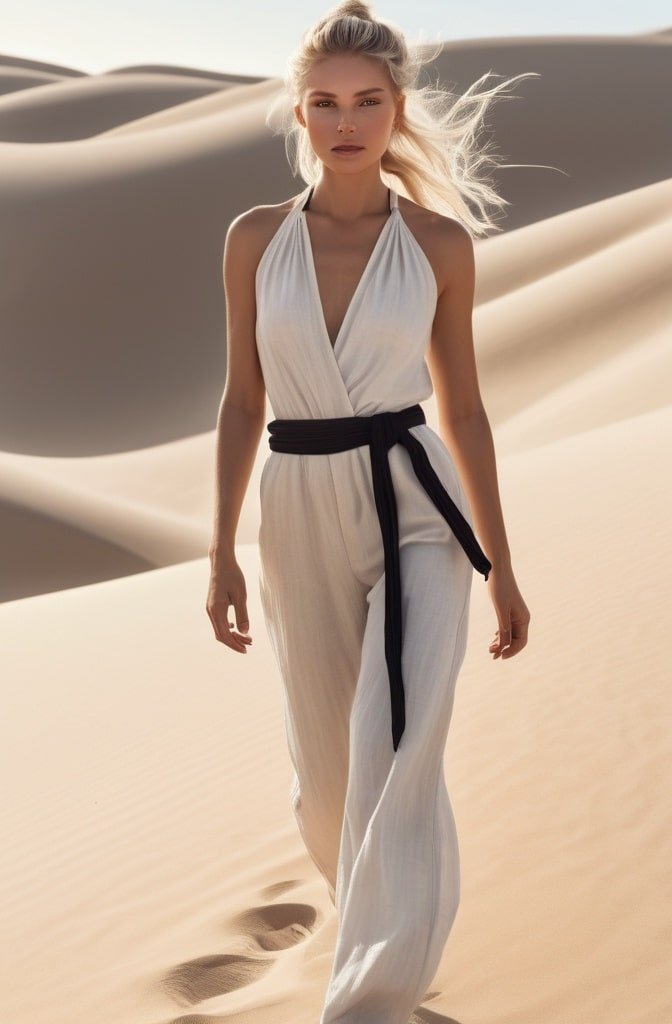
Perfect for active days when you need your hair seriously secure. Create a regular ponytail, then place additional elastics every few inches down the length. Unlike the bubble ponytail, don’t pull these sections apart—just let the elastics create subtle segmentation.
This technique keeps long hair controlled during workouts while creating visual interest. Choose thin, snag-free elastics in colors that blend with your hair for a more sophisticated take, or go with fun colors for a playful vibe.
22. The Side Braid Accent Ponytail
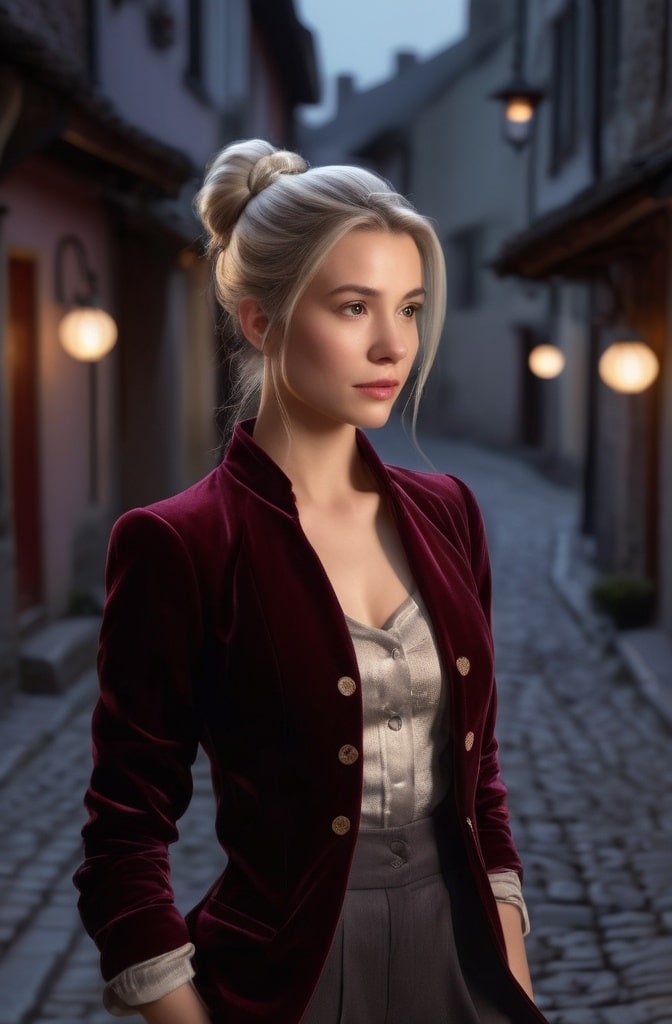
Before gathering your ponytail, create a small braid along one side of your head, starting at your temple and working back toward where your ponytail will be. Gather all hair including the end of the braid into your ponytail.
The single braid adds asymmetrical interest without requiring much additional time. This style works particularly well on highlighted or dimensional hair, as the braided texture showcases color variations beautifully.
23. The Sectioned Ponytail
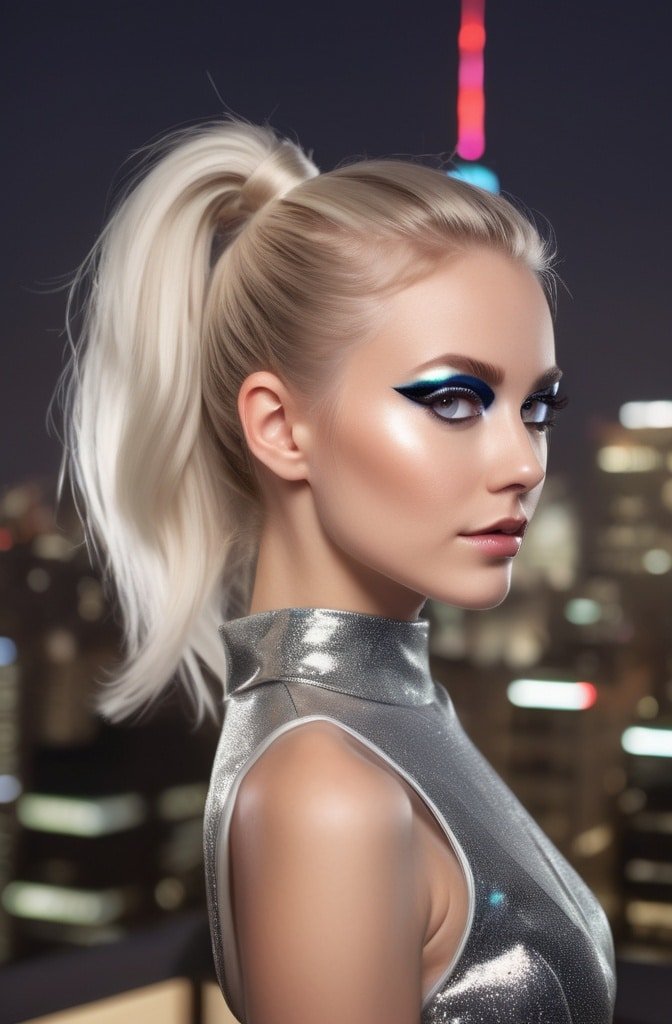
This architectural take requires nothing more than clear elastics. Gather your hair into a ponytail at the desired height. Then add additional elastics every few inches, but—unlike the bubble ponytail—keep everything sleek rather than pulled apart.
The result is a ponytail with subtle segmentation that catches the light in interesting ways when you move. It’s structured yet simple, and works exceptionally well on straight, shiny hair where the sectioning is most visible.
24. The Twisted Sections Ponytail
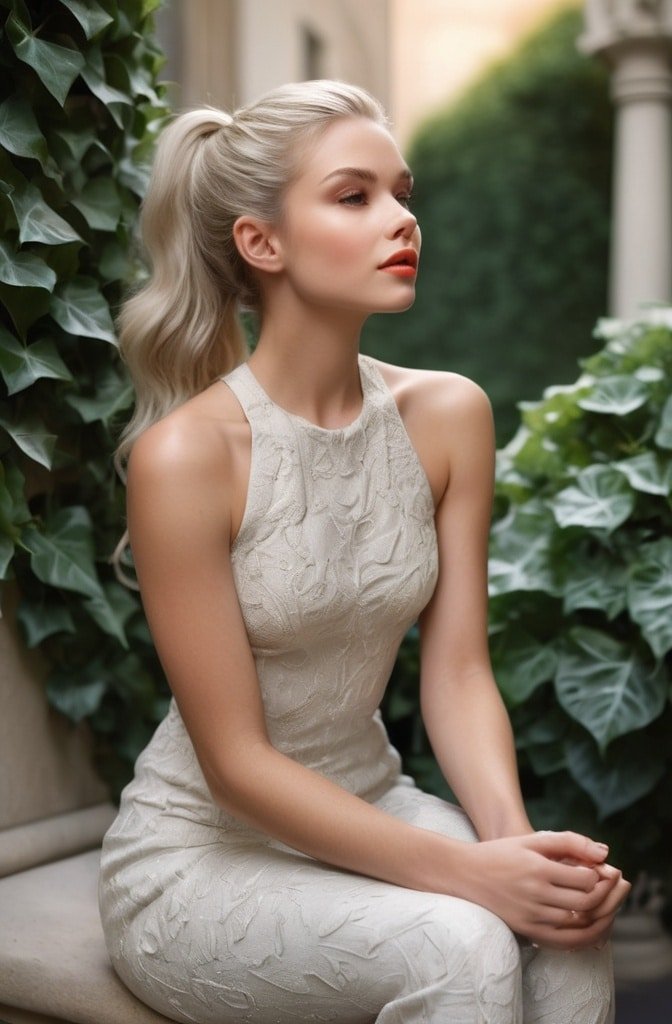
Elegant enough for formal events yet doable in minutes. Divide your hair into three horizontal sections: crown to mid-head, mid-head to ears, and ears to nape. Twist each section loosely before gathering all three together into a low ponytail.
The multiple twist directions create gorgeous texture and prevent the “helmet head” look that can happen with sleeker styles. Looser twists look more modern than tight ones—embrace any pieces that fall slightly loose around your face.
25. The Accessorized Statement Ponytail
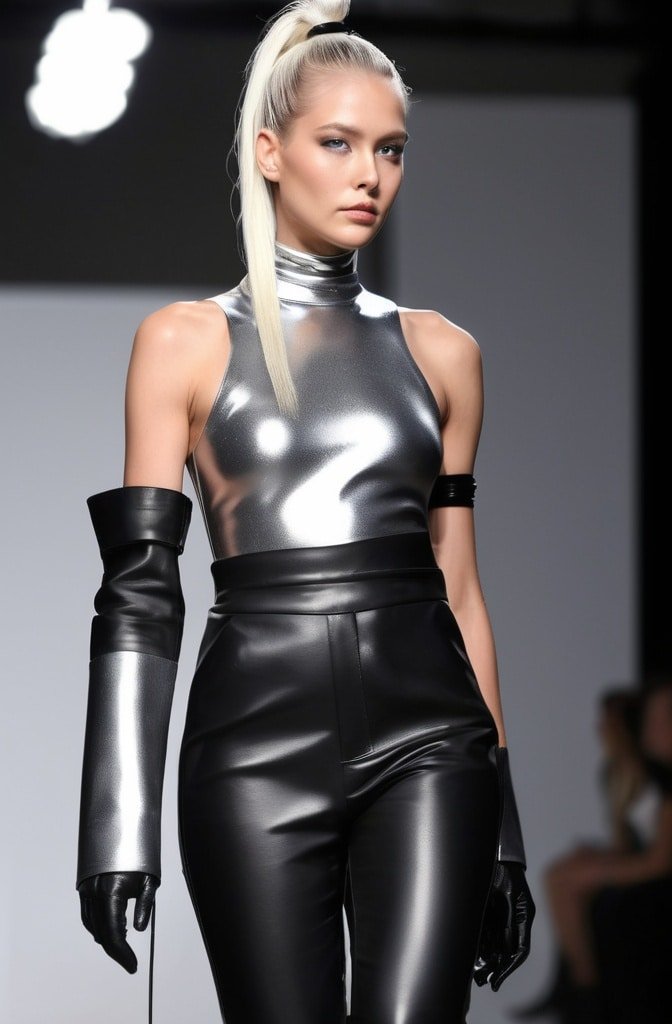
Sometimes the ponytail itself is simple, but the accessory makes it special. Create your preferred ponytail style, then add an unexpected element—a vintage brooch pinned to your elastic, a leather wrap, or a cluster of small gold hair cuffs spaced along the length.
Even the most basic ponytail becomes deliberate and stylish with thoughtful accessorizing. This approach lets you change your look without mastering complicated techniques perfect for those who appreciate style but prefer straightforward execution.
26. The Textured Crop
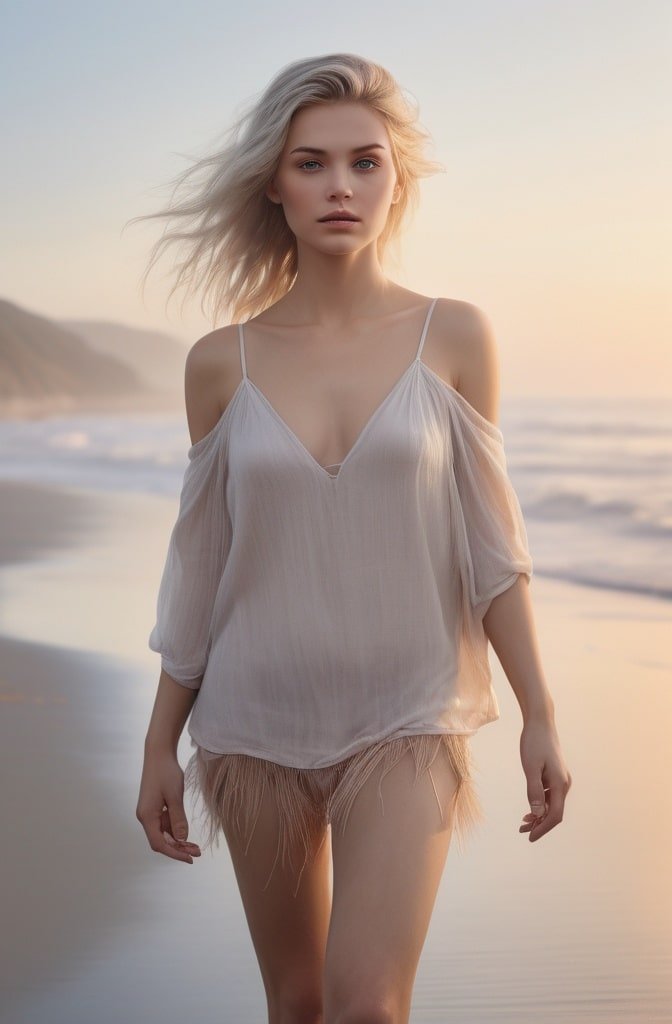
This short, textured cut features longer pieces on top with closely trimmed sides. Unlike a traditional pixie, the crop maintains enough length on top to create piece-y texture and movement. Your stylist will point-cut the top sections to create deliberate separation.
The beauty of this low-maintenance cut is how it enhances natural texture. A small amount of texturizing paste worked through the top creates effortless definition that lasts all day. It’s particularly flattering on heart-shaped and oval faces, as the added height on top creates beautiful balance.
27. Twisted Topsy Tail Cascade
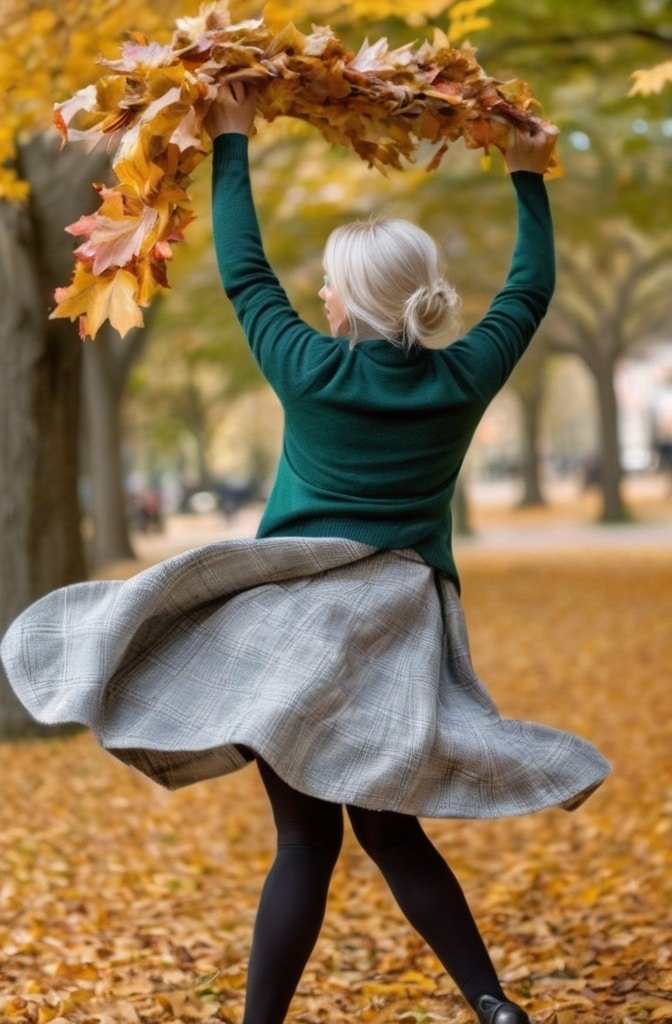
This style creates the illusion of complexity while being surprisingly simple. Create a half-up section and secure with an elastic. Just above the elastic, create a small opening in the hair and flip the ponytail through it (the “topsy tail” technique). Repeat this process down the length of your hair, creating 3-4 connected sections.
Each section flips through the one above it, creating a cascading twisted effect down the back of your head. The interconnected nature means this style stays put better than most half-up styles. Works beautifully on medium to long hair with some wave or curl for added dimension.
28. The Blunt Collarbone Cut
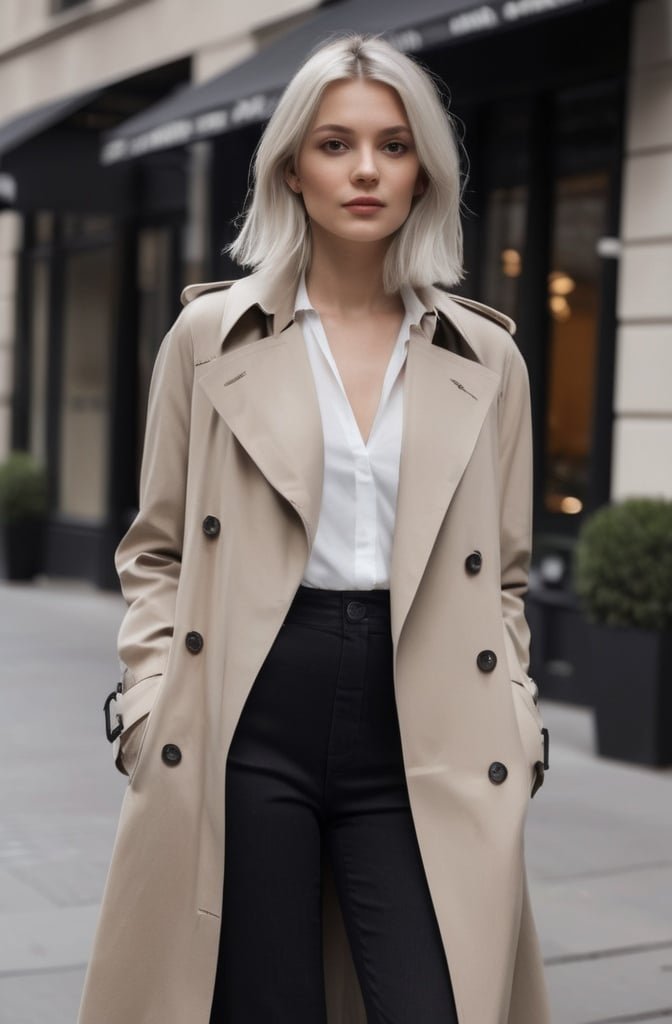
This precision cut hits exactly at the collarbone with zero layers and a completely blunt end. The specific length is what makes this cut distinctive—sitting right at that sweet spot where it brushes your shoulders but swings freely when you move.
The lack of layers creates a bold, graphic line that looks incredibly polished. This cut works particularly well for those with fine to medium hair, as the blunt line creates the appearance of thickness. Keep it sleek for maximum impact, or add subtle bends with a flat iron for soft movement.
29. Double Dutch Crown Braid
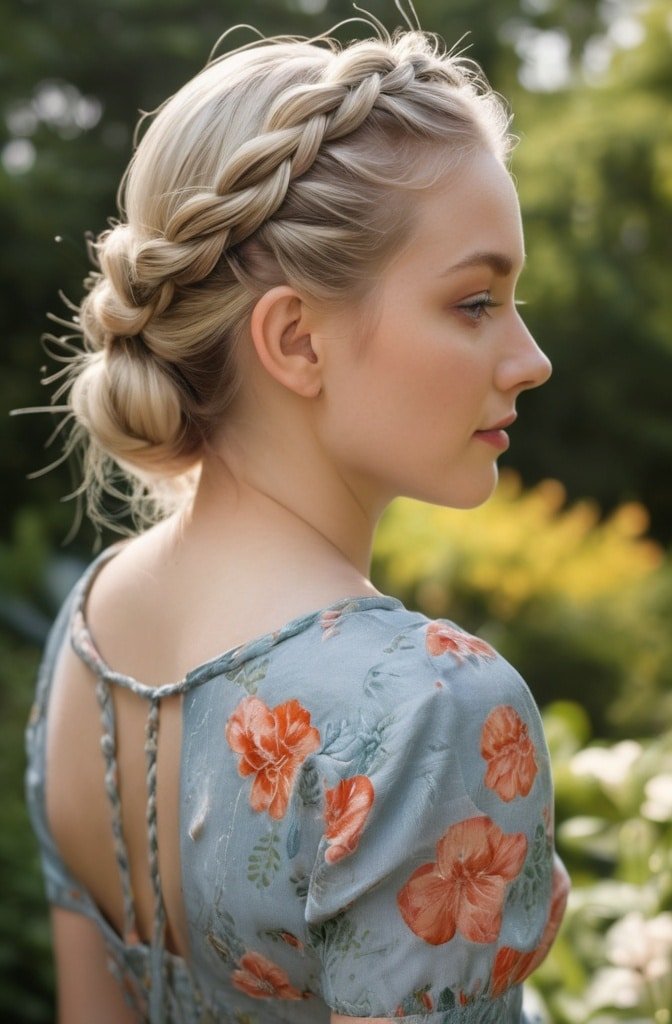
Create a horseshoe-shaped section on top of your head, from temple to temple. Divide this section down the middle, then create two Dutch braids (crossing sections under rather than over) running parallel to each other. Once you reach the crown, continue braiding backward and secure the ends.
The double braids create beautiful dimension and texture that’s visible from all angles. This protective style works particularly well for textured hair, as the braids can stay in for several days. For a special occasion, consider weaving thin ribbon or small fresh flowers into the braids.
30. The Disconnected Undercut Bob
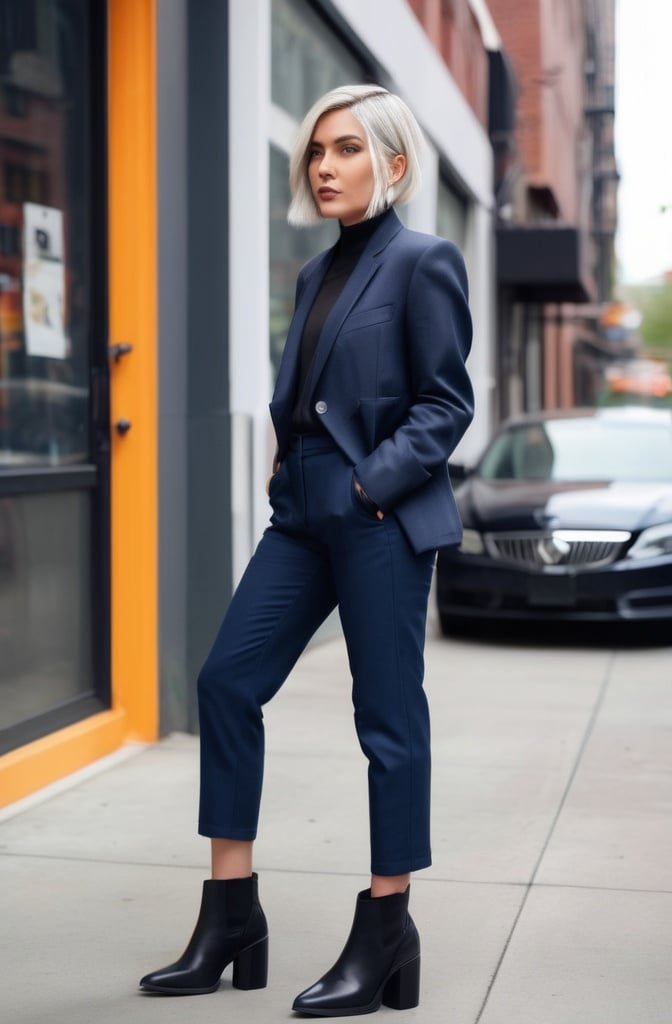
This architectural cut features a traditional bob length around the perimeter with a hidden undercut beneath. The stylist disconnects the top section from the undercut, creating a dramatic contrast between lengths that’s revealed with movement.
This cut offers the best of both worlds—the polished shape of a bob with the edge of an undercut. When worn down, it appears as a classic bob, but when the hair moves or is tucked behind the ear, the undercut becomes visible. The disconnect creates built-in volume on top without requiring much styling.
31. The Accordion Fold Updo
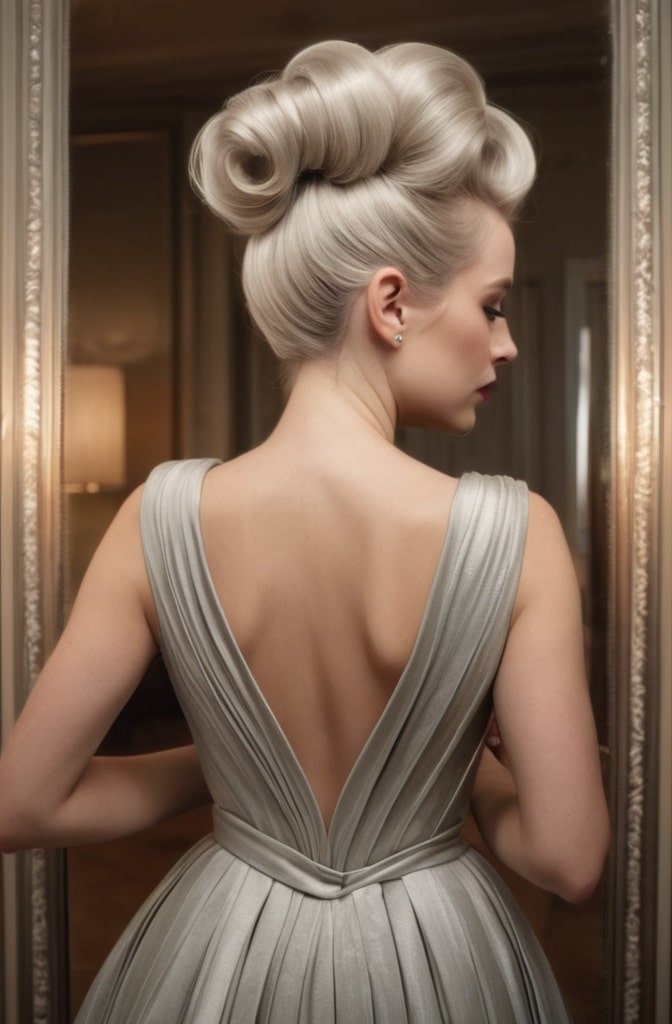
This origami-inspired style involves folding sections of hair back and forth in a zigzag pattern, creating an accordion-like texture. Start at the nape, folding a horizontal section upward, then the next section downward, continuing this alternating pattern up the head.
Secure each fold with crossed bobby pins for stability. The geometric pattern creates striking visual interest, especially on color-treated hair where the folds highlight dimension. This architectural style works best on shoulder-length to long hair with minimal layers.
32. The Concave Layer Cut
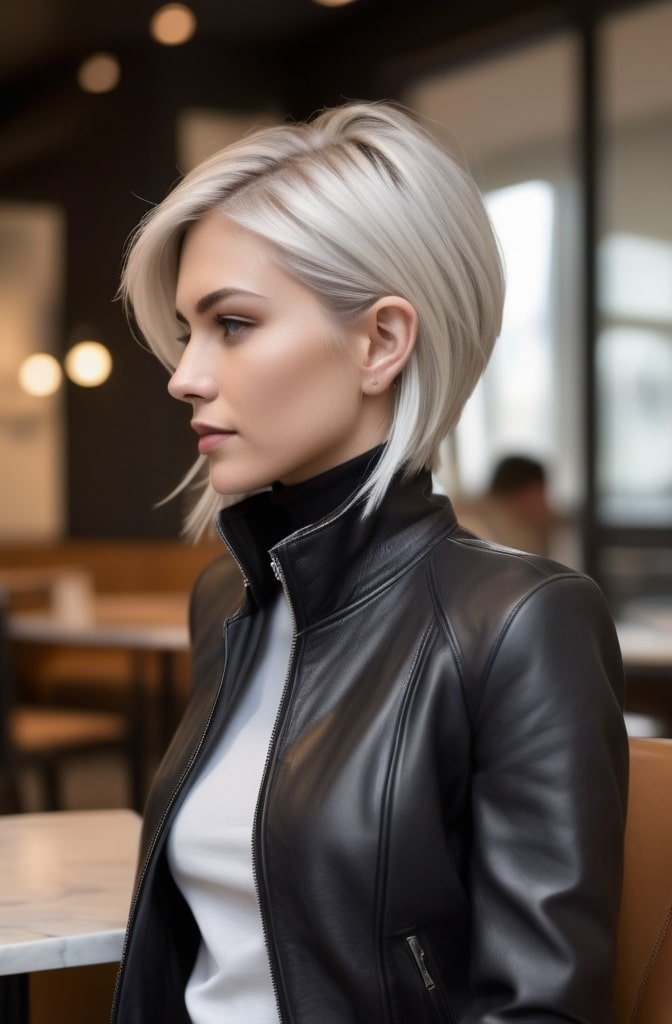
Unlike traditional layering that thins toward the ends, concave layers are shorter at the bottom perimeter and gradually get longer toward the top layers. This creates a beautiful curved shape that hugs the head while maintaining volume through the mid-lengths.
This innovative cutting technique creates movement and dimension without sacrificing length. It works particularly well for curly hair types, as it allows for volume where you want it while keeping the overall silhouette controlled. Ask your stylist to customize the concave curve based on your face shape and natural texture.
33. Twisted Waterfall Braid
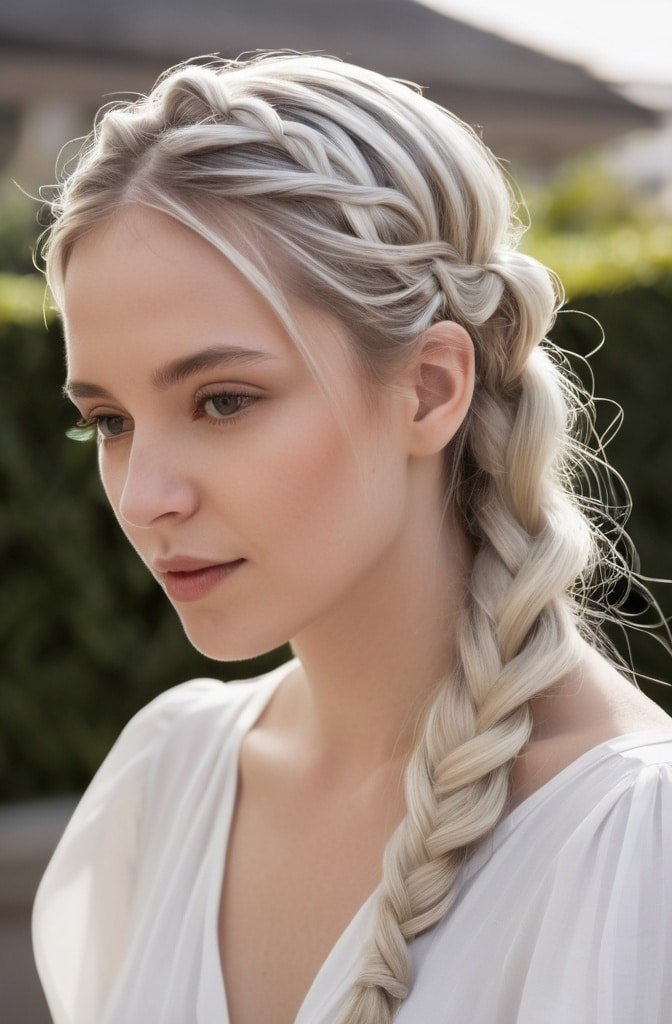
Begin a traditional waterfall braid along your hairline, but instead of braiding the dropped sections into the next stitch, twist each dropped section back into the braid after letting it “waterfall” down. This creates a more substantial texture than a standard waterfall braid.
The twisted elements add beautiful dimension while keeping the ethereal quality of the classic waterfall technique. This style works particularly well on highlighted hair, as the twists showcase color dimension beautifully. Leave the remaining hair loose with soft waves for maximum romantic effect.
34. The French Crop Fade
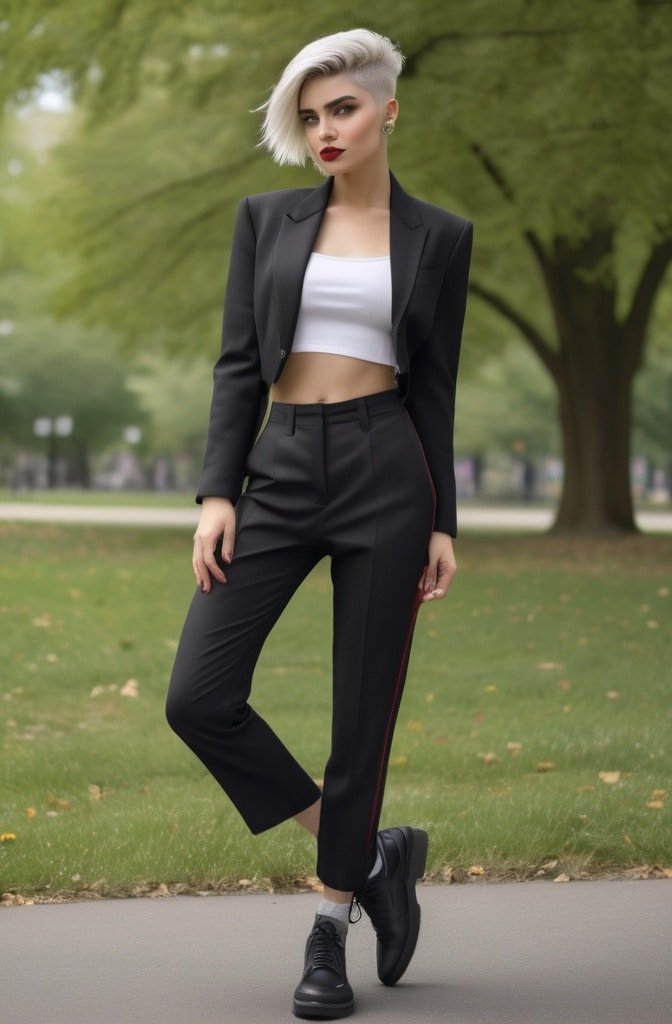
This modern short cut features a textured top with length in the fringe, combined with faded sides that gradually taper to the skin. The distinctive element is the longer fringe that’s typically worn forward onto the forehead, creating a strong horizontal line.
This barbershop-inspired cut offers versatility despite its short length—the fringe can be styled with different products for varied effects, from sleek and professional to textured and edgy. The contrast between the longer top and tight fade creates striking dimension.
35. Twisted Sister Knots
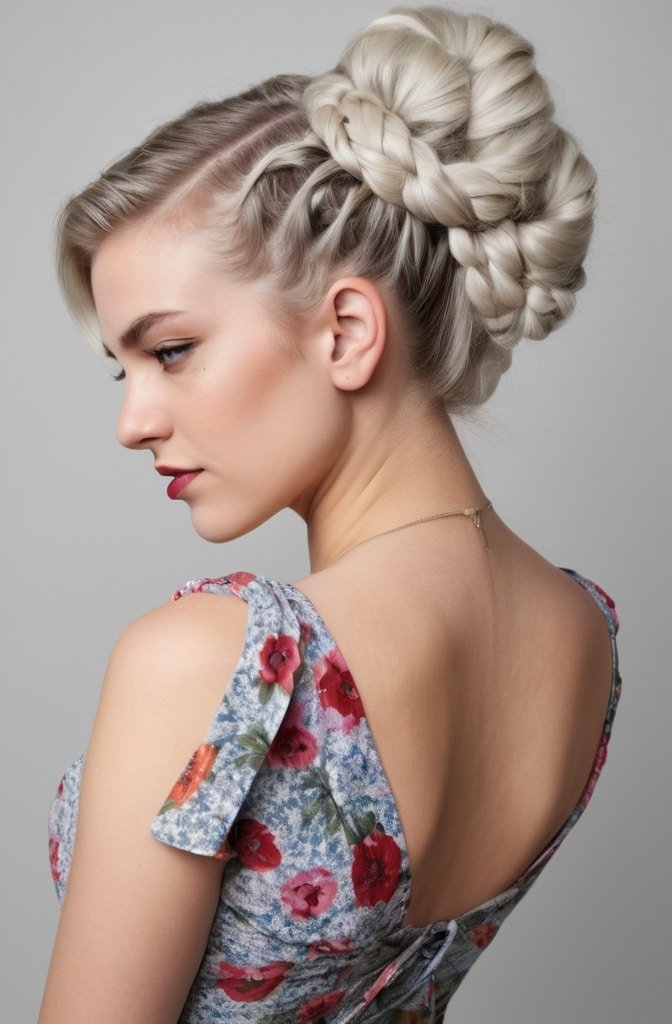
Section your hair into 4-6 sections all over your head. Twist each section tightly from root to end, then wrap the twisted section around itself to form a small knot. Secure each knot with pins, positioning them evenly around your head for balanced visual interest.
This protective style doubles as a striking fashion statement. The knots can be positioned symmetrically for a more classic look or randomly for an avant-garde effect. Works beautifully on natural textures and can stay in place for several days, making it practical and stylish.
36. The Asymmetrical Lob
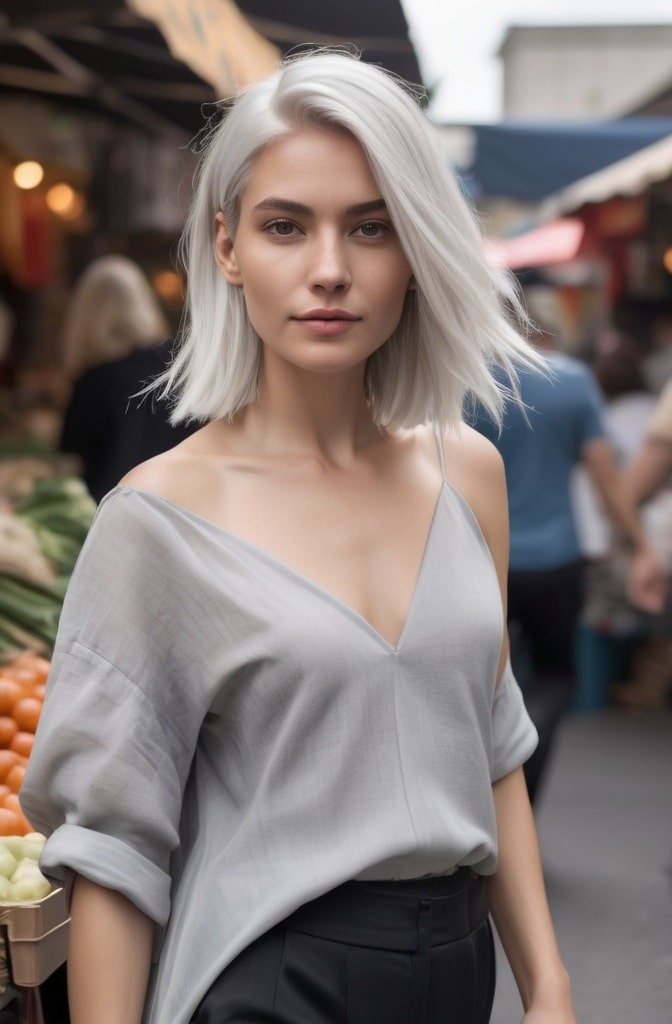
This modern take on the long bob features one side cut significantly shorter than the other—typically shorter at the back with gradually increasing length toward the front on both sides, but with one side noticeably longer than the other.
The deliberate asymmetry creates beautiful movement and visual interest from all angles. This cut is particularly flattering for those with fine to medium hair, as the asymmetrical line creates the illusion of fullness and dimension. Style with subtle waves to enhance the varied lengths.
37. Grecian Twisted Updo
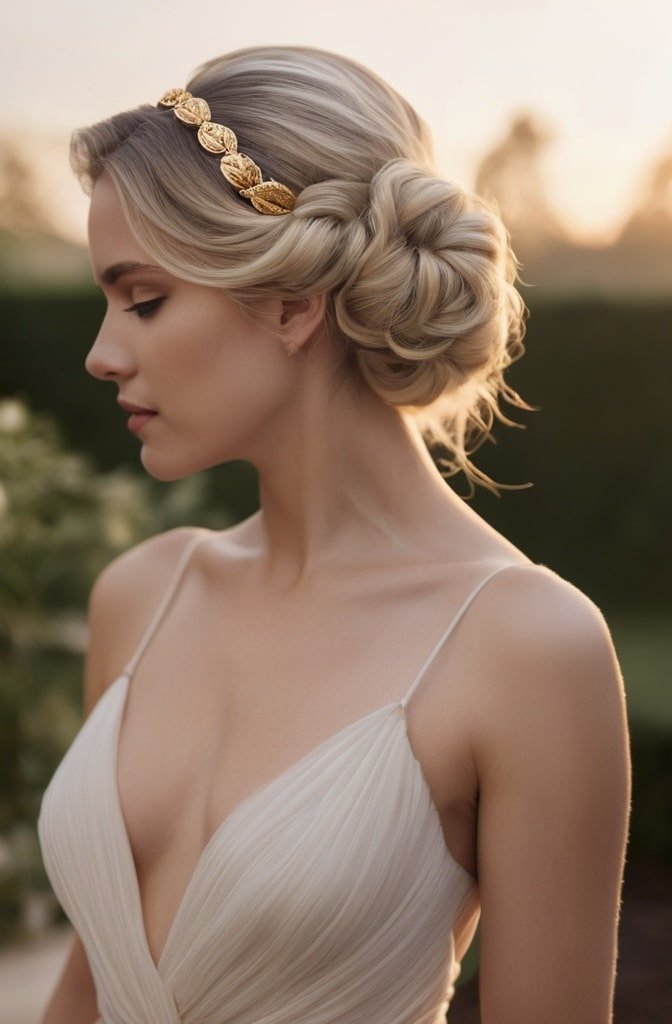
Begin by separating the front hair from ear to ear. Twist this front section back, securing temporarily. Divide the remaining back section into 2-3 horizontal subsections. Twist each subsection horizontally, then wrap and pin each twisted section around the head, creating stacked twisted bands.
This elegant style draws inspiration from ancient Grecian aesthetics while remaining thoroughly modern. The horizontal twisted sections create beautiful dimension and texture without requiring elaborate braiding skills. Works best on shoulder-length to long hair.
38. The Layered Pixie with Long Sideburns
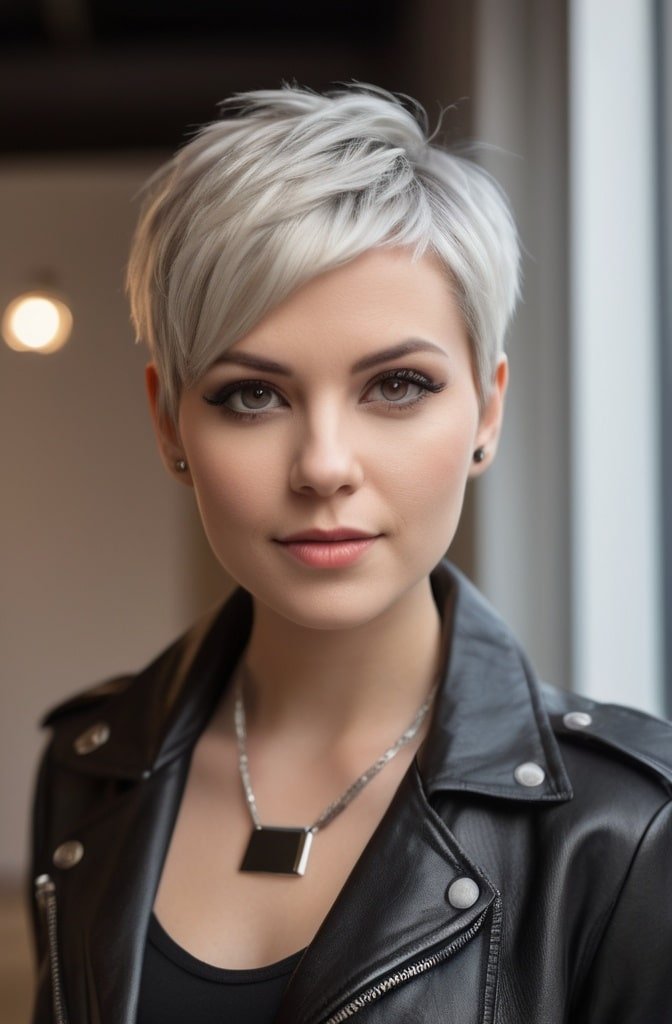
This unique variation of the pixie maintains traditionally short length through the back and crown but features longer “sideburn” sections that extend past the ears. These face-framing pieces add softness to the otherwise short cut.
The extended sideburns create versatility within the pixie framework—they can be tucked behind the ears for a sleeker look or worn forward to frame the face. This variation works particularly well for those wanting to grow out a traditional pixie, as it creates an intentional transitional style.
39. Triple-Twisted Chignon
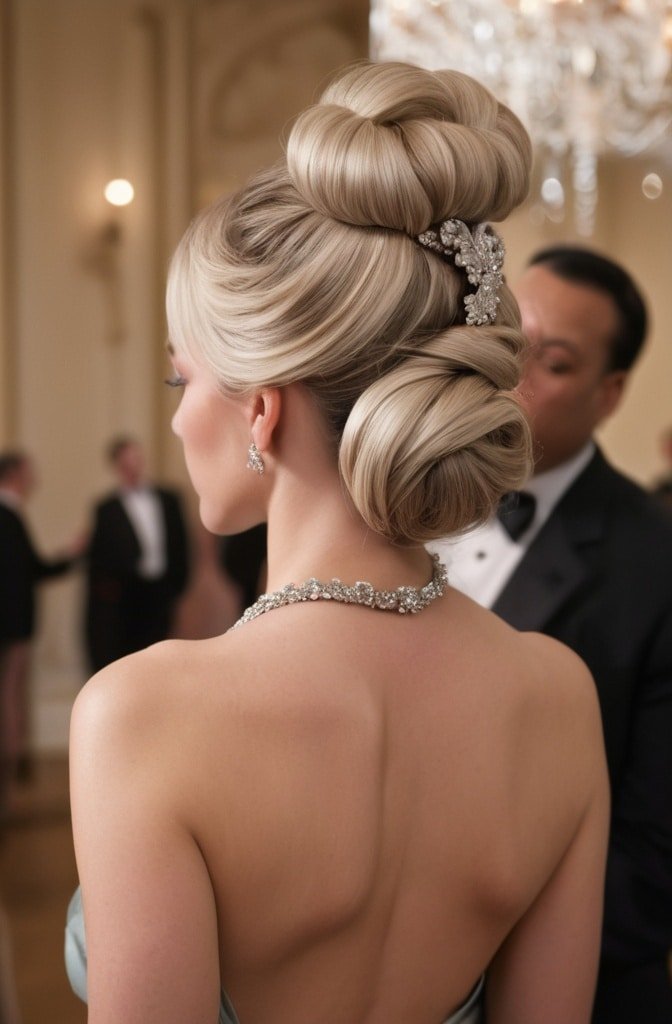
Create three distinct sections of hair—one at the crown and one on each side of the head. Twist each section from root to end, then wrap each twisted section into its own mini chignon, positioning them close together at the nape of your neck. Secure each with pins.
The three connected chignons create beautiful dimension and texture that’s more interesting than a standard bun. This style offers elegant sophistication for special occasions while being surprisingly easy to execute. Works best on shoulder-length to long hair.
40. The Triangular Undercut
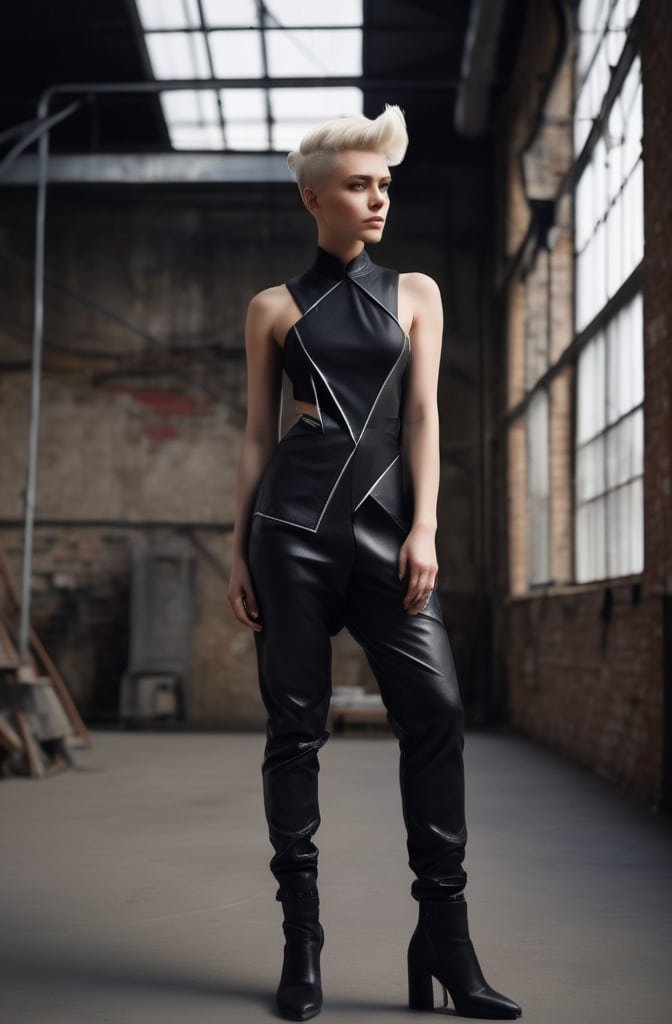
This bold cut features a triangular-shaped undercut section, typically positioned at the nape or side of the head. The precise geometric shape distinguishes it from traditional undercuts and creates a striking reveal when the hair is worn up.
The beauty of this style is its versatility—when worn down, the undercut remains hidden, allowing for professional environments. When styled up, the triangular shape creates a bold statement. This works well for those wanting to experiment with undercuts without committing to a fully visible one.
41. Woven Headband Braid
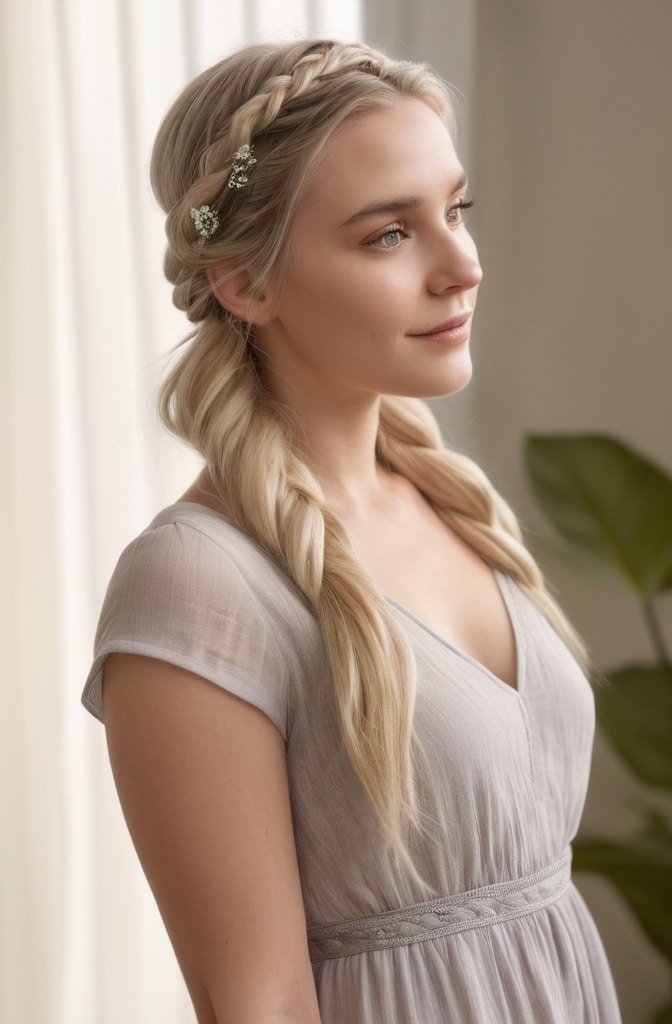
Create a traditional three-strand braid along the hairline, from ear to ear across the crown. Once secured, gently pull apart the edges of the braid to widen it, then weave a thin ribbon or second braid through the loops of the first braid, creating a woven headband effect.
This intricate-looking style actually requires minimal skill once you’ve mastered basic braiding. The woven element creates beautiful texture that elevates a simple braided headband into something special. Works on medium to long hair and pairs beautifully with both casual and formal outfits.
42. The Feathered Shag
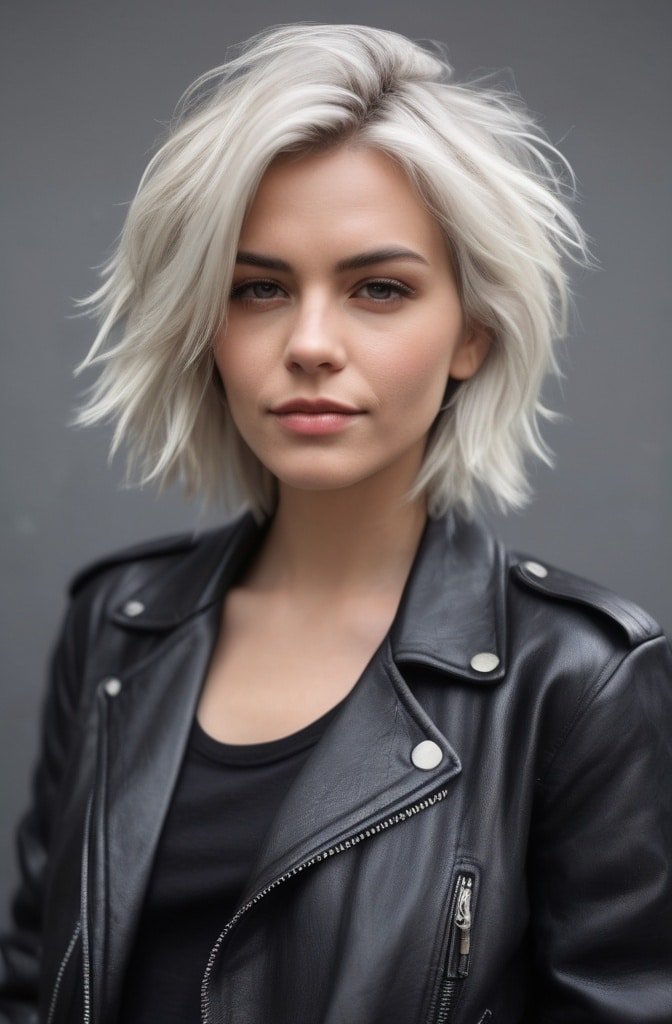
This retro-inspired cut features short, wispy layers around the face that gradually transition to longer lengths at the back. The distinctive element is the feathered effect created by point-cutting the ends of each layer to create soft, piece-y definition.
The feathered technique creates beautiful movement and dimension that works with your natural texture rather than against it. This cut is particularly flattering for those with fine to medium hair, as the layers create the illusion of fullness without removing too much weight.
43. Braided Fan Updo
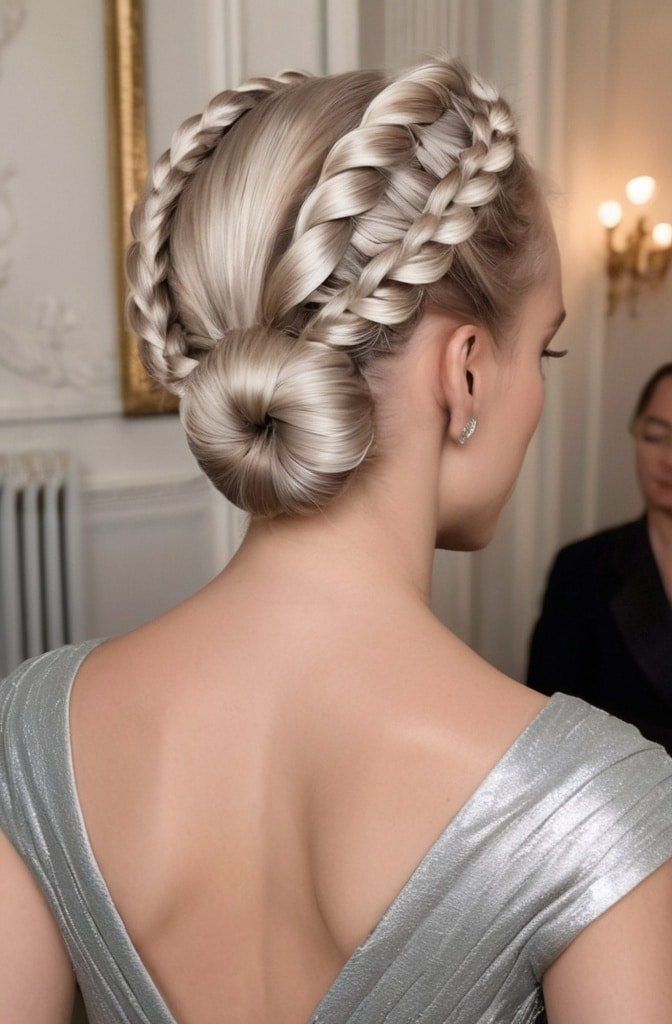
Create 5-7 ponytails positioned in a vertical line down the back of your head. Braid each ponytail, then fan them out horizontally, pinning the ends to create a sunburst or fan effect radiating from the center of your head.
This architectural style creates dramatic visual impact while actually being quite simple to execute. The multiple braids fanned out create beautiful texture and dimension. This works particularly well on long, thick hair where the fans can be substantial, but can be adapted for medium-length hair as well.
44. The Soft Blunt Bob
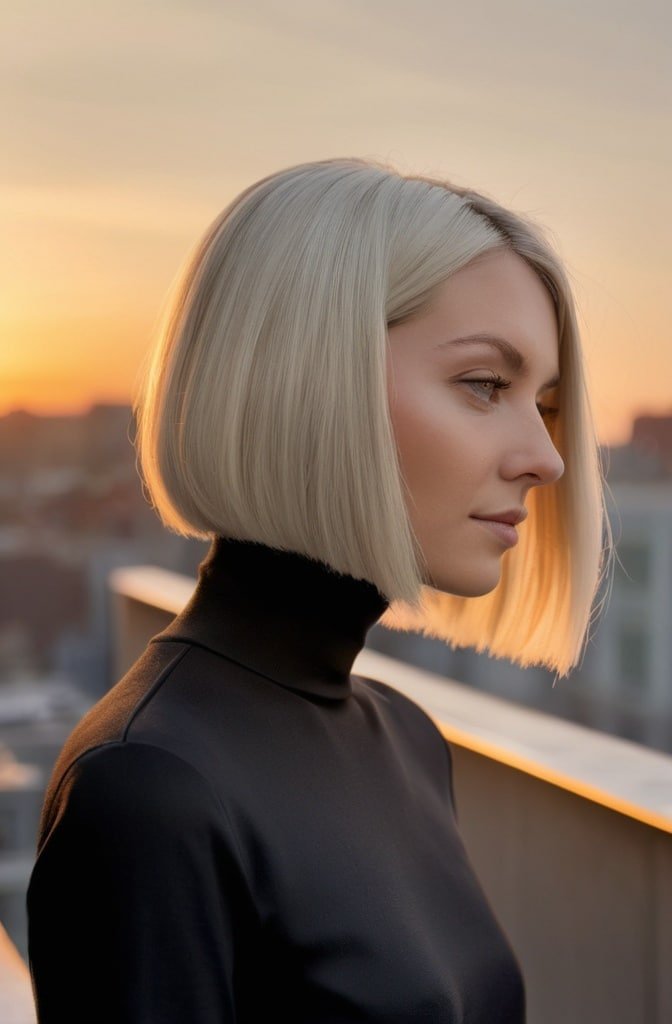
Unlike traditional blunt bobs that feature a harsh, straight line, this variation maintains the weight line of a blunt cut but softens the very ends through subtle texturizing. This creates a bob that has the strength and shape of a blunt cut without the severe edge.
This versatile cut works on virtually all hair types and face shapes, as the softened line can be customized to flatter your specific features. The maintained weight line creates beautiful movement and swing, while the softened ends prevent the helmet-like effect that can happen with traditional blunt cuts.
45. Dutch Fishtail Combo Braid
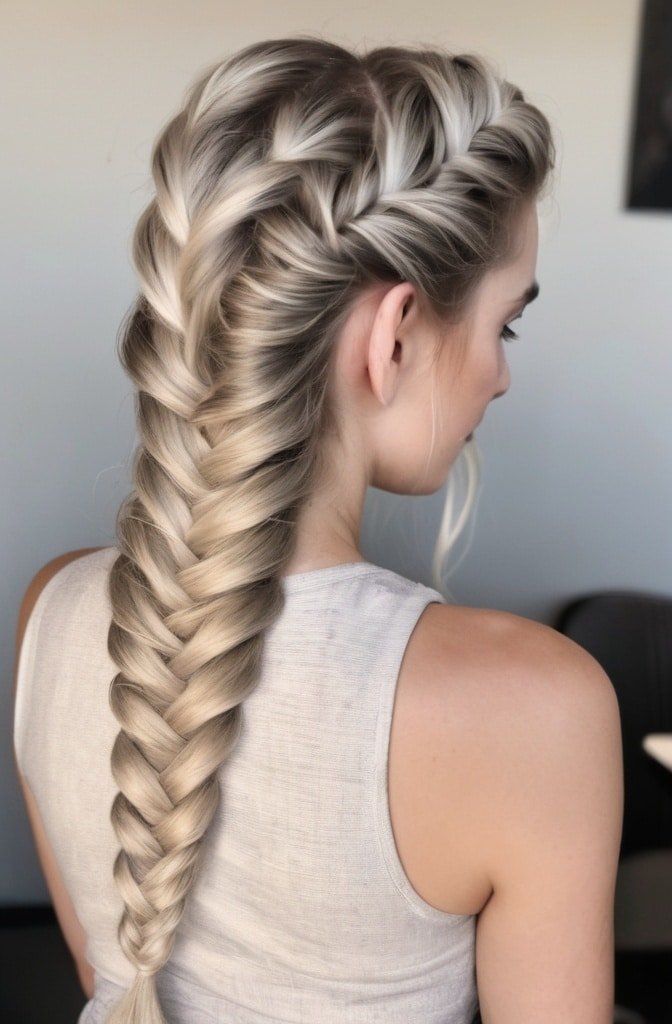
Begin a Dutch braid (crossing sections under rather than over) at your hairline, working backward. After 3-4 crosses, transition to a fishtail technique for the remainder of the braid by splitting the hair into two sections and crossing small pieces from the outside edges to the inside.
This combination technique creates beautiful textural contrast—the raised Dutch braid at the start adds volume at the crown, while the detailed fishtail pattern creates delicate dimension through the length. This style showcases color dimension beautifully on highlighted or balayaged hair.
46. The Oval One-Length Cut
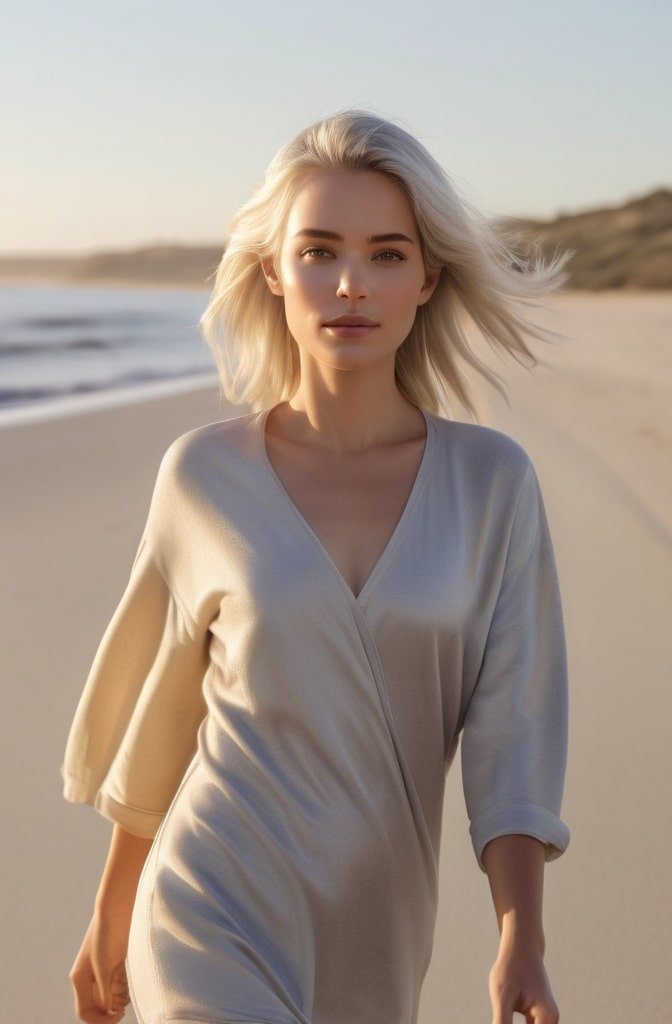
Unlike traditional one-length cuts that follow the natural shape of the head, this technique involves cutting the hair to create an oval silhouette when viewed from the front. This typically means the sides are slightly shorter than the front and back, creating a beautiful curved shape.
This precision cut requires an experienced stylist to execute properly, as the oval shape needs to be customized to your face shape and hair texture. The result is a strong, graphic line that creates beautiful movement and dimension even without layers. Works particularly well on straight to wavy hair types.
47. Twisted Rose Updo
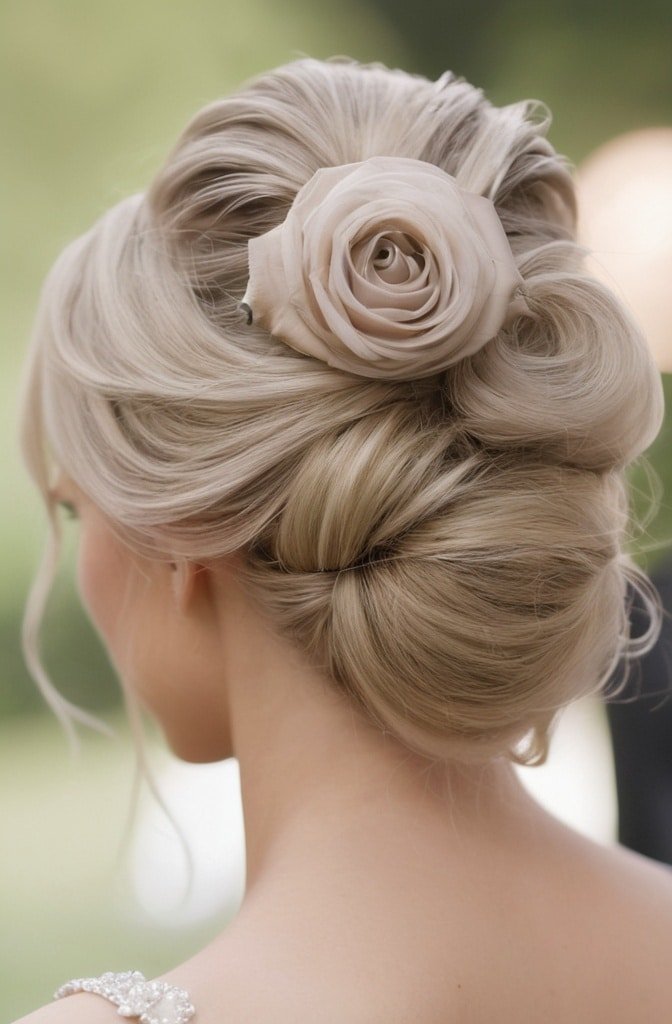
Create small, twisted sections throughout your hair. Wrap each twisted section into a small circle resembling a rose, securing with pins. Position these “roses” across your head, clustering them more densely on one side for asymmetrical interest.
This romantic style creates beautiful dimensional texture that looks far more complicated than it actually is. The twisted roses can be positioned to create various shapes and patterns based on your preference. Works best on shoulder-length to long hair with some natural texture.
48. The Choppy Pageboy
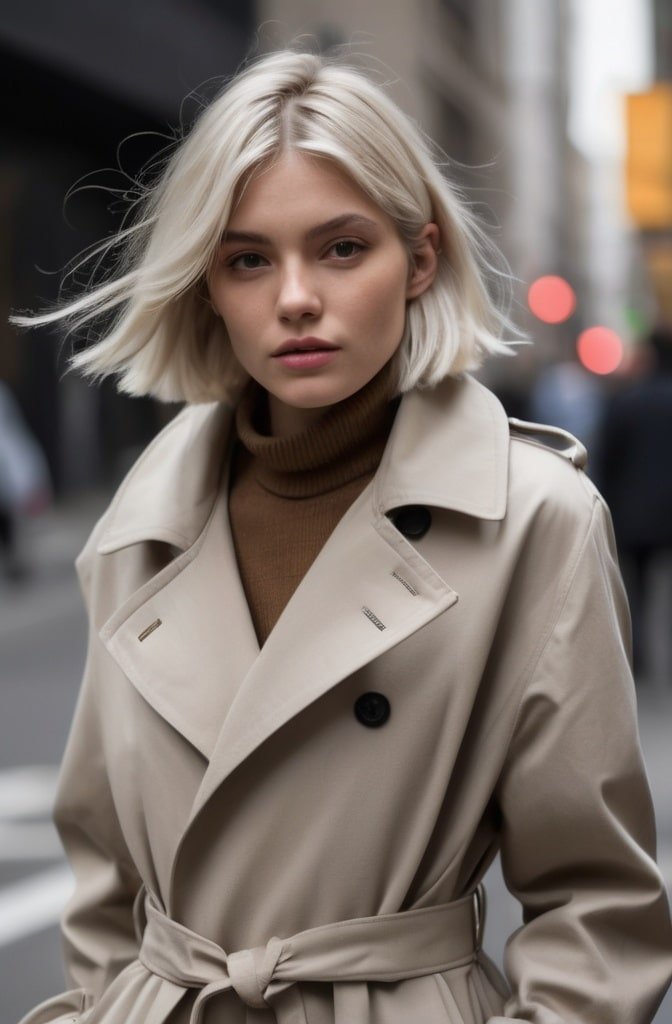
This modern take on a classic cut features a strong horizontal line hitting at or just below the jawline, combined with choppy, textured ends rather than the traditional smooth finish. Often includes a heavy fringe that aligns with the perimeter length.
The choppy texture modernizes this retro-inspired shape, creating a cut that feels both vintage and contemporary simultaneously. The strong perimeter creates a bold frame for the face, while the textured ends prevent it from feeling too severe or dated.
49. Herringbone Braid Updo
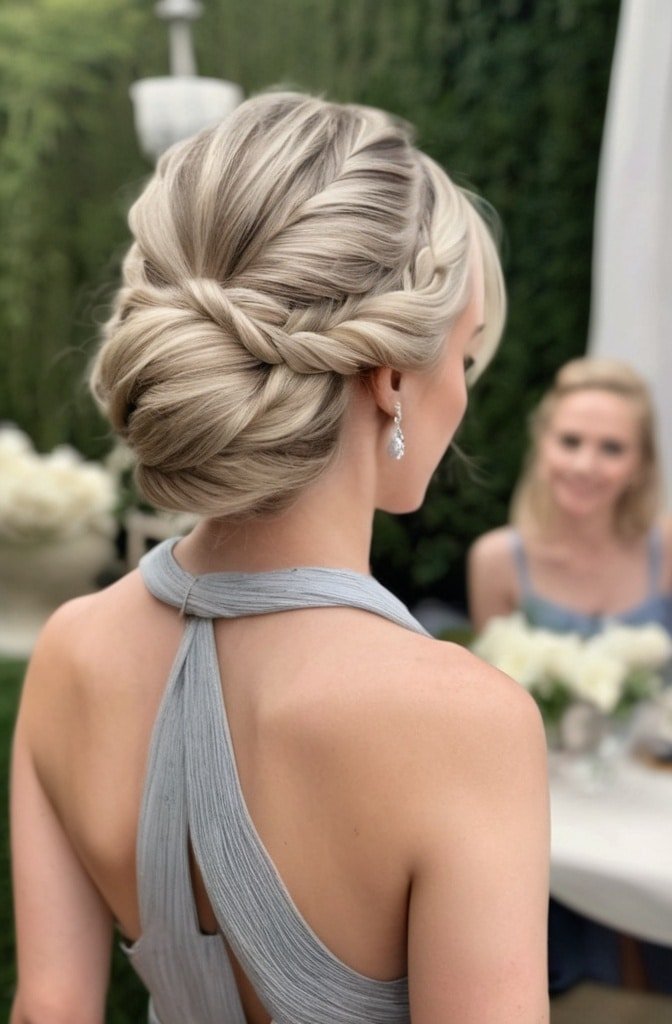
Create two French braids starting at your nape and working upward toward your crown. Once you reach the crown, transition to a herringbone braid technique (also called a fishtail) where you cross small sections over rather than under. Form the herringbone section into a crown around the top of your head.
The combination of traditional French braiding with the more delicate herringbone pattern creates beautiful textural contrast. This protective style works particularly well for textured hair and can stay in place for several days. For special occasions, consider adding small decorative pins or fresh flowers.
50. The Disconnected Quiff
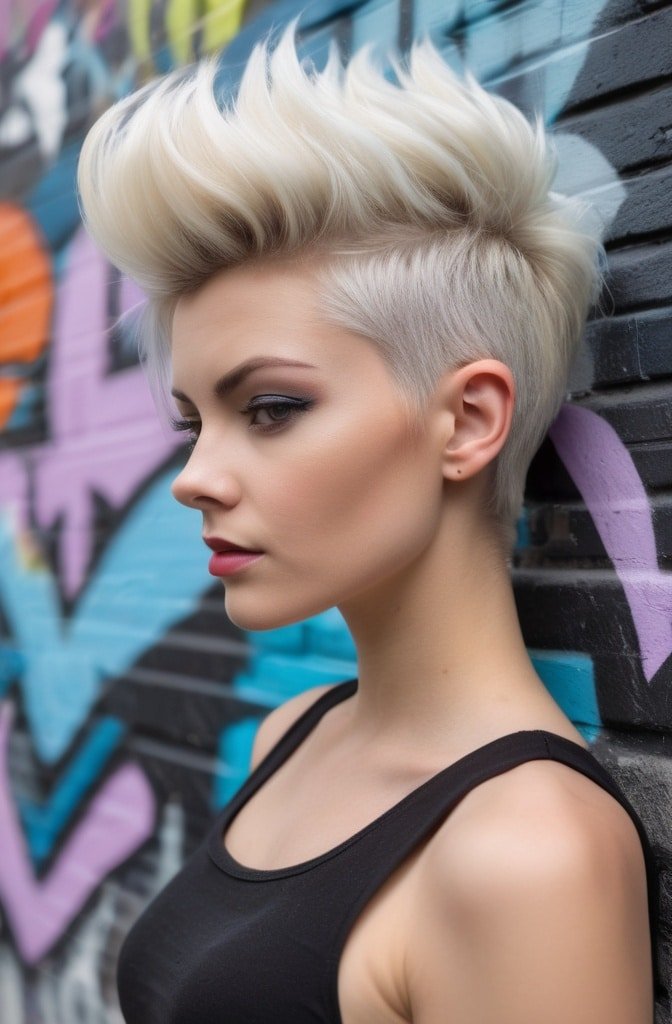
This bold cut features short, tapered sides with significantly longer length on top, particularly at the fringe. Unlike traditional quiffs that blend gradually into the sides, the disconnected version features a stark contrast between the top and side lengths.
This architectural cut creates dramatic height and volume at the front while maintaining clean lines around the sides. Styling typically involves blow-drying the longer top section upward and back to create height, while keeping the sides sleek. This cut works particularly well for those with straight to wavy hair who want a bold, editorial look.
These additional 25 styles offer even more options for transforming your look beyond basic cuts and styles. Whether you’re seeking a bold structural change or a new way to style your existing length, these unique options provide fresh inspiration for any hair type or personal style. Remember that the most successful hairstyle is one that works with your natural texture and lifestyle—choose options that enhance what you already have while expressing your personal aesthetic.
Final Thoughts
The ponytail’s greatest strength is its versatility. These 47+ variations prove that this “basic” style can be anything but from elegantly minimalist to elaborately textured. The best ponytail for you depends on your hair texture, length, and the occasion, but there’s truly an elevated version for everyone.
Remember that perfect symmetry and absolute smoothness aren’t necessary for a beautiful ponytail. In fact, some strategic imperfection often creates the most contemporary look. Embrace your hair’s natural tendencies, and use these techniques as starting points rather than rigid instructions.
What makes any ponytail truly stylish is confidence—the assurance that your chosen variation perfectly balances your need for practicality with your desire for self-expression. With these 25 options in your styling repertoire, you’ll never dismiss the ponytail as “just” a fallback style again.
So next time you reach for that elastic, take an extra 30 seconds to elevate your everyday pony into something special. Your hair (and everyone who sees it) will thank you.

Tina Johnson | Fashion Mags Your ultimate style guide! Trendy tips, latest fashion news & inspiration to keep you chic & glamorous.

